100
7. User Supportware
10
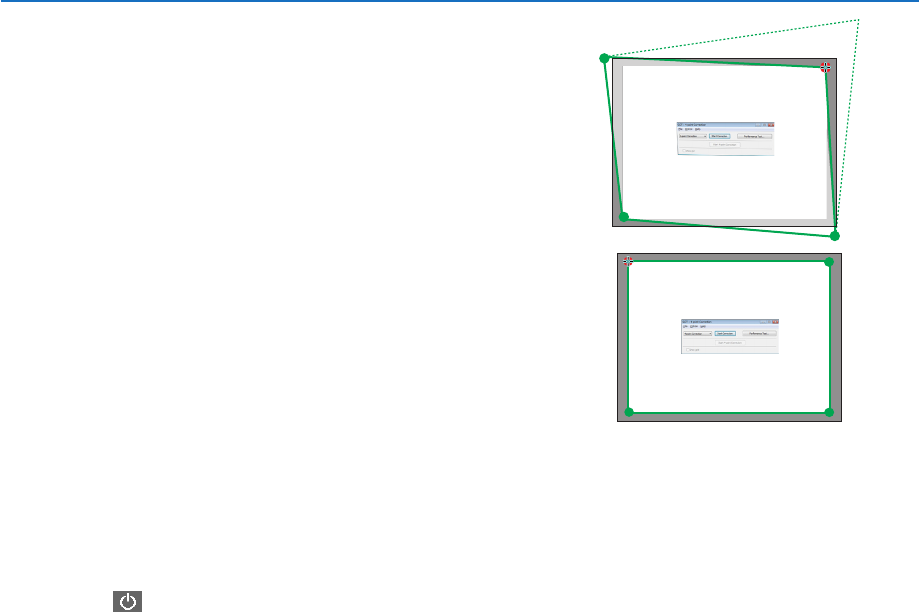
.Dragtheselected[•]marktothepointyouwishtocorrect
and drop it.
• Whenyouclicksomewherewithintheprojectimagearea,the
nearest [ •]markwillgotothepositionwherethemousecur-
sor is.
11
. Repeat Step 9 and 10 to correct the distortion of the projected
image.
12
. After completing, right-click the mouse.
The green frame and the mouse pointer will disappear from the
projected image area. This will complete the correction.
13
.Clickthe“X”(close)buttononthe“4-pointCorrection”window.
The“4-pointCorrection”windowwilldisappearand the4-point
correctionwilltakeeffect.
14
.Clickthe“ ”buttononthecontrolwindowtoexittheGCT.
TIP:
• Afterperformingthe4-pointcorrection,youcansavethe4-pointcorrectiondatatotheprojectorbyclicking“File”→“Exportto
theprojector…”onthe“4-pointCorrection”window.
• SeetheHelpofImageExpressUtilityLiteforoperating“4-pointCorrection”windowandotherfunctionsthanGCT.(→page96,
97)


