Configuring the TRIMAR AP
(.. /continued)
Navigating and using the web-based administration utility
Figure 9: TRIMAR web-
based administration
navigation tabs
The different pages of the web-based
administration utility can be accessed by
clicking on the buttons located on the left
side of the web-based administration
screen.
Make all the desired changes under each
tab and “Save” the changes before
moving to the next tab. If the only
changes that are being made are under
the same tab, simply click “Reboot” to
apply the settings. Otherwise, proceed to
other pages to make (and save) other
changes and only reboot the unit after all
configuration tasks have been completed.
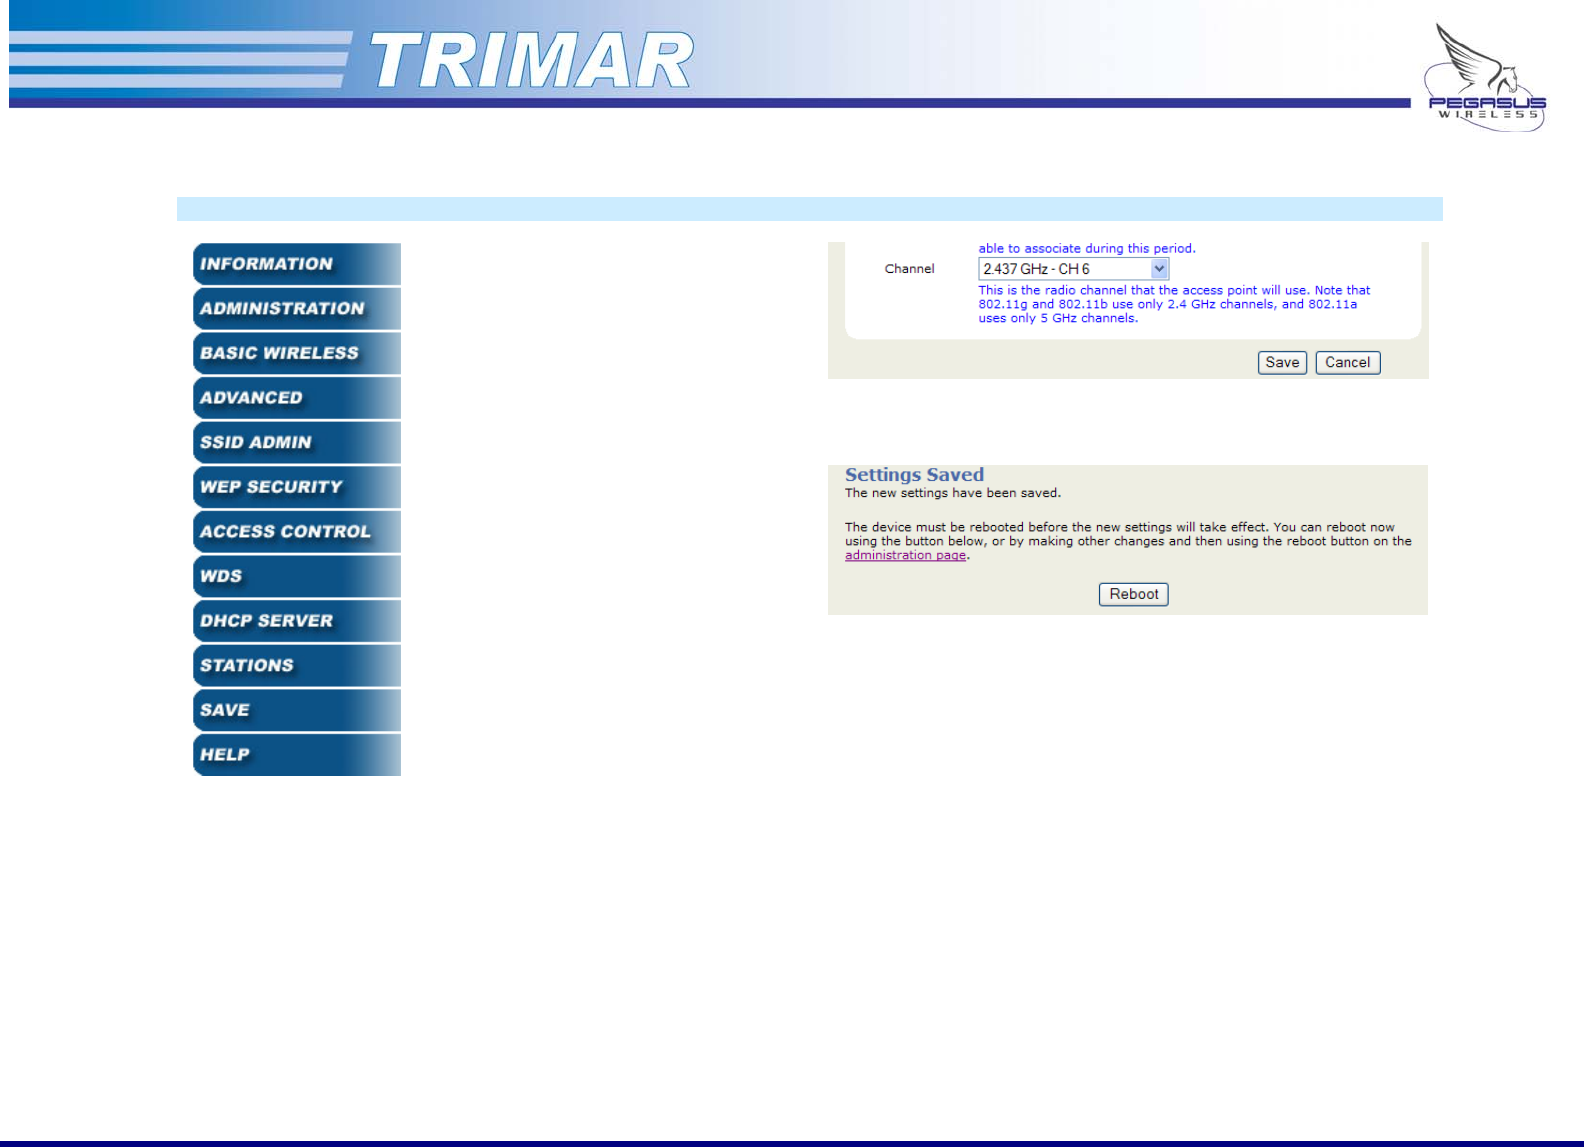
SAVE CHANGES BEFORE SWITCHING
PAGES:
If changes are not saved before
switching to another page, the
changes will be lost.
Clicking on the Cancel button will
abandon all changes made and
will reset the fields to their
previous values.
REBOOT THE TRIMAR AP AFTER ALL
CHANGES HAVE BEEN MADE:
If the TRIMAR AP is not rebooted
after all changes have been
made, closing the web-based
administration utility will cause all
newly enter custom settings to
be lost.
Figure 10: Save changes before changing pages
Figure 11: Reboot the unit to apply changes
IMPORTANT: If you change the IP address of the TRIMAR AP, and this puts it on
a different IP subnet from the PC used to configure the settings,
the web-based administration utility may be unreachable until the
PC itself is set to operate within the same IP subnet.
PEGASUS WIRELESS CORPORATION TRIMAR TECHNICAL MANUAL Version 1.0 Page 10 of 32


