4. Administration Tab
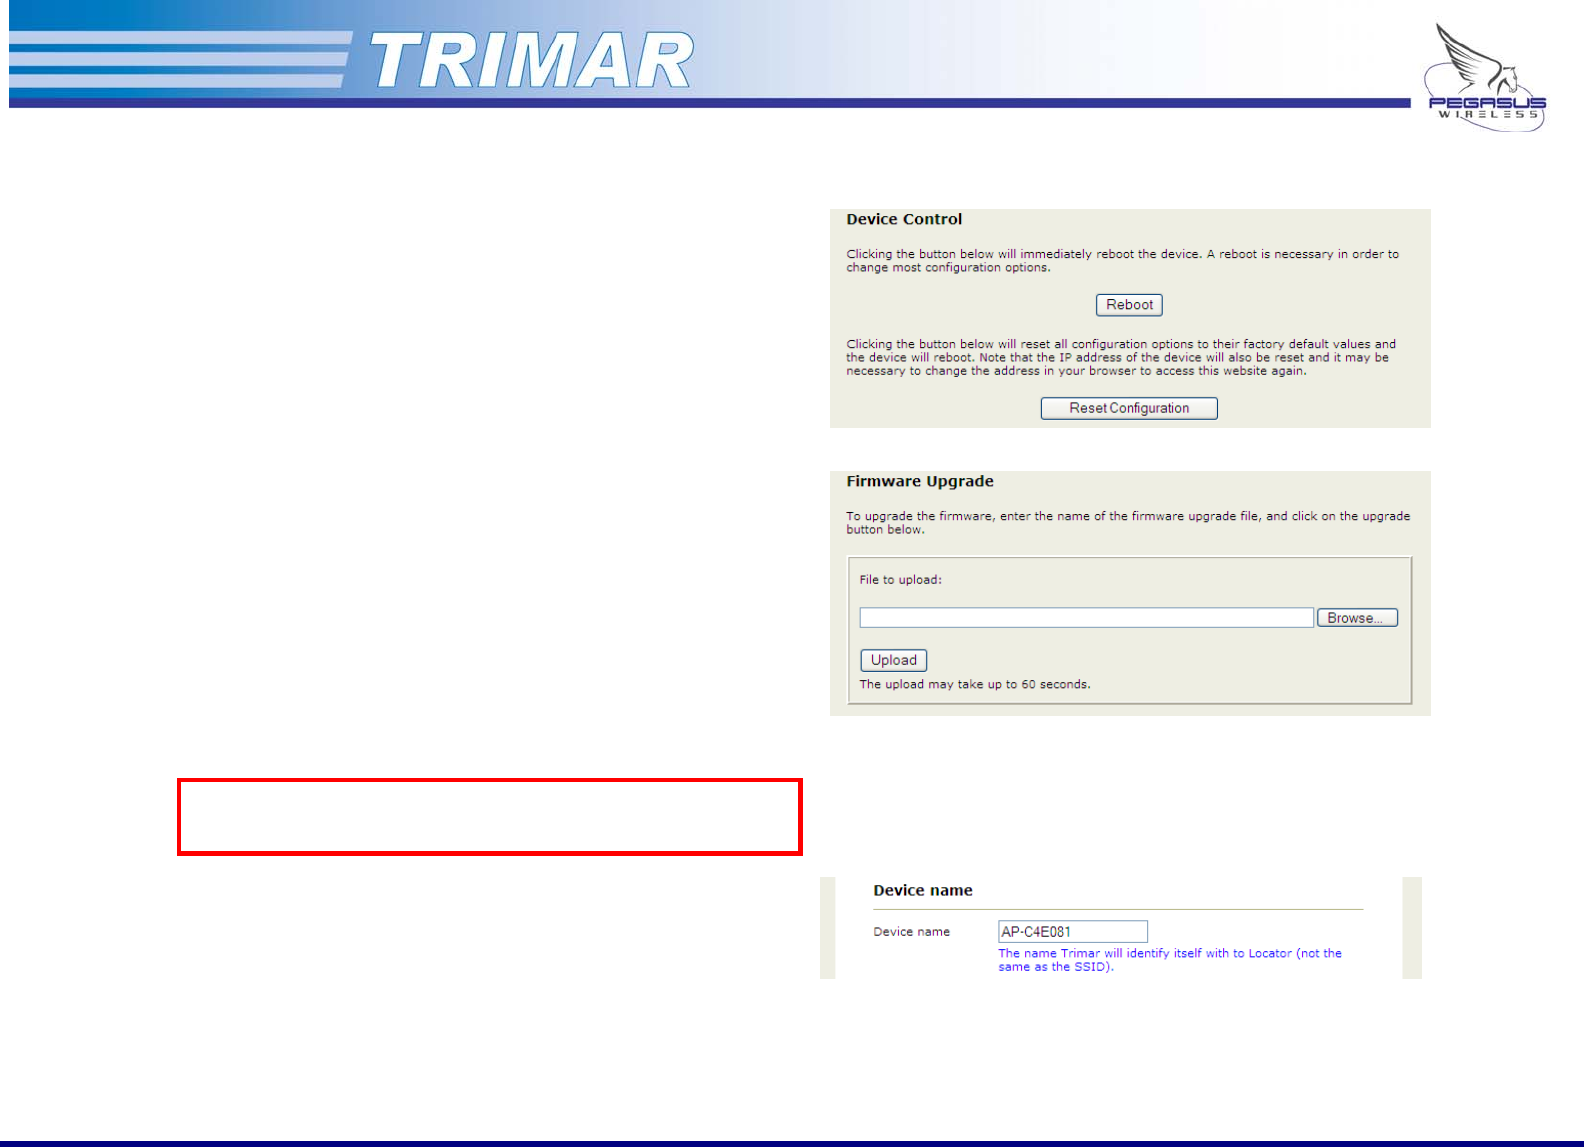
Device Control:
(See Figure 12)
Reboot: Clicking on this button causes the unit to be
rebooted. This is normally used in conjunction
with configuring the TRIMAR AP.
Reset Configuration: Clicking on this button causes the unit to reboot
and will reset the unit’s configuration back to its
original factory default settings. Use with
caution as this will cause all custom user
settings to be lost.
Figure 12: Device Control
Firmware Upgrade:
(See Figure 13)
These controls are used to upload firmware and patches into the TRIMAR
AP.
Browse: Use the “Browse” button to select a patch to
upload.
Upload: Use the “Upload” button to apply a selected
patch to the unit.
Once a patch has been successfully uploaded, the TRIMAR AP will
automatically reboot.
Important: Use only official firmware patches supplied by
Pegasus Wireless Corporation or an authorized
dealer/reseller.
Figure 13: Firmware Upgrade
Device Name:
(See Figure 14)
This field is used to give a TRIMAR AP a custom label/name to help more
easily identify the unit for administrative purposes. The label will be
displayed in the OTC Device Locator panel together with the unit’s IP
address.
The value entered into this field has no other impact on the TRIMAR AP’s
operational characteristics.
Figure 14: Device Name
PEGASUS WIRELESS CORPORATION TRIMAR TECHNICAL MANUAL Version 1.0 Page 12 of 32
