6. Copy
39
6CopyCopying
6.1 Making a copy
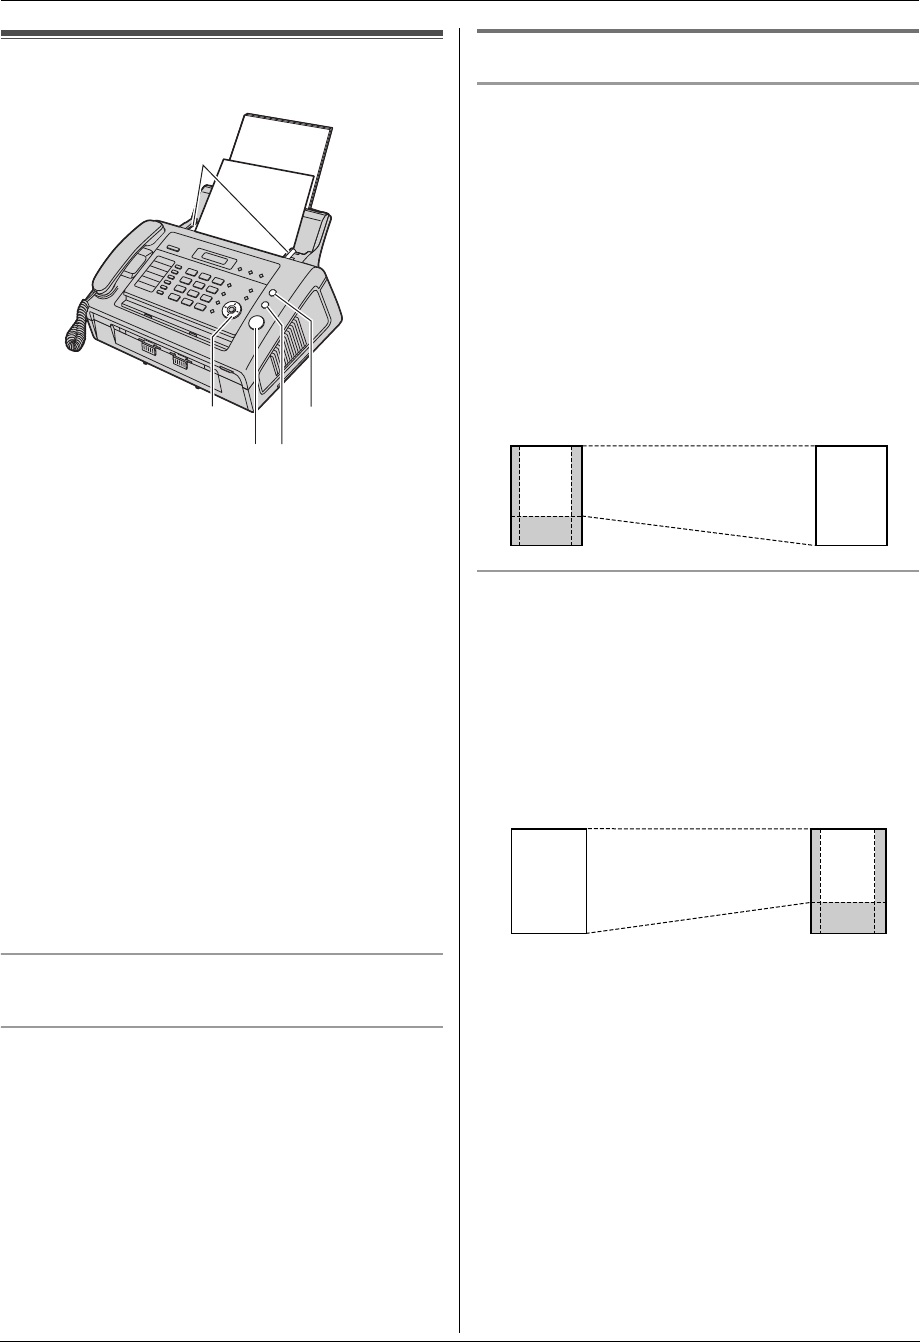
1 Adjust the width of the document guides (1) to fit
the actual size of the document.
2 Insert the document (up to 15 pages) FACE DOWN
until the unit grasps the document and a single beep
is heard.
L If the document guides are not adjusted to fit the
document, re-adjust them.
3 If necessary, press {A} or {B} repeatedly to select
the desired resolution.
4 Press {Copy}.
5 If necessary, enter the number of copies (up to 99).
6 Press {Start}, or the unit will start copying within 20
seconds.
L The unit will start copying.
Note:
L Any document which can be sent as a fax can also
be copied. For details about the kinds of documents
that can be copied, see page 31.
To stop copying
Press {Stop}.
To select the resolution
Select the desired resolution according to the type of
document.
– “FINE”: For printed or typewritten documents with
small print.
– “SUPER FINE”: For documents with very small print.
– “PHOTO”: For documents containing photographs,
shaded drawings, etc.
– “MIXED” (Photo with text): For documents
containing photographs and text.
L If you select “STANDARD”, copying will be done
using “FINE” mode.
6.1.1 More copying features
To enlarge a document
1. Insert the document, then press {Copy}.
2. Press {>}.
3. Press {A} repeatedly to select from “105%” to
“200%” by changing the enlargement rate 5% at a
time.
4. Press {Start}.
L The unit will only enlarge the center of the upper
part of the document. To make an enlarged copy
of the bottom of the document, turn the document
around, and then make a copy.
Example: 150% enlarged copy
To reduce a document
1. Insert the document, then press {Copy}.
2. Press {>}.
3. Press {B} repeatedly to select from “50%” to “95%”
by changing the reduction rate 5% at a time.
4. Press {Start}.
Example: 70% reduced copy
{>}{A}{B}
{Start}
{Stop}
1
{Copy}
Original document Enlarged copy
Original document Reduced copy
AB
CD
AB
CD
AB
CD
AB
CD
FL421-PNQX3022ZA-OI-en.book Page 39 Thursday, July 29, 2010 9:35 AM
