


9. Programmable Features
71
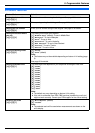
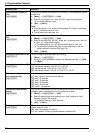
Setting the fax preview mode
{#}{4}{4}{8}
See page 56 for details.
Deleting received fax
documents automatically
{#}{4}{4}{9}
This feature is available when feature #448 is activated.
{0} “Off”: Deactivates this feature.
{1} “On” (default): The received fax document will be deleted automatically
after printing (page 53).
Setting the web fax preview
access code
{#}{4}{5}{0}
See page 56 for details.
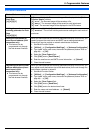
Resetting fax features to their
default settings
{#}{4}{5}{9}
{0} “No” (default)
{1} “Yes”
To reset the fax features:
1. {Menu} i {#}{4}{5}{9}
2. Press {1} to select “Yes”. i {Set} i {Set} i {Menu}
Note:
L The PC fax reception (feature #443 on page 26) will not be reset.
L If you select “Yes”, the unit will automatically print out any received fax
documents that have been stored into memory:
– PC fax setting (feature #442 on page 70).
– Fax preview (feature #448 on page 56).
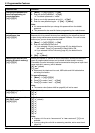
Setting the information for
saving a fax document as an
email attachment (via an
email server) (LAN
connection only)
L This feature can be
programmed only through
the web browser interface.
When you save the fax document as an email attachment, you need to program
the email server and SMTP server settings beforehand. Consult your service
provider or network administrator for details.
1. Start Multi-Function Station.
2. [Utilities] i [Configuration Web Page] i [Network Configuration]
3. Type “root” as the user name, then enter the password (feature #155 on
page 64). i [OK]
4. Select the [Email Feature] tab.
5. Click [Edit] next to [Email Server].
6. Enter the email server and SMTP server information. i [Submit]
7. Close the web browser.
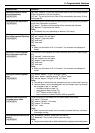
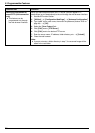
Registering the email
destinations (via an email
server) (LAN connection
only)
L This feature can be
programmed only through
the web browser interface.
When you save the fax document as an email attachment, you can register
email destinations (up to 300 destinations) for the unit through the web browser
interface in advance.
1. Start Multi-Function Station.
2. [Utilities] i [Configuration Web Page] i [Network Configuration]
3. Type “root” as the user name, then enter the password (feature #155 on
page 64). i [OK]
4. Select the [Email Feature] tab.
5. Click [Edit] next to [Send User].
6. Click [Edit] next to the desired email user.
7. Enter the name and email address. i [Submit]
8. Close the web browser.
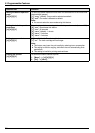
Feature/Code Selection