Standard setting-up positions
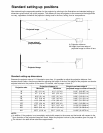
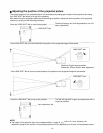
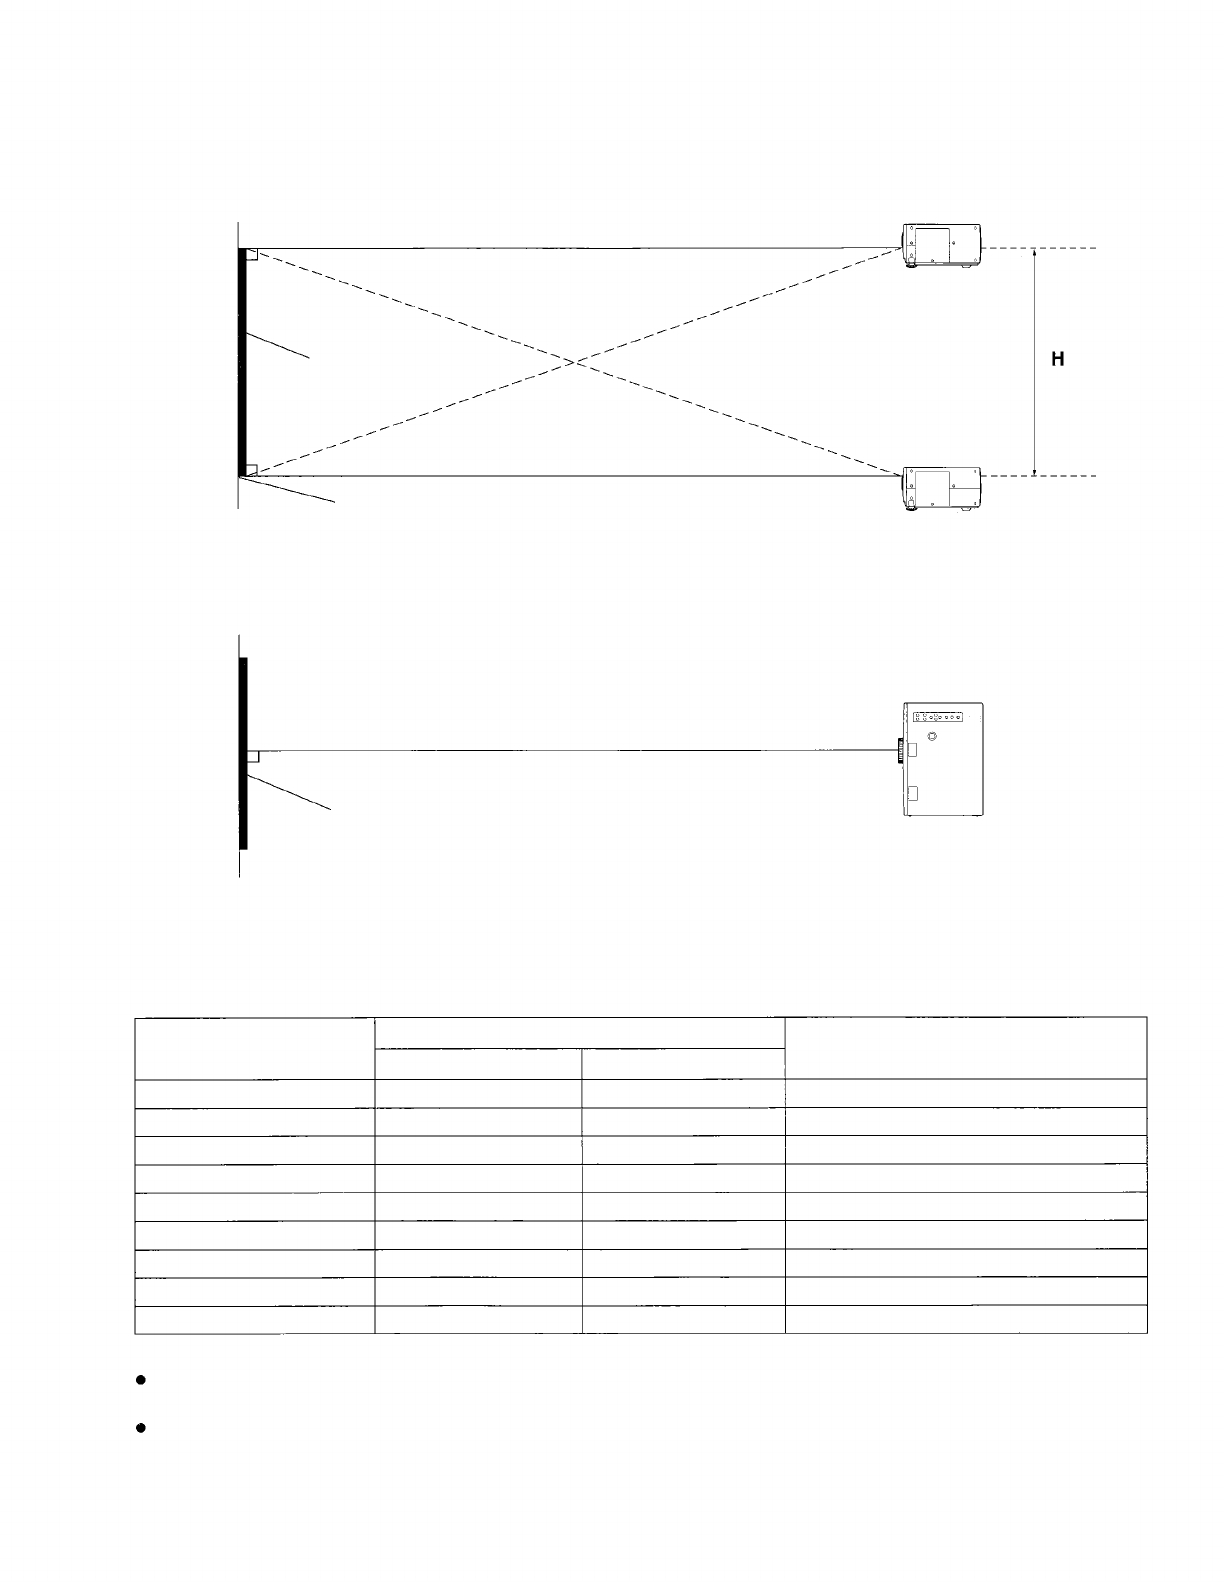
After determining the appropriate position for the projector by referring to the illustrations and standard setting-up
dimensions given below, set up the projector. The distance
L
from the projector to the screen and the height
H
do
not vary, regardless of whether the projector is being used in the floor, ceiling, front or rear positions.
L
Projected image
L
Lower edge of
projected image
L:
Projection distance
H:
Height from lower edge of
projected image to center of lens
L
Projected image
Standard setting-up dimensions
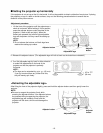
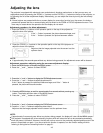
Because the projector uses a X 1.5 electronic zoom lens, it is possible to adjust the projection distance. And
because there is also a function provided for adjusting the height of the lens, the height of the projector can also be
adjusted relative to the position of the screen. For details, refer to pages 14 and 15.
Projection size
30
40
60
80
100
150
200
250
300
Projection distance (L)
Height from lower edge of
Minimum
Maximum
projected image to center of lens (H)
3'3” (1.0 m) 4'11" (1.5 m) 0–18" (0–0.457 m)
4'7" (1.4 m) 6'6" (2.0 m)
0–24" (0–0.610 m)
6'10" (2.1 m) 10'2" (3.1 m) 0–36" (0–0.914 m)
9'2" (2.8 m) 13'9" (4.2 m)
0–48" (0–1.219 m)
11'9" (3.6 m) 17'4" (5.3 m) 0–60" (0–1.524 m)
17'8" (5.4 m) 26'2" (8.0 m)
0–90" (0–2.286 m)
23'7" (7.2 m) 35'1" (10.7 m)
0–120" (0–3.048 m)
29'6" (9.0 m) 43'11" (13.4 m)
0–150" (0–3.810 m)
35'5" (10.8 m) 53'1" (16.2 m)
0–180" (0–4.572 m)
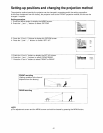
NOTE:
In addition, if the projector is not completely vertical with respect to the screen and horizontal with respect to the
floor, distortion of the projected image will result. Adjust the projector horizon by the procedure given on page 15.
The values in the table shown above are approximate.
-13-


