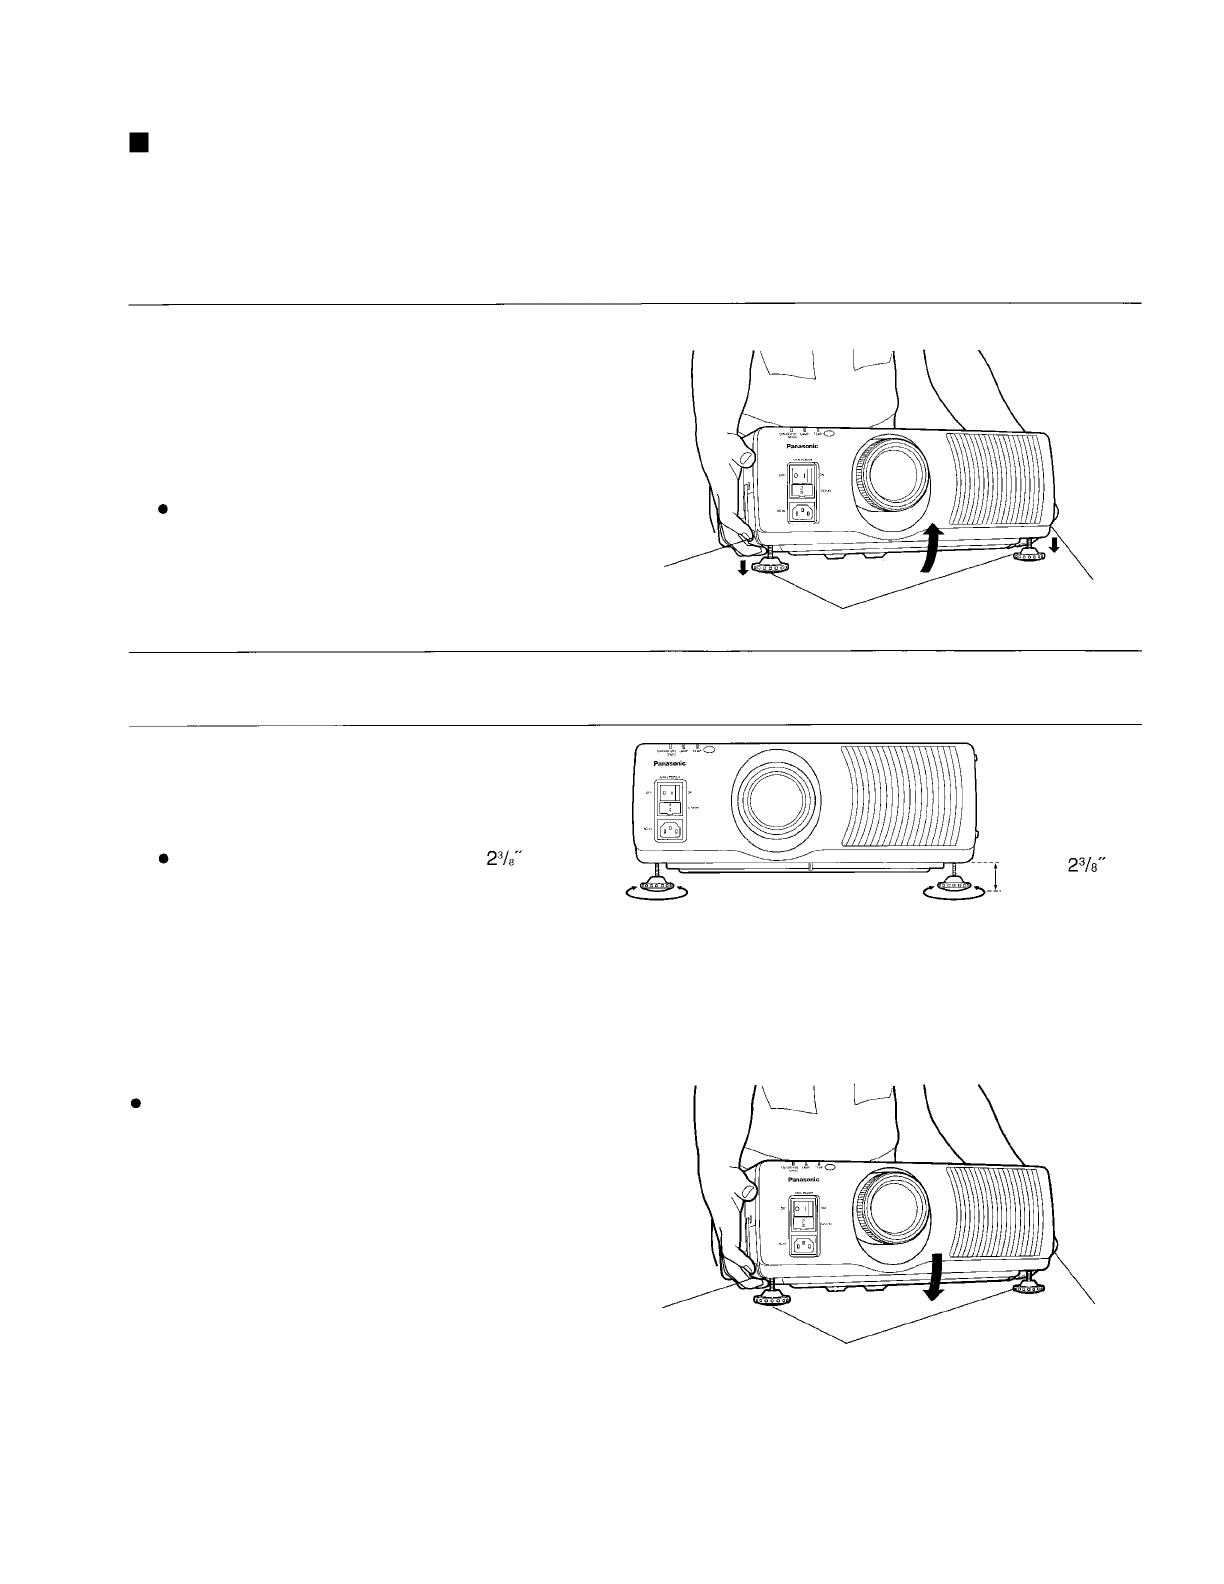
Setting the projector up horizontally
If the projector is not set up so that it is horizontal, it will not be possible to obtain a distortion-free picture. If placing
the projector on top of a table or similar surface, carry out the following procedure below to ensure that no
distortion of the picture occurs.
Adjustment procedure
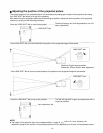
1.
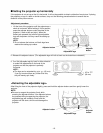
Lift the front of the projector until the projector as a
whole is horizontal. While holding it in this position,
press the adjuster buttons under the sides of the
projector (1 each at left and right). When the
buttons are pressed, the left and right adjustable
legs will drop down until they reach the setting-up
surface.
NOTE:
Do not release the buttons until both legs have
reached the setting-up surface.
Adjuster button
Adjustable legs
Adjuster
button
2. Release the adjuster buttons. (The adjustable legs will lock as soon as the buttons are released.)
3. Turn the adjustable legs by hand in either direction
to make fine adjustments to the level of the
projector so that the projector is perfectly
horizontal.
NOTE:
The legs can be extended by up to
(60 mm).
If you try to extend them any further than this,
they will merely spin freely.
UP to
(60 mm)
<Retracting the adjustable legs>
After lifting the front of the projector slightly, press and hold the adjuster buttons and then gently lower the
projector.
NOTE:
Be sure to support the projector firmly while
pressing the adjuster buttons. If the adjuster buttons
are pressed without supporting the projector, the
adjustable legs will suddenly unlock and the
projector will fall down, which could damage the
projector.
Adjuster button
Adjustable legs
Adjuster
button
-15-


