


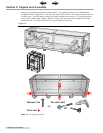

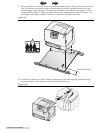
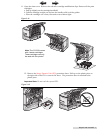
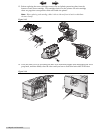
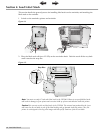
4 Unpack and Assemble
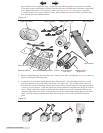
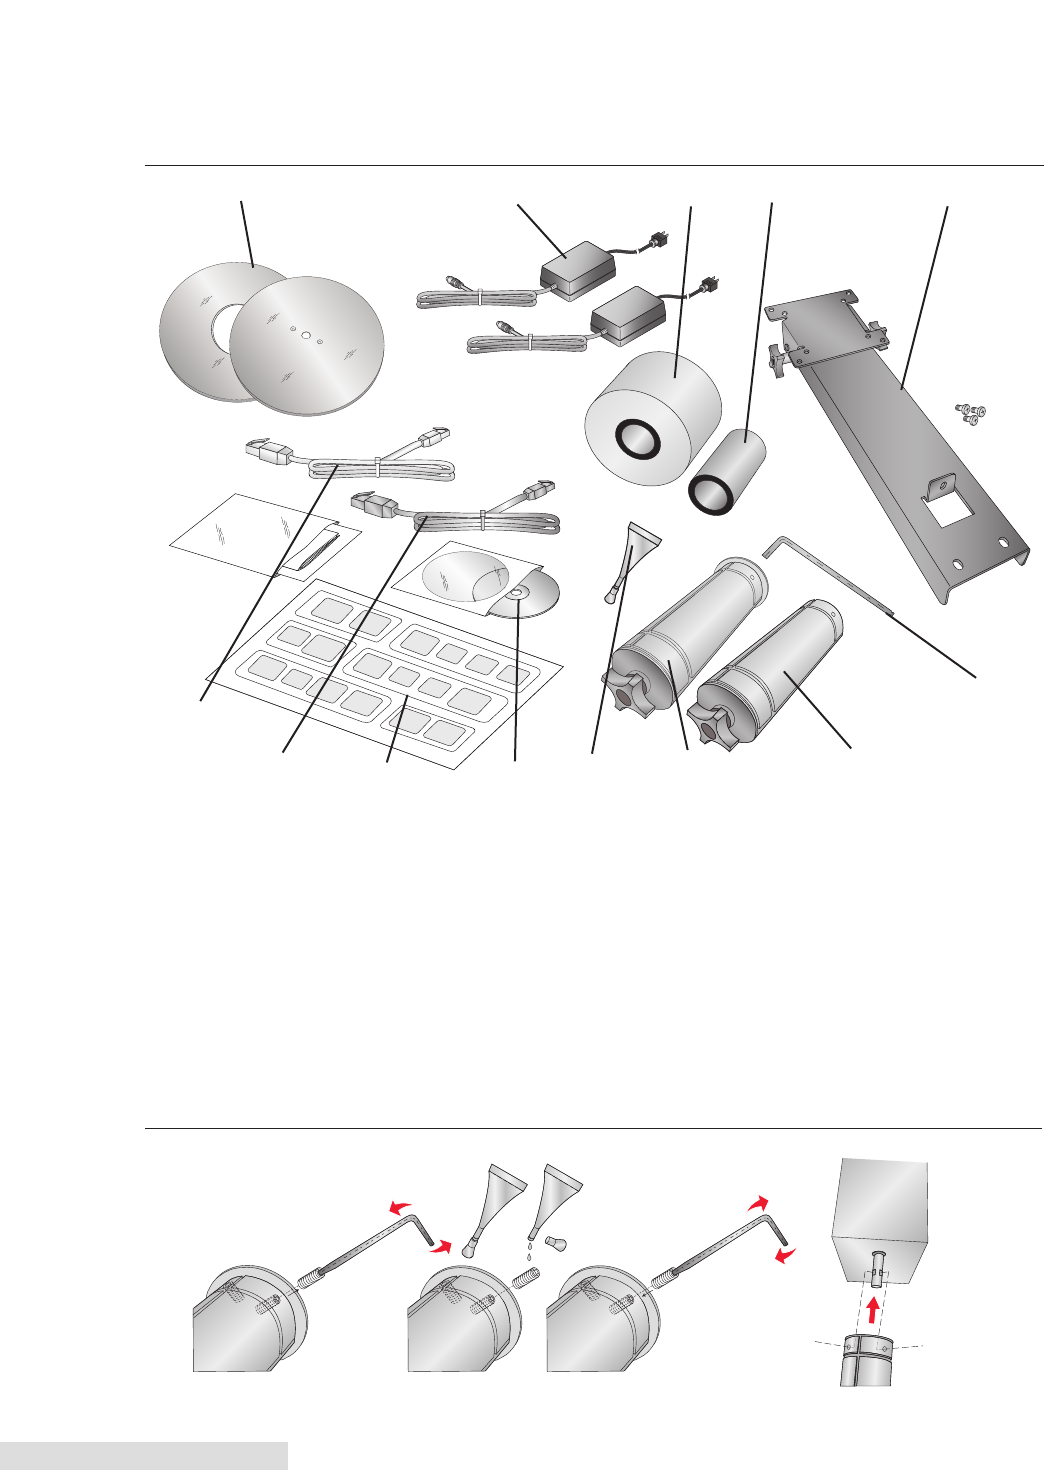
Open all three boxes inside the crate. Ensure that the following parts are present: two chucks,
3 mm allen wrench and bottle of Loctite
®
taped to the base unit under the unwinder, empty label
core, sample label stock, LCD monitor mount, two label guide discs, two power converters,
3 monitor mount screws, gray Ethernet cable, yellow Ethernet cross-over cable, a software disc,
this manual and other documentation.
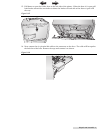
3. Remove all packing tape from the base unit. There is one piece securing the dancer arm and two
pieces securing the tensioning unit.
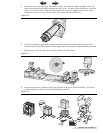
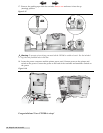
4. Locate the left/unwinder chuck and the 3mm allen wrench. The unwinder chuck has a small
stop disc attached to the back side of the chuck. See Figure 2-5. The rewinder chuck does not
have this disc attached. Partially remove the two set screws on each chuck so that approximately
½ inch (1 cm) is exposed. Crack the top off the Loctite container and place two drops on each set
screw. Reset each screw until it is flush with the outside of the chuck. Attach the chuck to the
unwinder (left side) drive shafts. Line up the holes in the chuck with the flat edges on the drive
shaft. The holes must correspond with the flats or the set screws will not hold the chuck in
place.
LOCTITE
LOCTITE
LOCTITE
LOCTITE
LOCTITE
LOCTITE
Figure 2-4.
Install Disc
Documentation
Allen Wrench
Ethernet (Gray)
Figure 2-5.
Power Supplies
Loctite
Sample Stock Core
Rewinder Chuck
(Right Side)
Monitor Mount
Ethernet (Yellow)
Label Guide Discs
Unwinder Chuck
(Left Side)
TOC
INDEX