


Unpack and Assemble 5
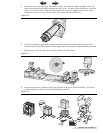
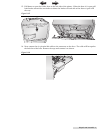
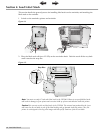
5. Tighten the set screws using the 3mm allen wrench. Once they are tight, attempt to rotate the
chuck forward backward while watching the drive shaft. The drive shaft should move with the
chuck. If it does not move with the chuck, loosen the set screws slightly and turn the chuck
until the set screws are even with the flats. The Loctite will dry in 24 hours.
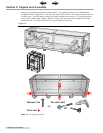
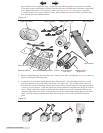
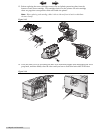
6. Locate the rewinder (right side) chuck and the label guide disc with the three interior holes.
Attach the label guide disc to the rewinder (right side) chuck using two flat head bolts provided.
7. Repeat steps 4 and 5 to attach the rewinder chuck to the drive shaft.
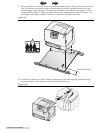
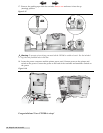
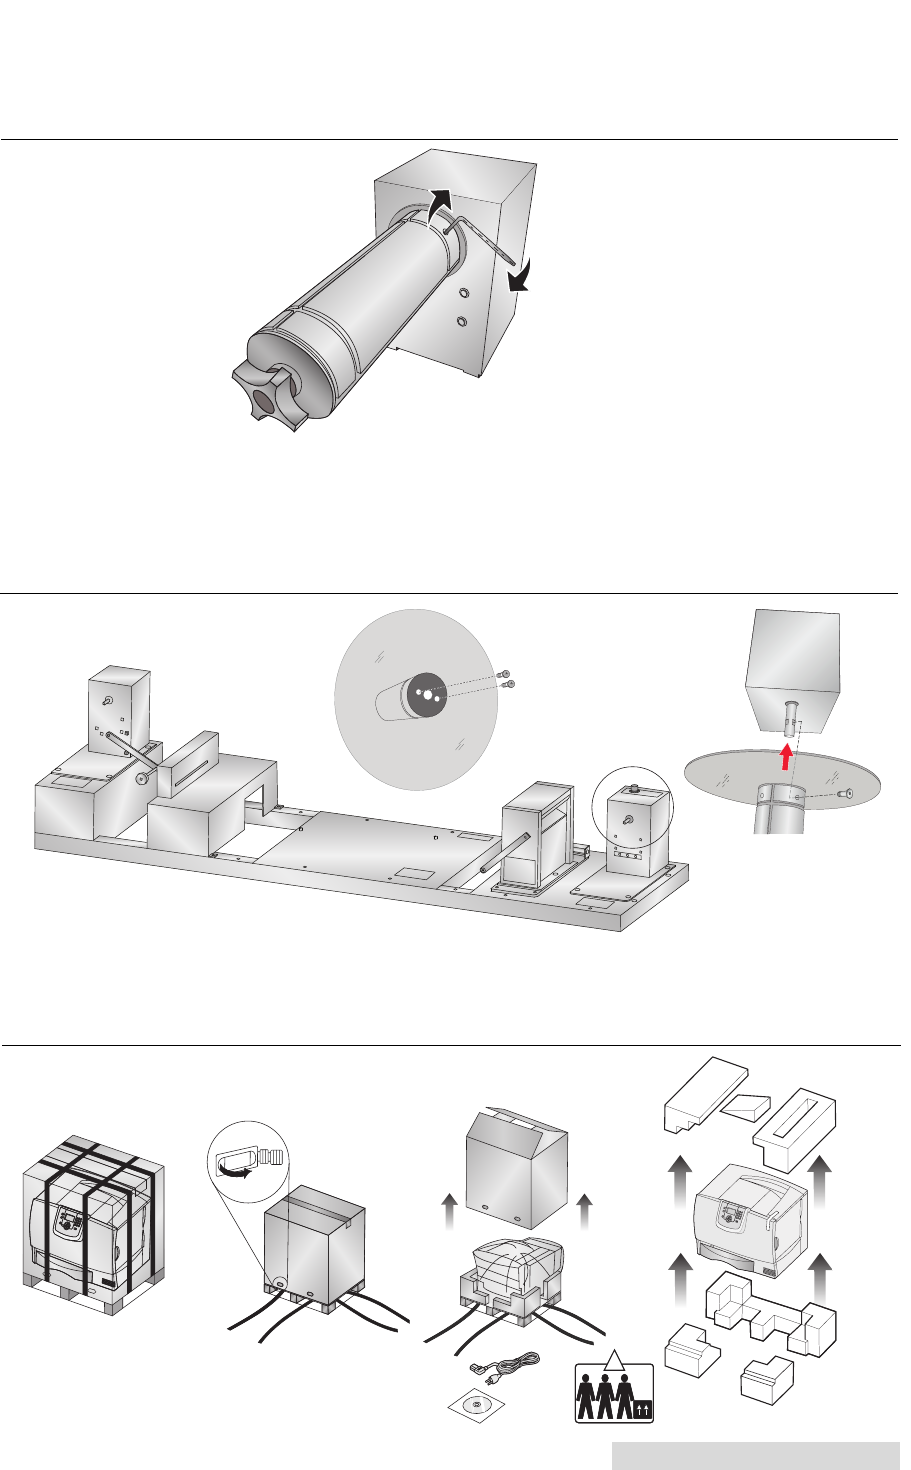
8. Locate the printer box. Remove the boxing material as shown in Figure 2.8 below. The power
cord for the printer will be found in this packaging material.
Figure 2-6.
!
!
!
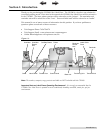
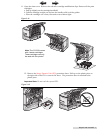
48 Kg.
105 lbs.
Figure 2-8.
Figure 2-7.
TOC
INDEX