2–24 Setting Up the Printer
Transporting the Printer
Take precautions to prevent damage to the printer during transport. If a move
requires trucking, use the original packaging materials.
Short Distance Transport
1. Turn off the printer and unplug the power cord from the wall outlet.
2. Remove the paper.
3. Remove all external communication and interconnection cables (AC
line cord, coax cable, any optional attachment cards, etc.) from the
printer.
4. Before you remove the developer unit, place several sheets of paper in
front of the printer and on a work surface that you will set the developer
on. Do this in case any toner spills.
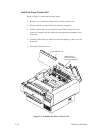
5. Remove the developer unit. (It is a good idea to have a toner vacuum
handy when performing this step.)
6. Place the developer unit in a sealable plastic bag.
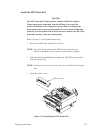
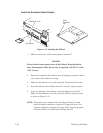
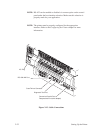
7. Temporarily remove the OPC drum in order to remove the waste toner
container.
NOTE: The waste toner container is recyclable. A recycling shipping label
is provided, with instructions attached, in the toner box.
8. Place the green cap on the filler hole of the waste toner container and
remove it from the printer and package it for recycling.
9. Install the OPC Drum in the printer.
CAUTION
Do not touch exposed areas of or bend the diskette. Keep the diskette
away from magnetic fields. Do not store in especially cold (50
°F) or hot
(120
°F) areas.
10. Remove the diskette from the disk drive and place it in a protective
cover.
11. Always carry the printer and developer unit upright.


