2–16 Setting Up the Printer
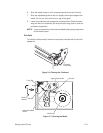
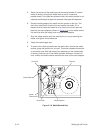
6. Pull the ribbon over the ribbon idler rollers — it will completely cover the
printhead mounting frame.
7. Wrap the free end of the ribbon around the ribbon take-up hub, and turn
the hub two or three full turns. Replace the J-hook, and twist it clockwise
until it snaps into place.
8. Lower the printhead and engage its latch. Rotate the printhead latch
wing one half-turn clockwise to lock the printhead in place.
9. Close the media supply door.
To remove a ribbon, use the following procedure.
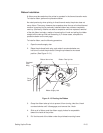
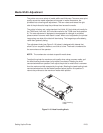
1. Cut the ribbon at a point near the first ribbon idler roller. The locations of
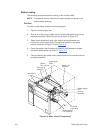
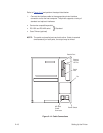
the idler rollers are shown in Figure 2–5
, on page 2–8, and in
Figure 2–13
, on page 2–15.
Do not cut directly over the idler roller.
2. Turn the printhead latch wing one half-turn counterclockwise to unlock
the printhead (it is not necessary to fully unlatch the printhead).
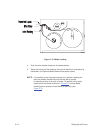
3. Turn the ribbon supply hub clockwise to draw the unused portion of the
ribbon back until it is clear of the printhead.
4. Slide the used ribbon off the take-up hub and dispose of it.
5. Turn the printhead latch wing one half-turn clockwise to lock the
printhead.
NOTE: The unused portion of the ribbon may be left in place until the next
thermal transfer print job, at which time it may be reinstalled
following the ribbon installation procedure.


