


Photocopy this cover and use as a quick reference.
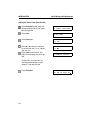
11 Picking a document stored elsewhere (page 30)
21 Erasing a message stored for transmission (page 28)
22 Erasing instructions to pick up a document (page 28)
31 Storing a number in one of the Quick Dial keys at left
(page 21)
32 Storing a number as a two-digit code (page 21)
33 Storing a group of numbers (page 23)
34 Setting the paper size (page 82)
41 Checking the last 35 communications (prints out a
report, page 34)
42 Printing a list of all messages and pick-up files stored
in the machine (page 35)
43 Printing a list of all the telephone numbers stored in
the fax machine (page 36)
51 Printing a message stored in the machine (page 29)
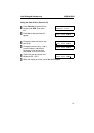
61* Initial Settings:
Own telephone number
RTI (a name ID sent to other machines)
TTI (an ID printed on messages you send),
CSI (phone ID sent to other machines).
PSTN accessing code
(page 87)
62* Selecting the phone line , turning authorized reception
and the timer on or off.
(page 90)
63* Printing and setting user parameters ( bit switch
settings for a variety of functions, page 64).
71* Night timer (page 43).
81* Setting the list of specified senders (for authorized
reception, page 37)
91* Adjusting the clock (page 91).
92* Adjust the volume (page 69).
93* Selecting a different language (page 70).
94* Counters (page 37).
*These functions require the access code on page 64.
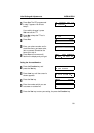
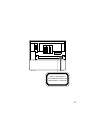
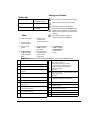
Functions: Press the function key followed by one of the numbers below.
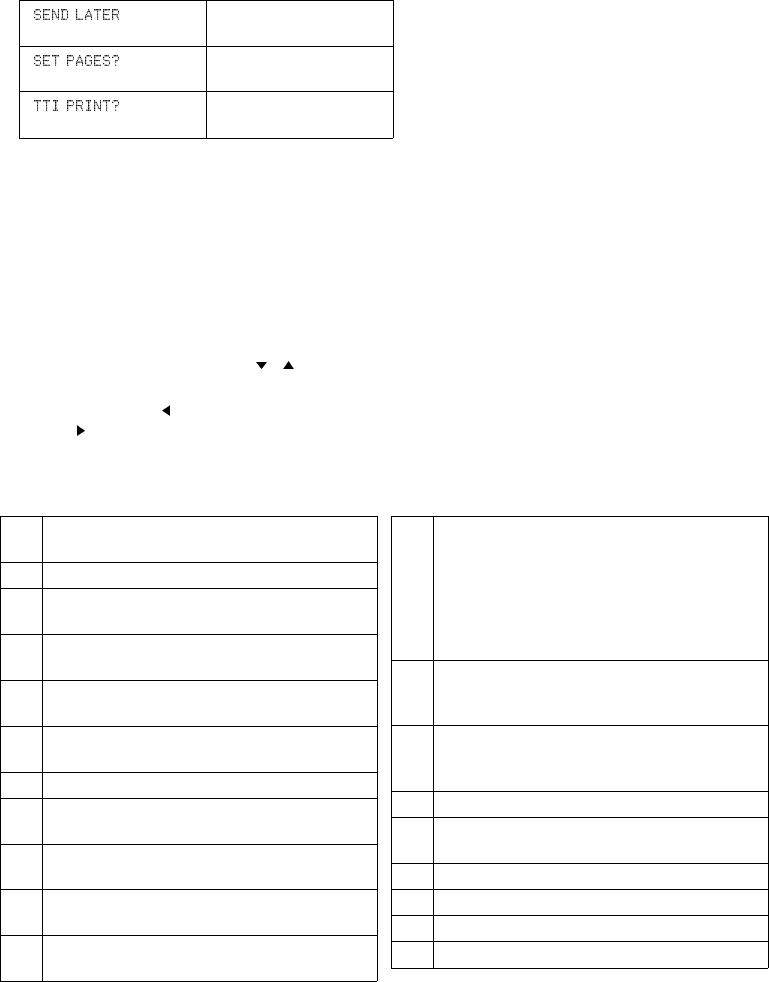
? Sending or picking up a fax
message later (page 16 )
Setting the number of pages
Printing an ID at the top of
your message
Option key
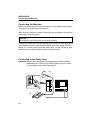
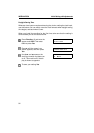
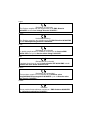
Faxing at a Glance
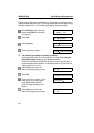
1
Fan your stack. (At most 30 one sided pages)
2
Insert the document face up in the feeder.
3
Select Memory (LED on) or Immediate
Transmission (LED off) with the Memory key.
4
Dial the number either from the keypad, with
a Quick Dial key (at the left), or with a Speed
Dial code.
5
Press Yes and dial more numbers (if
needed). Finally press the Start key.
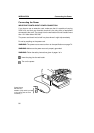
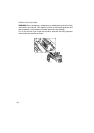
❐
To add paper, see
page 48.
❐
Use the Function, ,
and
keys to navigate
through functions and
options.
❐
Use the Yes & No keys
(
& ) to accept or
reject settings.
❐
If your telephone line
uses pulse dialing, see
page 46 for how to
generate tones.
❐
Use Quick Dial keys
01 to 08 to enter letters
and Quick Dial key 10
to enter spaces and
symbols.
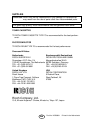
Hints
❐
Problem? See page 54
❐
To change the toner
cartridge, see page 50.
❐
Follow the safety
instructions at the
beginning of this manual.