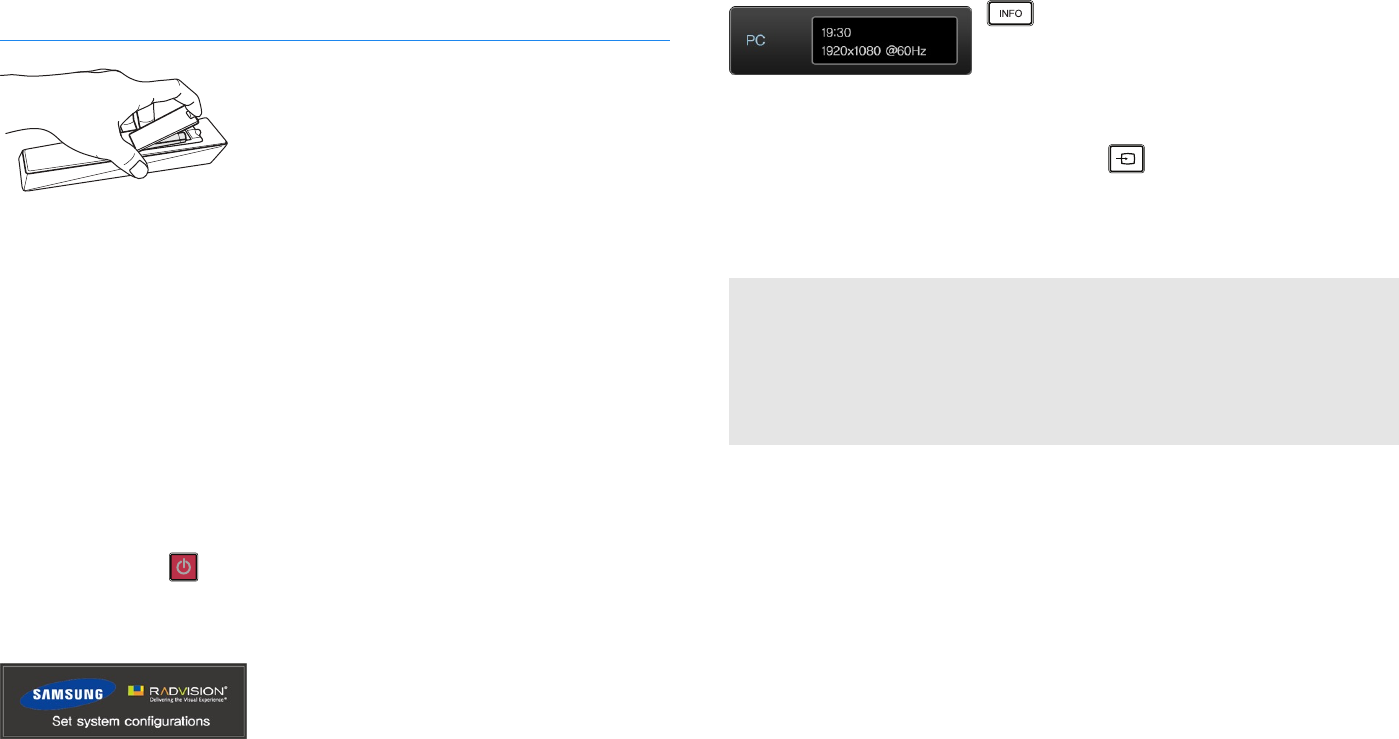
2.5 Powering On the Monitor
2.5 Powering On the Monitor
Before you power on the monitor, insert the bat-
teries into the remote control, observing the po-
larity, which is marked on the base of the battery
compartment.
If the monitor does not respond to the remote
control, the batteries have been discharged. Be
sure to replace the batteries using standard 1.5V
AAA, taking into account the precautions below:
• Do not use different types of batteries together.
• Do not use a new and used battery together.
• Do not attempt to recharge discharged non-rechargeable batteries.
• It is best to remove the batteries if you are not going to use the remote
for a long time.
• Do not dispose of batteries with general waste.
Plug the power cord into the power socket, turn on the power switch on the
monitor, and press on the remote control. The monitor will power on.
Video Modes
The following booting message will appear
when the monitor powers on. Booting takes
tens of seconds before you can make a video
call.
The following three types of video modes are offered.
PC: View the picture from a PC connected via the VGA input.
DVI: View the picture from a PC connected via the DVI input.
VC: View your self-image from the camera.
displays the current video mode at the
top left corner of the screen.
The current time and the monitor’s IP address are displayed in VC mode,
while the current time and video signal mode are displayed in the other
modes. To change the video mode, press repeatedly until the picture
you want is displayed.
Video Signal Modes
When a PC is connected to the monitor, the PC’s operating system usually
recognizes the monitor and starts the appropriate monitor driver. You do
not need to install a monitor driver if the displayed picture is clear. A
monitor driver should be installed if the displayed picture is shaky or not
clear.
When the picture from the PC displays normally, configure the resolution.
Check to see if the monitor is compatible with the graphics card on the PC if
the picture from the PC is not displayed even though the monitor is correctly
connected to the PC and the correct graphics card is selected (referring to
Table 3 ). Refer to Windows Help for details about how to change the refresh
rate and resolution.
◀ 12 ▶
