


36
Chapter 5 Wireless LAN configurations
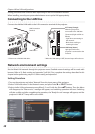
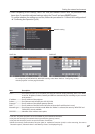
Setting procedures
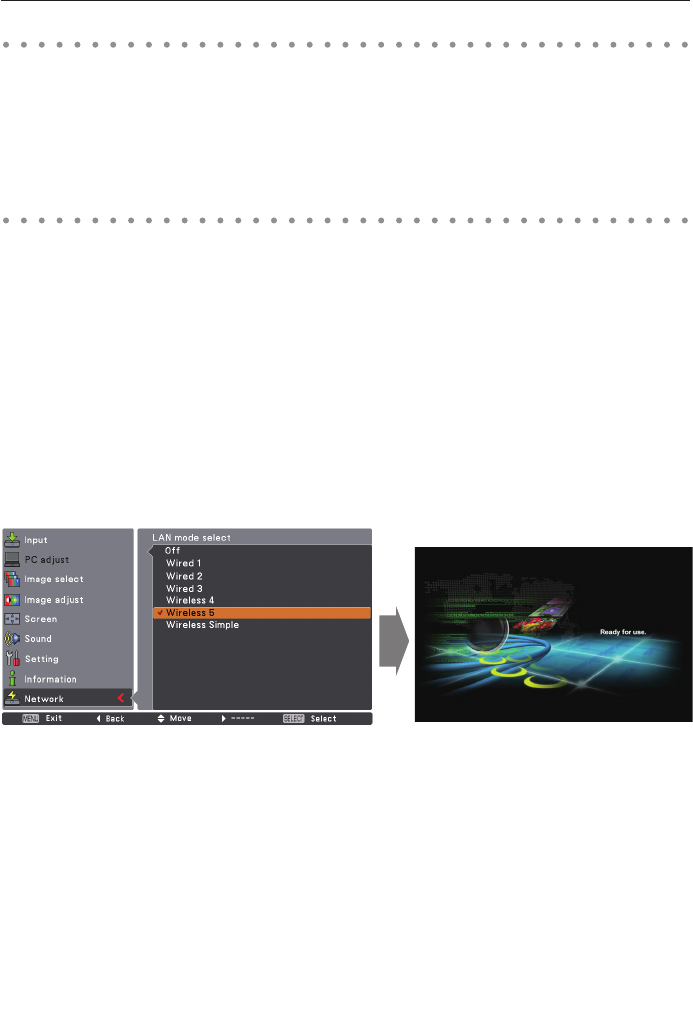
1. Turn on the projector and select “Network” in the Input menu of the projector.
2. Select “LAN mode select” in the Network menu, and press Point 8 or SELECT button.
3. Select similar LAN environment among Wireless 4, Wireless 5 and Wireless Simple* with the Point
ed buttons. Then the Menu will disappear, the “Please wait...” message will appear, and switching
operation will start. Switching will take a while and after completing the operation, the “Ready for
use” message will appear.
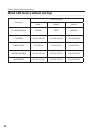
For each settings, refer to "Wireless LAN factory default settings" on page 44.
✳ “SIMPLE” mode is used for simple setting without complicated LAN setting procedures to connect to
the Wireless LAN. See “Easy wireless setting” (p.41) for details.
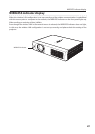
The projector contains the Wireless LAN adapter.
Set the Wireless LAN network through the projector menu.
Detailed network settings will be made with browser. Refer to “6. Basic setting and operation”. ➔ "Network
configuration" (p.53). Complete the settings described in this chapter before performing the steps in “6.
Basic setting and operation.”
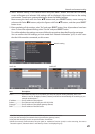
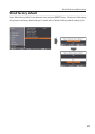
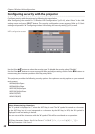
Setting the network environment
4. Select "Network setting" in the Network menu and press SELECT button, and then the LAN setting
screen will appear and the selected LAN settings will be displayed. Adjust each item to the setting
environment. Consult your system administrator for the detailed settings.
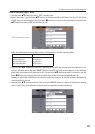
Move among the items with the Point
ed
buttons and press SELECT button, move among the
columns with Point
7 8
buttons, a
djust the figures with Point ed buttons, and then press SELECT
button to set.
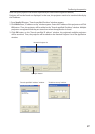
When the network type is “AdHoc”, you do not have to change “Sub net” and “Gateway” and leave
them as default settings.
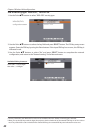
SSID/ESSID for the network type “Infrastructure” and “AdHoc” are required to be entered the same
characters into the projector, the access point, and the Wireless LAN compatible computer (up to 32
characters). Characters can be selected from A~Z, a~z, blank (space), 0–9, or - (hyphen) with the Point
ed buttons. Move to the next character with the Point 7 8 buttons.
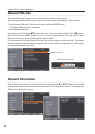
You can confirm that the projector settings from “Network Information” in the projector menu (p.42)