


52
Chapter 6 Basic setting and operation
This projector does not provide the built-in battery. The date and time information are lost when
the projector turns off ( when "Eco" is set for the stand-by mode (Refer to p.74)), or the network
configuration is reset. The timer function is disable until time is set up correctly. When using the
NTP address for time setting, the current time is acquired at the projector starting up and the timer
function is activated after finishing the time setting correctly.
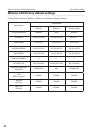
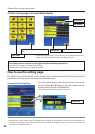
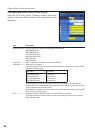
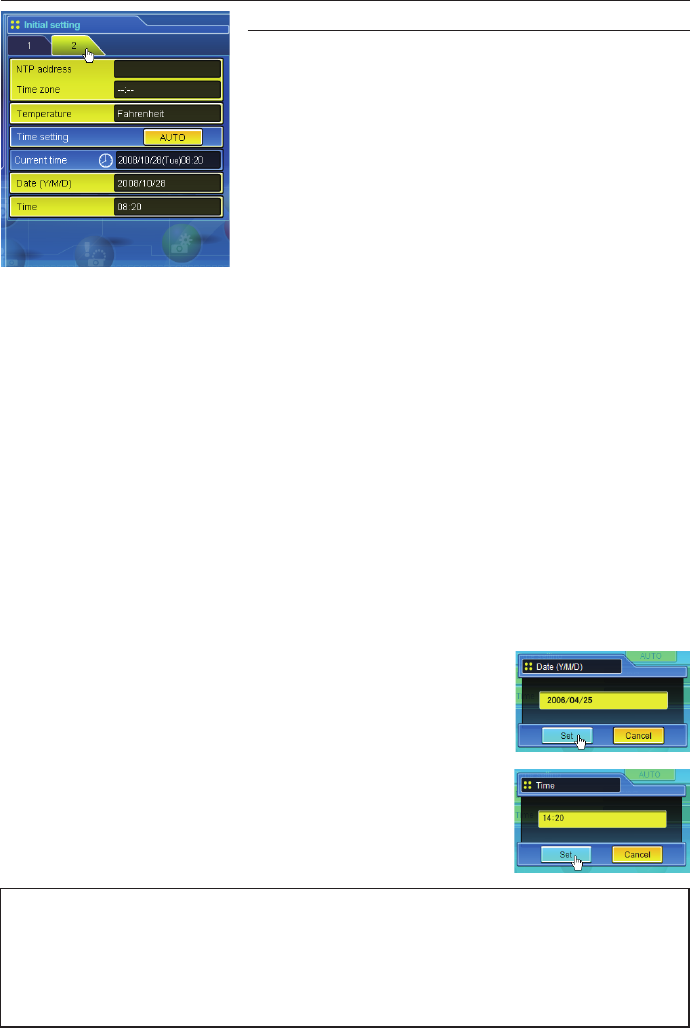
Item Description
NTP address ............. Enter the address of NTP server. Please consult your
network administrator for setting up of the NTP server.
Time zone .................Sets your country or region's time zone
Temperature ............ Switches display temperature unit Centigrade or
Fahrenheit
Time setting ............. When clicking AUTO button, the date and time set on
your computer are set to the projector. The timer icon
appears when time is set up correctly.
Current time ............ Indicates current date and time set on the projector
Date ............................Sets date in manual
Time ............................Sets time in manual
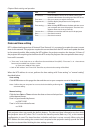
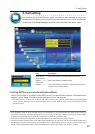
Date and time setting
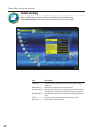
NTP is abbreviated expressions of Network Time Protocol. It is a protocol to acquire the exact current
time via the network. This projector acquires the current time from the NTP server and update the time
in the network module. After setting the NTP address, the projector acquires the time per 24 hours. If
the projector fails acquiring the time from the NTP server, the projector tries to acquire the time every 1
hour until it succeeds.
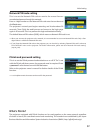
✐ "Time zone" is the local time as an offset from Greenwich Mean Time (GMT). "Time zone" is in ± hour:minute
format and is available from -23:59 to +23:59.
ex. Time zone: +09:00 in Tokyo, Japan
✐ Both of "NTP address" and "Time zone" should be set, otherwise the setting will be failed.
When the NTP address is not set, perform the time setting with "Auto-setting" or "manual setting"
described below.
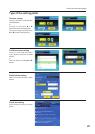
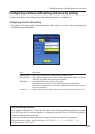
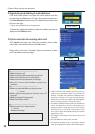
Auto setting
Click AUTO button on the page, the date and time set on your computer are set to the projector.
Note: Confirm that your computer has a correct clock time before performing the
auto time setting.
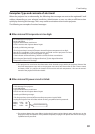
Manual setting
Click the item Date or Time and enter the date or time on the input box
with adequate format.
Date is in year/month/day format.
ex. 2007/10/05
Time is in 24-hour:minute format.
ex. 18:30