


46
Chapter 6 Basic setting and operation
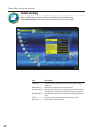
1. Turn on the projector.
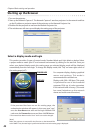
2. Start up the Network Capture 5. The Network Capture 5 searches projectors in the network and lists
up the IP address or projector name of the projector on the Network Projector List.
3. Double click the projector to set from the Network Projector List.
4. The web browser will start up and display the setting page of the projector.
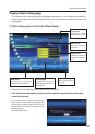
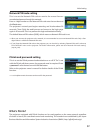
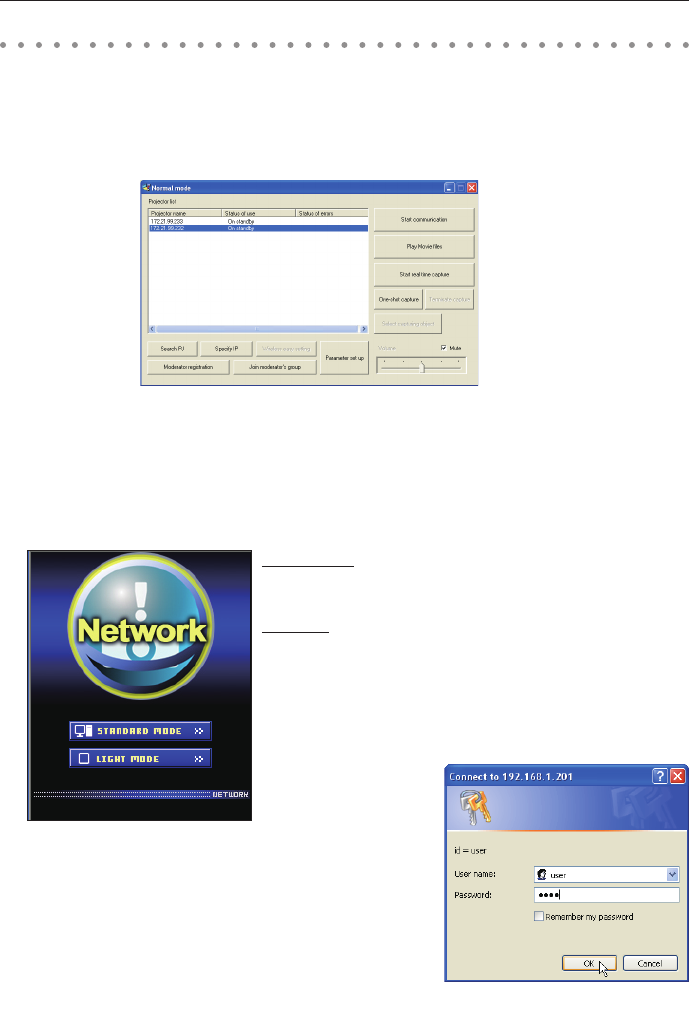
Select a display mode and login
This product provides 2 types of control mode, Standard Mode and Light Mode as below. Select
a proper mode to match your PC and network environment by clicking on the text link. Once you
select your desired display mode, the setting page you selected display mode will be displayed
automatically from the next login. To change the display mode, click "Top" on lower-right corner of
the setting page (p.47).
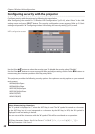
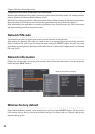
STANDARD MODE For computer display, displays graphical
menus and settings. This mode is
recommended for standard use.
LIGHT MODE Displays with 200 x 300 dots. This mode
is optimized for use of the handheld
computer, PDA, etc. It is also convenient
if the network traffic is heavy. (This mode
has some limitations on the network
viewer and multi-control functions.)
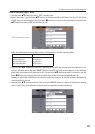
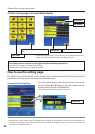
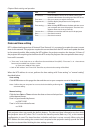
If the password has been set on the setting page, the
authentication window will appear. In that case, type "user"
onto the User Name text area and the login Network PIN
code onto the Password text area and then click OK button.
* The entered User Name must be "user" and it can not be changed.
[Note]
When the projector is accessed for the first time or the Network PIN
code "0000" is set, the auto-login is performed and the next main setting page is displayed.
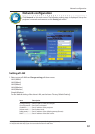
Starting up the Browser