Removal and replacement procedures 42
QuickFind diagnostic display board and lightpipe
To remove the QuickFind diagnostic display board and lightpipe:
1. Power down the server. See “Powering down the server” earlier in this chapter.
2. Extend the server from the rack. See “Extending the server from the rack” earlier in this chapter.
3. Remove the access panel. See “Removing the access panel” earlier in this chapter.
4. Remove the processor memory boards. See “Processor memory boards” earlier in this chapter.
5. Remove the PCI-X expansion boards. See “PCI-X expansion boards” earlier in this chapter.
6. Remove the SCSI cables. See “SCSI cables” earlier in this chapter.
7. Remove the front fan cage. See “Front fan cage” earlier in this chapter.
8. Remove the pass-through board. See “Pass-through board” earlier in this chapter.
9. Eject all devices from the universal media drive bays. See “Universal media drives” earlier in this chapter.
10. Unplug the Power button/LED cable. See “Power button/LED assembly” earlier in this chapter.
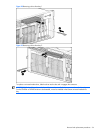
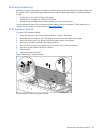
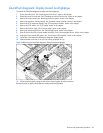
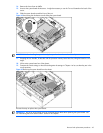
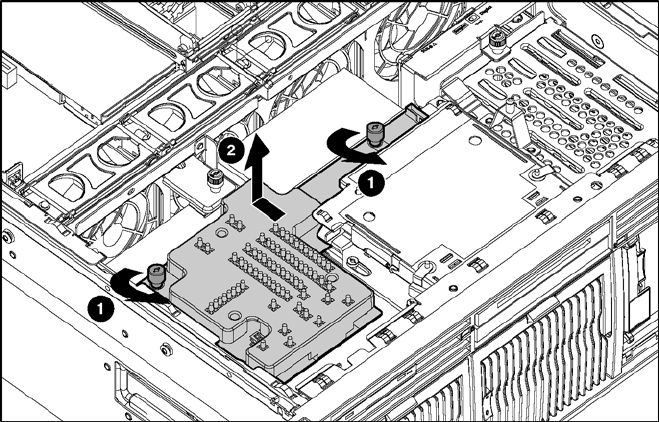
11. Loosen the two thumbscrews holding the diagnostic display board.
12. Slide the board to the rear of the unit until it stops, and then lift it up.
Figure 38 Removing the QuickFind diagnostic display board and lightpipe
13. Lift the board out gently, being careful of the universal media drive bay connector.
Reverse the steps to replace the diagnostic display board and lightpipe.


