


104 Settings
9. Click Add.
10. Click Save.
Removing Ports From the Port Triggering List
1. Ensure you’ve enabled port triggering. See “Enabling Port Triggering” on page 103.
2. Click Advanced settings > Router > Port Trigger.
3. To keep the entry in the list (in case you want to re-enable this entry later on), clear the Enable
check box.
— or —
To remove the entry from the list:
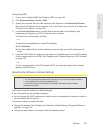
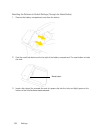
Ⅲ Click
the row that you want to remove.
A row of buttons (
Delete, OK, Cancel) appears.
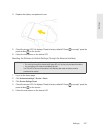
Ⅲ Click
Delete.
DMZ Panel
DMZ stands for “demilitarized zone.” You can select one computer to receive all unsolicited incoming
connections.
The IP address of the DMZ is the default recipient of inc
oming packets (from the Internet) that are not
handled by port forwarding rules, port triggering rules, or NAT’d connections:
1. If port forwarding, port triggering, or both are enabled, incoming traffic is routed according to the
port forwarding rules, port triggering rules, or NAT’d connections.
2. If incoming traffic was not routed as a result of the above:
Ⅲ If DMZ
is enabled, then incoming traffic is routed to the computer that uses the IP address
specified by the DMZ settings.
Ⅲ If DMZ is not enabled, the incoming traffic is blocked.
Note:
Putting a computer in the DMZ opens all the ports of that computer, and exposes that computer to
various security risks. Use this option only as a last resort — if possible, use other options instead (for
example, port forwarding or port triggering).
Enabling DMZ
Before you can use or configure DMZ, you must enable it.
1. Log in to the home page.
2. Click Advanced settings > Router > Basic.
3. Next to DMZ, select Enable.
4. Click Save.