


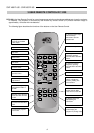
SVP 450 PLUS - SVD 500 PLUS
12
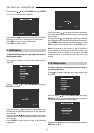
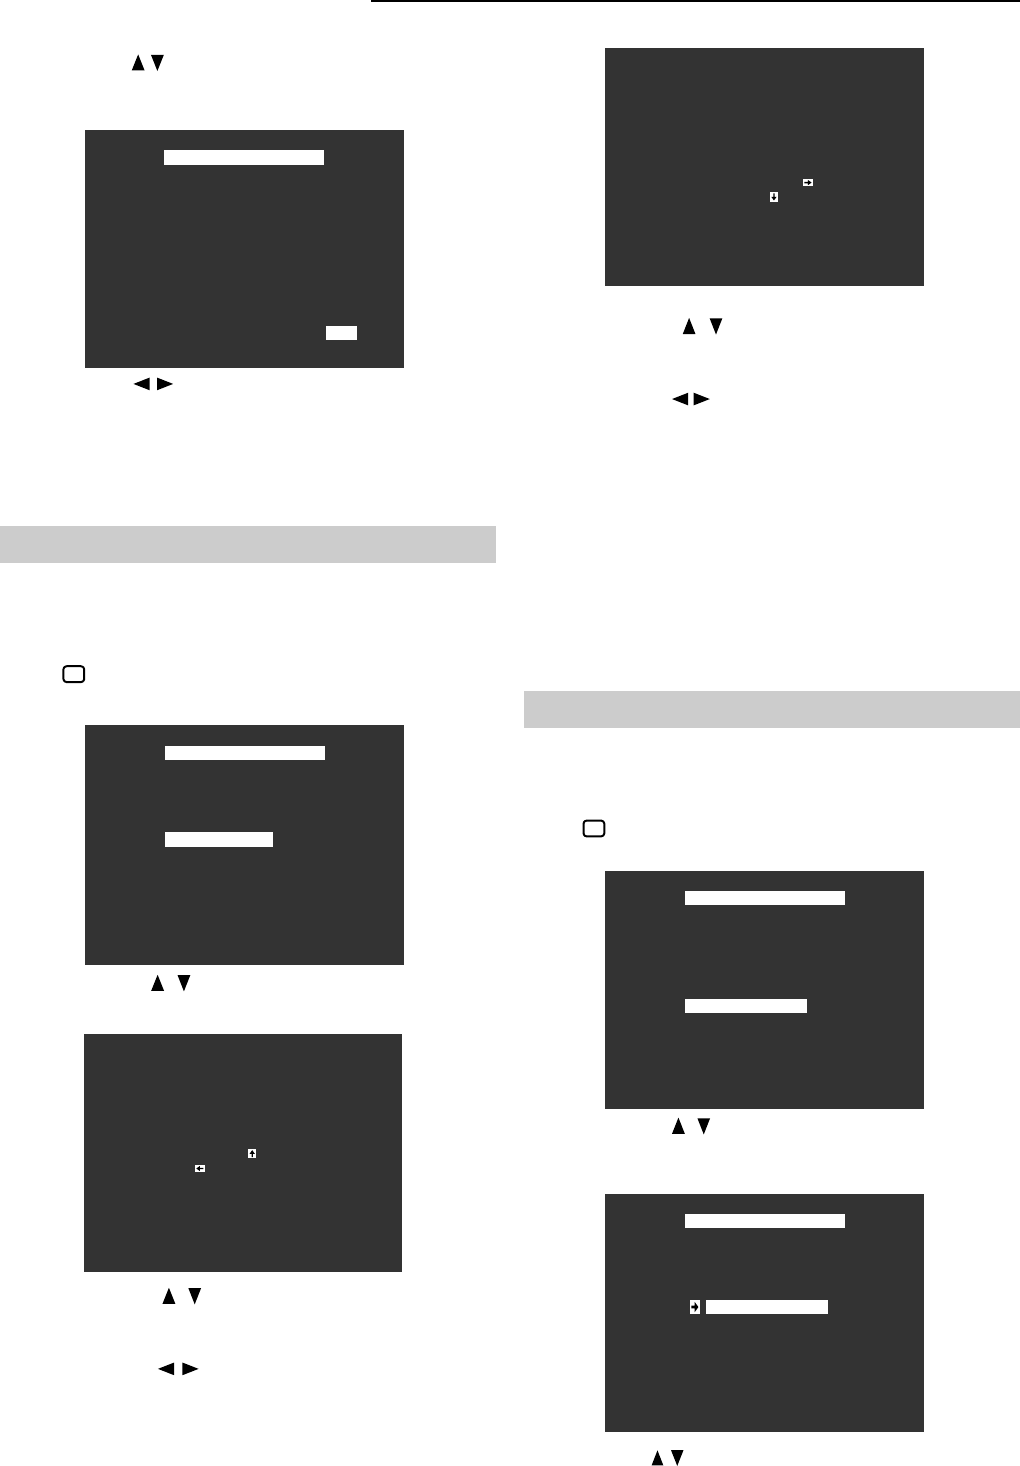
VIDEO MENU
NOISE RED.
STD SELEC.
BLANKING
WHITE BALANCE
UPC MENU
TLV SYNC
BLANKING
H. = 00 V. = 00
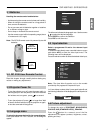
Use the arrows to select TLV SYNC and press ENTER
to confirm, the second menu appears:
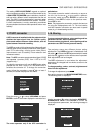
Use the arrows
for function selection. The TLV SYNC
selection is active only if the signal is 33,7KHz 60Hz.
Press EXIT to return to the previous menu.
Press ESC to exit the menu.
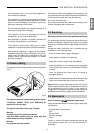
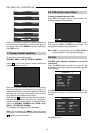
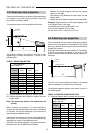
3.15 Blanking
To adjust blanking to the left, right, upper and lower of
the projected picture.
Press for at least 2 seconds, the following menu
appears:
Press the arrows to change the figures relevant to
the vertical size of the blanking window on the lower part
of the screen.
Press the arrows to change the value of the horizontal
size of the blanking window on the right part of the screen.
Press MEMO to store the adjustements carried out. Press
EXIT to return to the previous menu. Press ESC to exit.
Note:
The purpose of this function is that of allowing a
perfect qsquaring of the picture screen by cutting out any
disturbances such as vertical and horizontal scanning
consequencies, or disturbances deriving from VCR
activity.
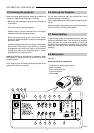
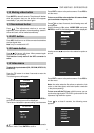
3.16 White menu
To select a preset colour temperature according to
the projected picture.
Press for at least 2 seconds, the screen displays the
first menu:
VIDEO MENU
TLV SYNC ON
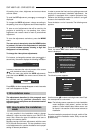
VIDEO MENU
NOISE RED.
STD SELEC.
BLANKING
WHITE BALANCE
UPC MENU
TLV SYNC
BLANKING
H. = 00 V. = 00
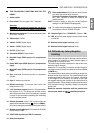
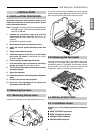
WHITE BALANCE
SET TO 3200 K
SET TO 6500 K
SET TO 9300 K
SET TO USER
Use the arrows to select BLANKING and press
ENTER to confirm.
Press the arrows to change the figures relevant to
the vertical size of the blanking window on the upper part
of the screen.
Press the arrows to change the figures relevant to
the horizontal size of the blanking window on the left part
of the screen.
Press ENTER to enter the secon part of the blanking
adjustment.
Use the arrows to select WHITE ADJ. and press
ENTER to confirm, the screen displays the second menu:
The left arrow shows the present setting.
Use the arrow to select the desired setting and press
ENTER to confirm.