


SonicWALL UMA EM5000 Getting Started Guide Page 87
Replacing a Single Hard Drive
You can order a replacement hard drive from SonicWALL for
your SonicWALL UMA EM5000. The 750GB replacement hard
drive can be inserted into any drive slot on your SonicWALL
UMA EM5000. You can insert the drive while the appliance is
powered on.
The front bezel on the SonicWALL UMA EM5000 covers the
drive slots. The bezel can be unlocked with the front bezel
security key supplied with the appliance.
Removing the Defective Hard Drive
To remove the defective drive from the SonicWALL UMA
EM5000, perform the following steps:
1. On your SonicWALL UMA EM5000, use the front bezel key
to unlock the front bezel, then remove the front bezel to
expose the hard drive array.
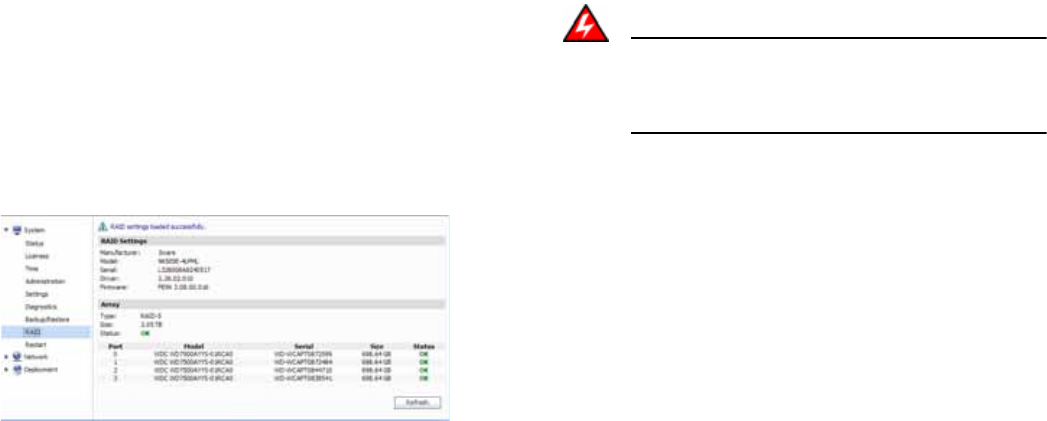
2. In the appliance Web interface, navigate to the System >
RAID page.
The defective drive is indicated by a drive status box
displaying a status such as:
• UNKNOWN
• NOT SUPPORTED
• NOT PRESENT
You might see a different status than those listed,
depending on the condition of the drive as interpreted by
the RAID controller.
3. On the appliance, press the square button on the right side
of the defective drive to pop out the drive handle.
Warning: Be careful to remove only the defective drive from
the drive array while the appliance is powered on.
Removing more than one drive from an active
array will cause loss of data.
4. Grasp the drive handle and pull the drive straight out to
remove it from the slot.
5. Click Refresh on the System > RAID page and confirm that
the status of the correct (defective) drive is the only
change. The status should be NOT PRESENT.
If you removed the wrong drive, reinsert it and allow the
RAID controller to rebuild the array before proceeding.
See Inserting the Replacement Drive into the SonicWALL
UMA EM5000 - page 88.