Section 3: Operation
3-58 Christie DS+60/DW30/Matrix 3000 User’s Manual 013-100149-02 Rev. 1 (01/07)
7. All screens should now be color-matched and the will remain matched upon exit
from the menus. Apply this new “User” gamut to a source at any time by selecting
it in the “Select Color Adjustment” list accessed in the Advanced Image Settings
menu.
Using the Color Saturation Menu for Color Matching
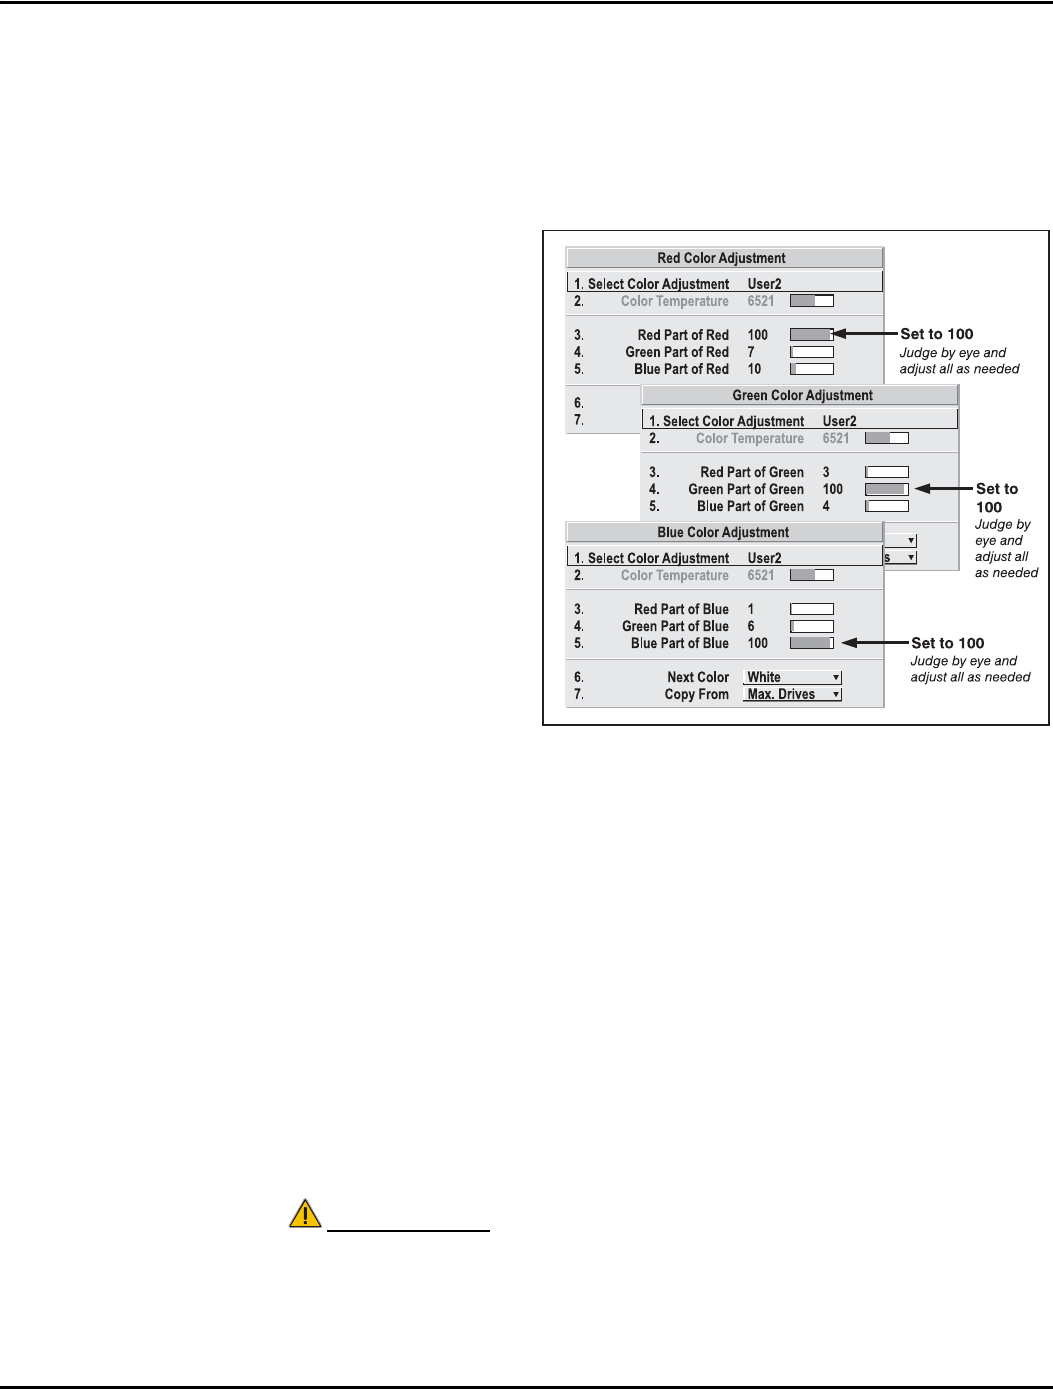
You may prefer to use the
Color Saturation menu to
match colors across
multiple screens. In the
three Color Adjustment
submenus (Red, Green,
Blue—see right), set all
main values to 100 and
the secondary values to 0.
Then judge by eye and
adjust the slidebars as
needed. Note that
adjustments here define
new x/y coordinates in the
Color Adjustments by X,Y
menu.
For best results, use this
menu after doing the color
adjustment procedure.
WHAT IS BRIGHTNESS UNIFORMITY? When used to refine screens already matched for
their primary colors (see Matching Colors in Multiple Screens, above) and overall
light output, proper adjustment of Brightness Uniformity can create an exceptionally
smooth screen in which:
• no area of the screen appears more red, green or blue than another
• no area of the screen appears brighter than another
• color and light output from one screen closely matches adjacent screens
Although the Brightness Uniformity control can be used for a stand-alone projector, it
is particularly useful for setting up and maintaining tiled images that form a cohesive
display wall in which the color “cast” and light output appear uniform throughout
each image as well as throughout the entire wall. The procedure provided here
assumes a multiple-screen application.
Before You Begin
Read through the entire procedure before attempting to adjust Brightness Uniformity
controls, and keep in mind the following checklist of prerequisites and guidelines:
Figure 3.27. Color Matching Using
Color Saturation Menu
Achieving Brightness f
Uniformit
