Appendix 5 System Mode
103
Note:
Press the FEED key to skip the slant
line pattern print for any color not
required.
The slant line pattern is ready to be printed. The slant line patterns
for Head 2 can be printed in the same manner.
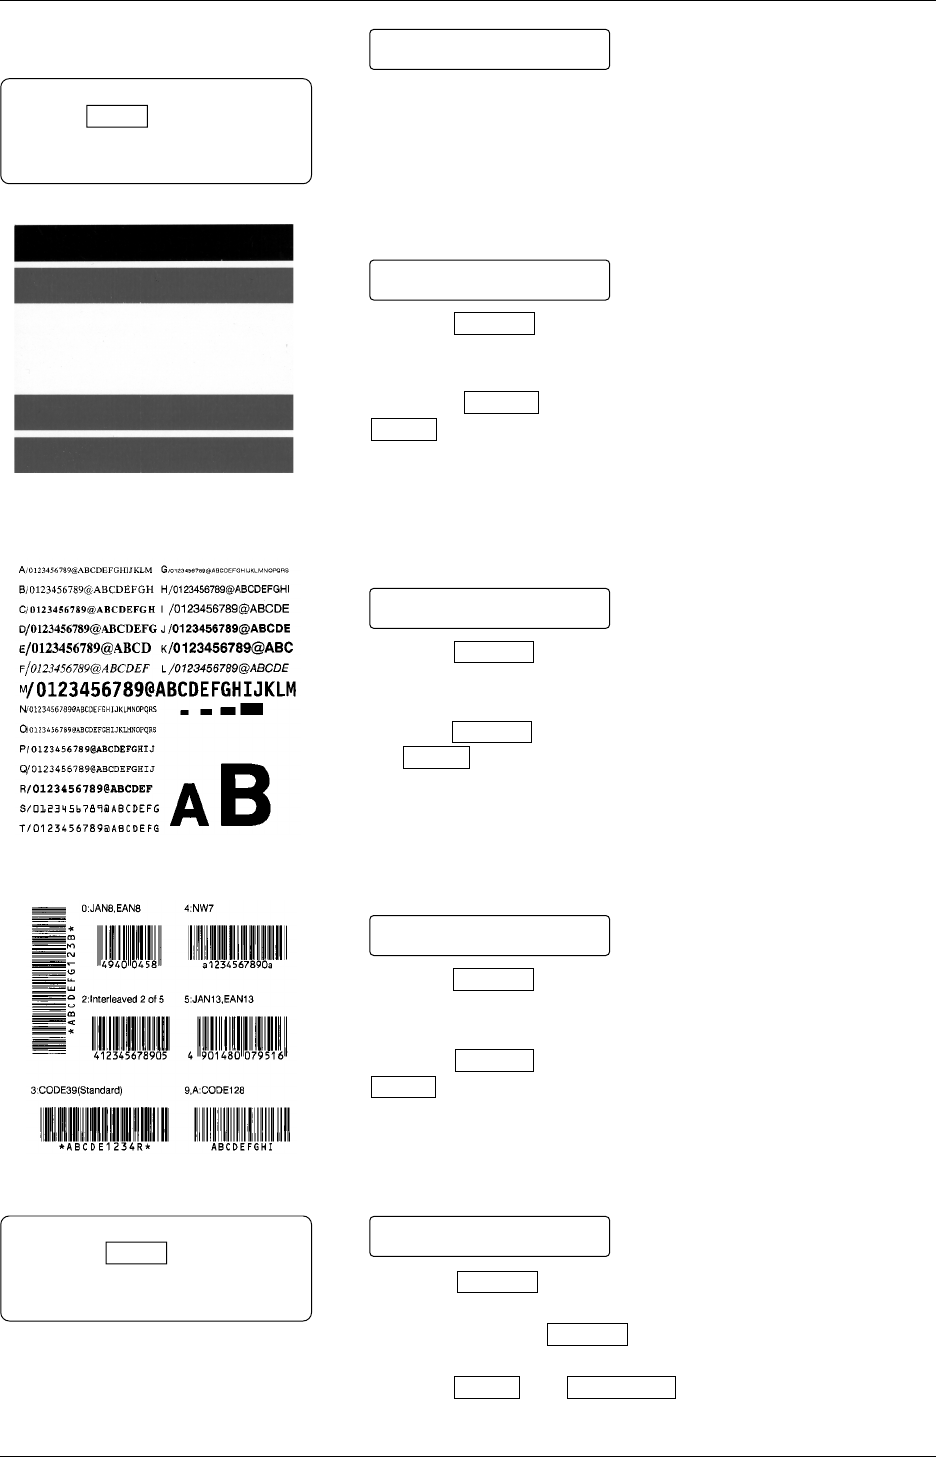
Printing out the Color Band Pattern
Press the PAUSE key to begin printing the color band pattern.
After printing completes, the message returns to “<3> TEST
PRINT”.
Press the PAUSE key. “COLOR” appears again. Press the
FEED key.
Printing out the Characters
Press the PAUSE key to print the character pattern.
After printing completes, the message returns to “<3> TEST
PRINT”.
Press the PAUSE key. “CHARACTERS” appears again. Press
the FEED key.
Printing out the Bar Codes
Press the PAUSE key to print the bar code pattern.
After printing completes, the message returns to “<3> TEST
PRINT”.
Press the PAUSE key. “BARCODE” appears again. Press the
FEED key.
Performing the Automatic Printout for the Assembly
Process
Press the PAUSE key. The printer starts the test prints in the
order of the slant line (both colors), color band, characters and bar
codes patterns. The PAUSE key must be pressed after each test
print pattern is printed out.
Press the FEED and RESTART keys at the same time to exit
the automatic printout mode at any time.
SLANT LINE(2)
Test Print: Color Band Pattern
Test Print: Character Pattern
Test Print: Bar Code Pattern
COLOR
CHARACTERS
BARCODE
AUTO PRINT(TRA.)
A5.5 Test Print (Cont.)
Note:
Press the FEED key to display
“AUTO PRINT (REF.)” when the
Reflective Sensor needs to be used.


