


Appendix 5 System Mode
91
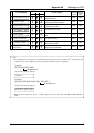
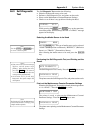
The Self-Diagnostic Test contains the following:
• Selection of the media sensor to be used.
• Performs a Self-Diagnostic Test, and prints out the result.
• Prints out the Maintenance Counter/Parameter Settings.
• Checks to see if there is any problem with the print head.
While pressing the FEED and PAUSE keys at the same time,
turn on the printer. Hold both keys until the “<1> DIAG.” message
appears in the display.
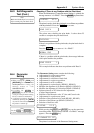
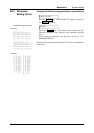
Selecting the Media Sensor to be Used
Press the PAUSE key. The type of media sensor can be selected:
“NONE” (media positon not detected), “REFLECT.” (Reflective
Sensor), or “TRANS.” (Transmissive Sensor).
After selecting the media sensor to be used, press the PAUSE
key.
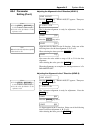
Performing the Self-Diagnostic Test, and Printing out the
Result
The Self-Diagnostic Test is ready. Press the PAUSE key to start.
The printer starts the Self-Diagnostic Test, and prints out the result.
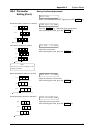
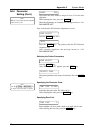
Print out the Maintenance Counter/Parameter Settings
When the Self-Diagnostic Test result is printed, the message returns
to “<1> DIAG.”. Press the PAUSE key twice.
The printer is ready to print out the Maintenance Counter/
Parameter Settings. Press the PAUSE key to start.
The printer starts printing out the Maintenance Counter/Parameter
Settings.
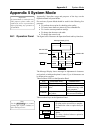
A5.3 Self-Diagnostic
Test
<1>DIAG. V1.0
Note:
Use the FEED or RESTART key
to select a desired option.
SENSOR NONE
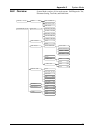
Notes:
• If any error occurs, an error message
appears, and the printer stops
printing. After clearing the error,
press the PAUSE key to return to
“<1> DIAG.”. The printer does not
restart printing automatically.
• See Section A5.7.1 for the Self-
Diagnostic Test print sample and
descriptions.
AUTO DIAGNOSTIC
CHECKING & PRINT
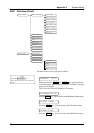
Note:
See Section A5.7.2 for the Maintenance
Counter/Parameter Settings print
sample and descriptions.
MAINTENANCE CONT
CHECKING & PRINT