


26
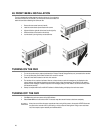
RACKMOUNT KIT INSTALLATION
This section provides information on installing the Surveillix 2U and 4U NVRs into a rack unit with the rack rails provided. There are a
variety of rack units on the market which may mean the assembly procedure will differ slightly. You should refer to the installation
instructions that came with the rack unit you are using.
Preparing for Setup
The box your Surveillix recorder was shipped in should include two sets of rail assemblies, two rail mounting brackets and the mounting
screws you will need to install the system into the rack. Please read this section in its entirety before you begin the installation procedure
outlined in the sections that follow.
Note These rails are designed to fit a rack between 26 and 33.5 inches deep.
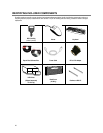
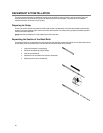
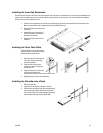
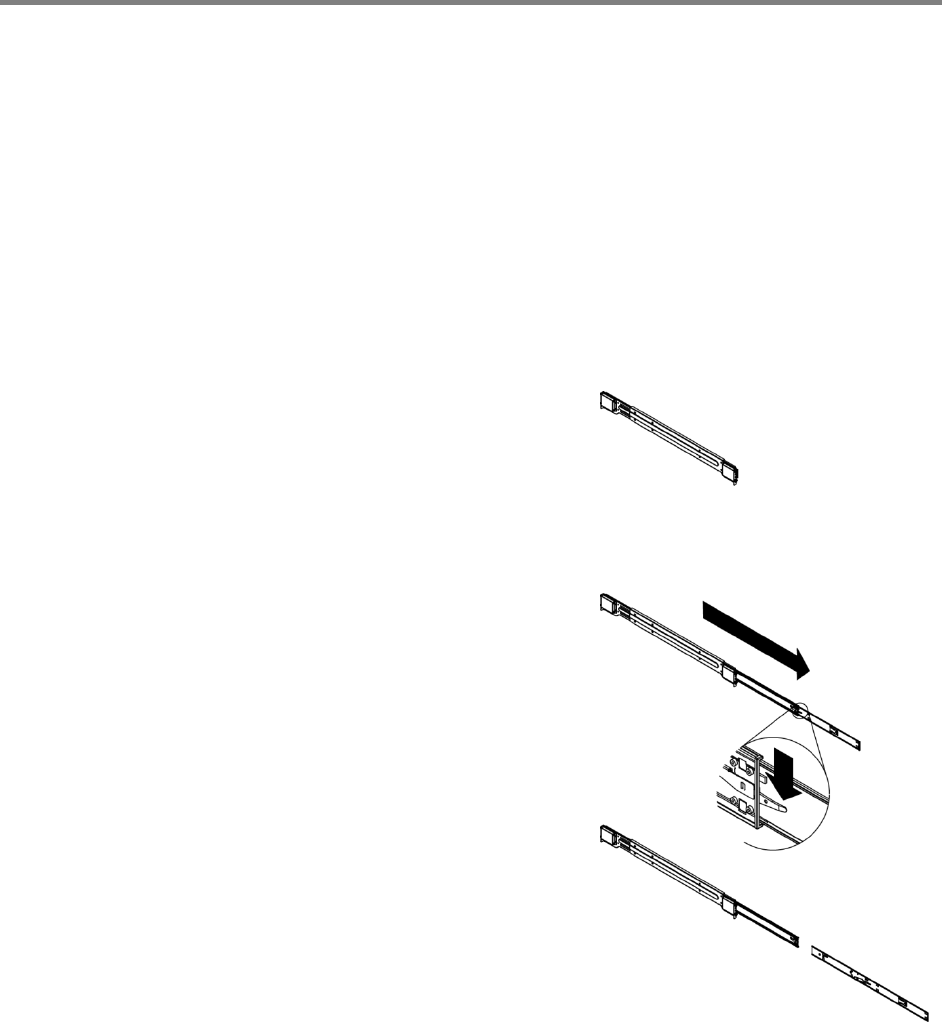
Separating the Section of the Rack Rails
The package includes two rail assemblies in the rack mounting kit. Each assembly consists of two sections: an inner fixed chassis rail that
secures directly to the server chassis and an outer fixed rack rail that secures directly to the rack itself.
1. Locate the rail assembly in the packaging.
2. Extend the rail assembly by pulling it outward.
3. Press the quick-release tab.
4. Separate the inner rail extension from the outer rail assembly.
5. Repeat steps for the second rail assembly.