31472AB 97
Configuring the Client PC
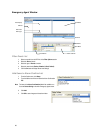
All configurations take place in the Emergency Agent window on the Client
PC for descriptions and locations of the buttons and features of the
Emergency Agent window refer to the Emergency Agent window section
later in this chapter.
1. Open the Emergency Agent window on the Client PC - Start
>All Programs > Surveillix > Emergency Agent >
Emergency Agent.
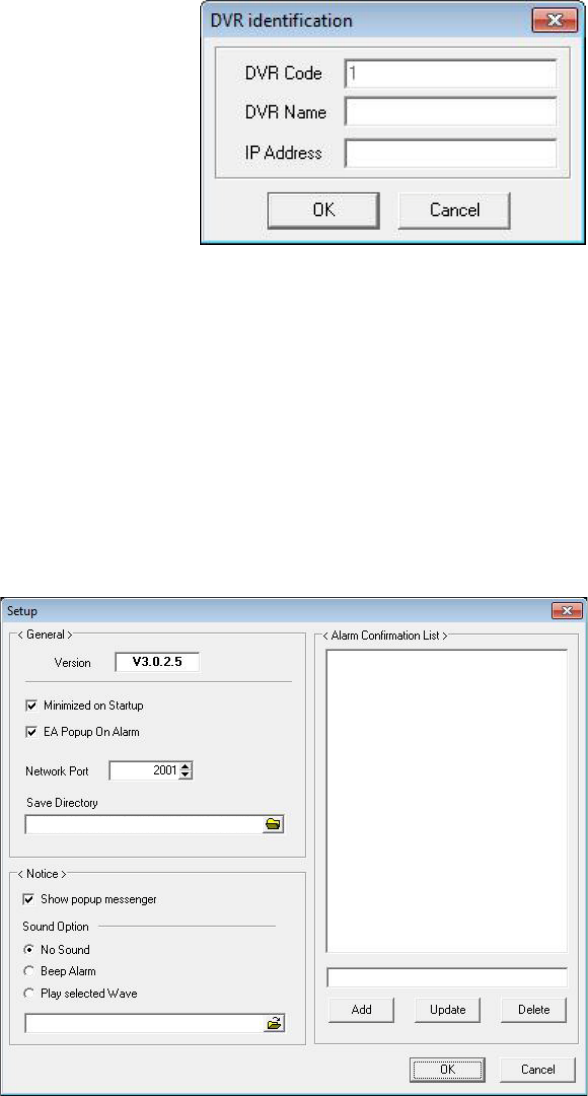
2. Right-click in the DVR List and select New. Enter the DVR
Code, DVR Name, and IP Address of the recorder.
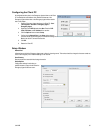
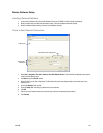
3. Click the Options menu and select Setup.
4. Confirm that the Network Port in the Setup window is set to
the same number as the Emergency Port in Network Settings on the recorder. If the numbers are different adjust the Network
Port on the client PC to match the recorder.
5. Click OK.
6. Restart the Client PC.
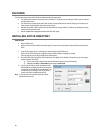
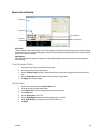
Setup Window
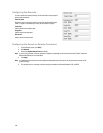
Network Port
Indicates the port which the Emergency Agent uses to listen for incoming events. This number should be changed to the same number as
is set in the Emergency Port in Network Settings on the recorder.
Save Directory
Sets the location that recorded video footage is saved to.
Notice Options
Configuration settings for activating an
audible indicator or popup window when the
Emergency Agent receives an event.


