4 Replacement Procedures 4.8 Optical disk drive (DVD-ROM/DVD-Super Multi drive)
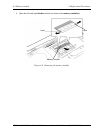
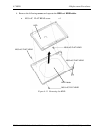
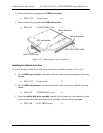
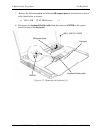
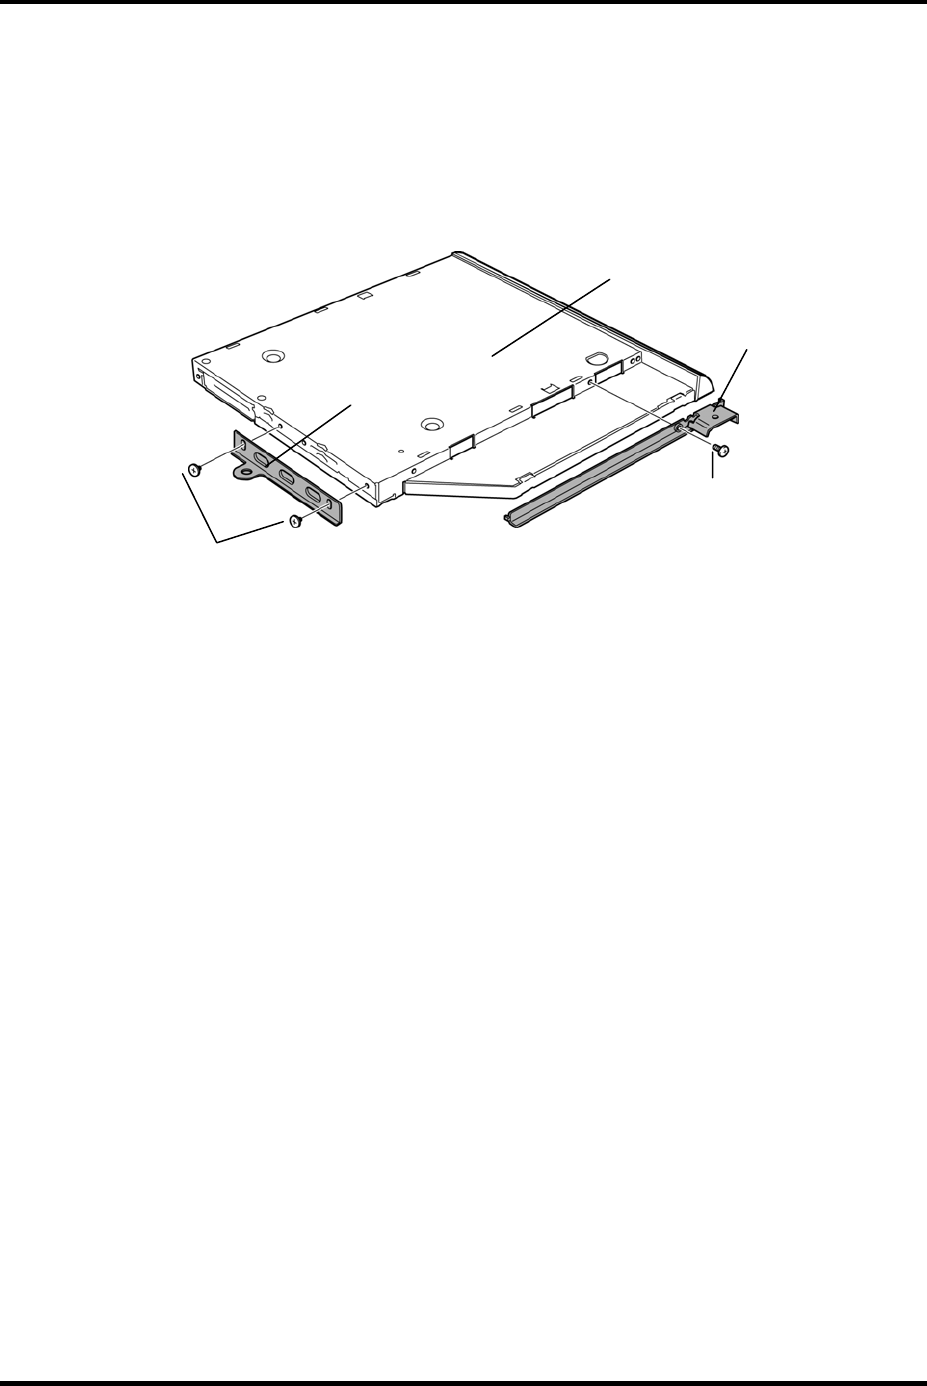
3. Remove the following screws and ODD rear bracket.
• M2.0×2.7C Unique screw ×2
4. Remove the following screw and ODD side bracket.
• M2.0×3C S-THIN HEAD screw ×1
M2.0×3C S-THIN HEAD
ODD side bracket
M2.0×2.7C Unique
ODD rear bracket
Optical disk drive
Figure 4-13 Removing the optical disk drive
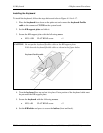
Installing the Optical disk drive
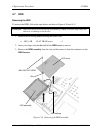
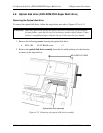
To install the Optical disk drive, follow the steps below and refer to Figure 4-12 to 4-13.
1. Set the ODD rear bracket to the optical disk drive and secure them with the following
screws.
• M2.0×2.7C Unique screw ×2
2. Set the ODD side bracket to the optical disk drive and secure them with the following
screw.
• M2.0×3C S-THIN HEAD screw ×1
3. Insert the optical disk drive assembly into the slot to connect it to the connector on the
system board and secure optical disk drive assembly with the following screws.
• M2.5×5B FLAT HEAD screw ×2
4-26 [CONFIDENTIAL] TECRA A10/S10/P10/SatellitePro S300 Maintenance Manual (960-684)


