8-6
User’s Manual
OPTIONAL DEVICES
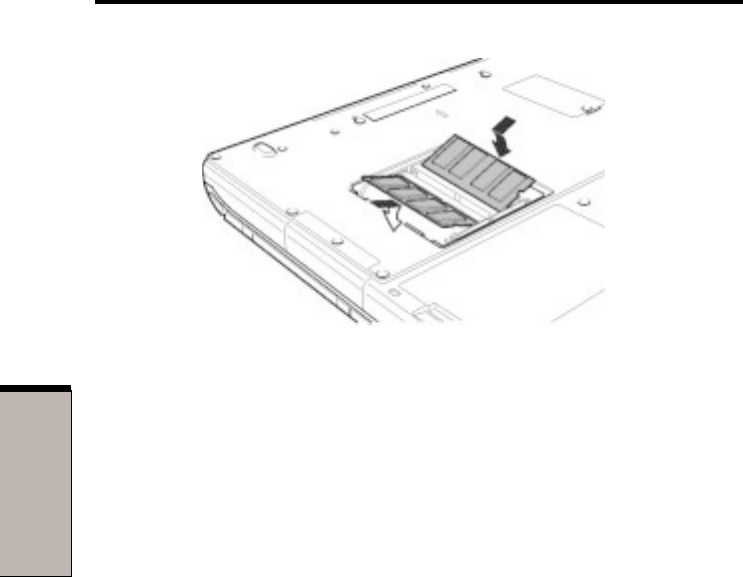
Figure 8-7 Inserting the memory module
8. Seat the cover and secure it with two screws.
9. When you turn the computer on, it should automatically recognize the total
memory capacity. Use the HW Setup program to verify that the added
memory is recognized. If it is not recognized, check the module’s connection.
Removing memory module
To remove the memory module, make sure the computer is in boot mode then:
1. Turn the computer off and remove all cables connected to the computer.
CAUTION: Do not try to remove a memory module with the computer
turned on or turned off in Standby and Hibernation mode. You can
damage the computer and the memory module.
2. Turn the computer upside down and remove the battery pack (refer to Chapter
6, Power and Power-Up Modes.)
3. Remove two screws securing the memory module cover.
4. Lift off the cover.
5. Use a slender object such as a pen to press two latches on either side of the
memory module to the outside. The memory module will pop up.
6. Grasp the memory module by the sides and pull it out.
CAUTION: Do not touch the connectors on the memory module or on the
computer. Debris on the connectors may cause memory access problems.


