123ViewSonic Pro9500
If you want to change the Network
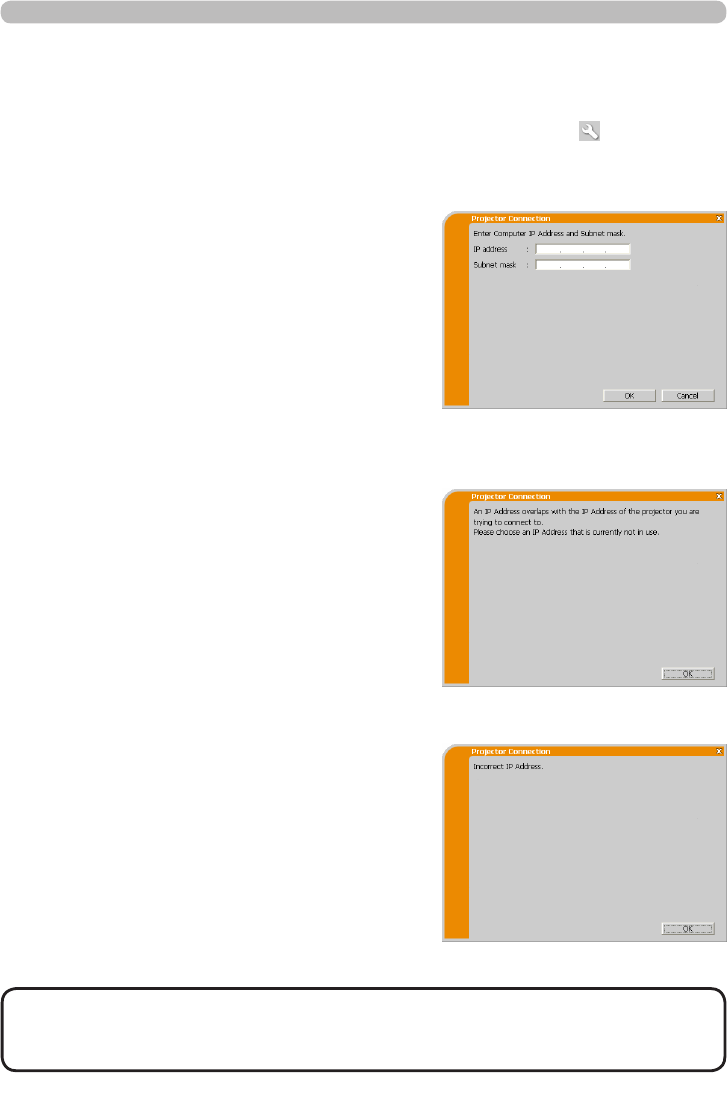
conguration to add, click the [Change]. A
dialog for changing the Network conguration
as shown to the right will be displayed. Enter
IP address and subnet mask , then click the
[OK]. Procedure to connect to the projector
will start.
Proceed to item 1.8 Conrming the
connection to your destination.
If you click the [Cancel], you will return to the
dialog for adding a Network conguration.
If the entered IP address and projector's IP
address are the same, a warning dialog shown
to the right will be displayed.
Click the [OK], and then enter a different IP
address from the projector's one in the dialog
for changing Network conguration.
If the connection is not available with the
entered Network conguration, a warning
dialog shown to the right will be displayed.
Click the [OK] to return to the dialog for
changing the Network conguration, and then
enter appropriate conguration.
If you put a check mark in the box “Not displaying conrmation dialog for adding
Network settings”, the projector memorizes current conguration and this dialog
is not displayed again. To display this dialog again, click Option
icon in the
“LiveViewer” main menu and remove the check mark in the box “Not displaying
conrmation dialog for adding Network settings”.
1. Connection to the network
1.5 Selecting the network connection method (continued)
• If a Network conguration to connect to the projector has been added
on the computer, the added Network conguration will be erased once the
application software is closed.
NOTE


