Xerox
®
DocuMate
®
4700
User’s Guide
92
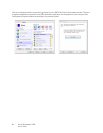
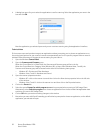
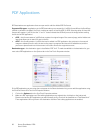
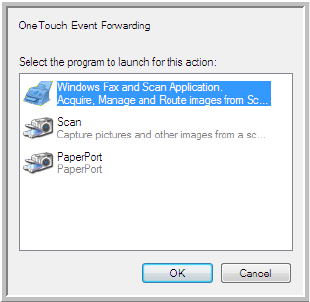
4. A dialog box opens for you to select the application to use for scanning. Select the application you want in the
box and click OK.
Now the application you selected opens and you can continue scanning using that application’s interface.
Technical Note
If the scanner scans and sends an image to an application without prompting you to choose an application to run,
the control panel options for your scanner’s events are automatically set to run a specific program when an event is
initiated. Follow these steps to change the events setting for your scanner.
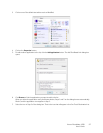
1. Open the Windows Control Panel.
2. Open the Scanners and Cameras group.
When the Control Panel is in Classic View, the Scanners and Cameras group will be in the list.
When the Control Panel is in Category View (Windows XP), or Home View (Windows Vista, 7 and 8), the
Scanners and Cameras group will be located under either of the following main groups:
– Windows XP—Printers and Other Hardware
– Windows Vista, 7 and 8—Hardware and Sound
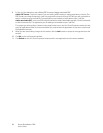
3. Open the scanner properties window.
– Windows XP—click on the scanner icon and then click on the View device properties link on the left side
of the window.
– Windows Vista, 7 and 8—click on the scanner icon and then click on the Properties button.
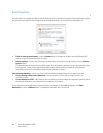
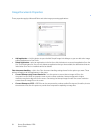
4. Click on the Events tab.
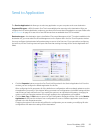
5. Select the option Prompt for which program to run to be prompted when scanning to Still Image Client.
Alternatively, select Start this program then choose an application from the list to have that application start
each time you scan to Still Image Client.
6. Click on OK when you are done making changes to this window.
7. Now when you scan with Event Forwarding you will either be prompted to choose an application, or the default
application you selected will open.


