


Installation
External ZebraNet 10/100 Print Server
36
P1043301-005 11/21/13
Installation Instructions
To install an external ZebraNet 10/100 Print Server, complete these steps:
1. Turn off (O) the printer.
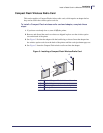
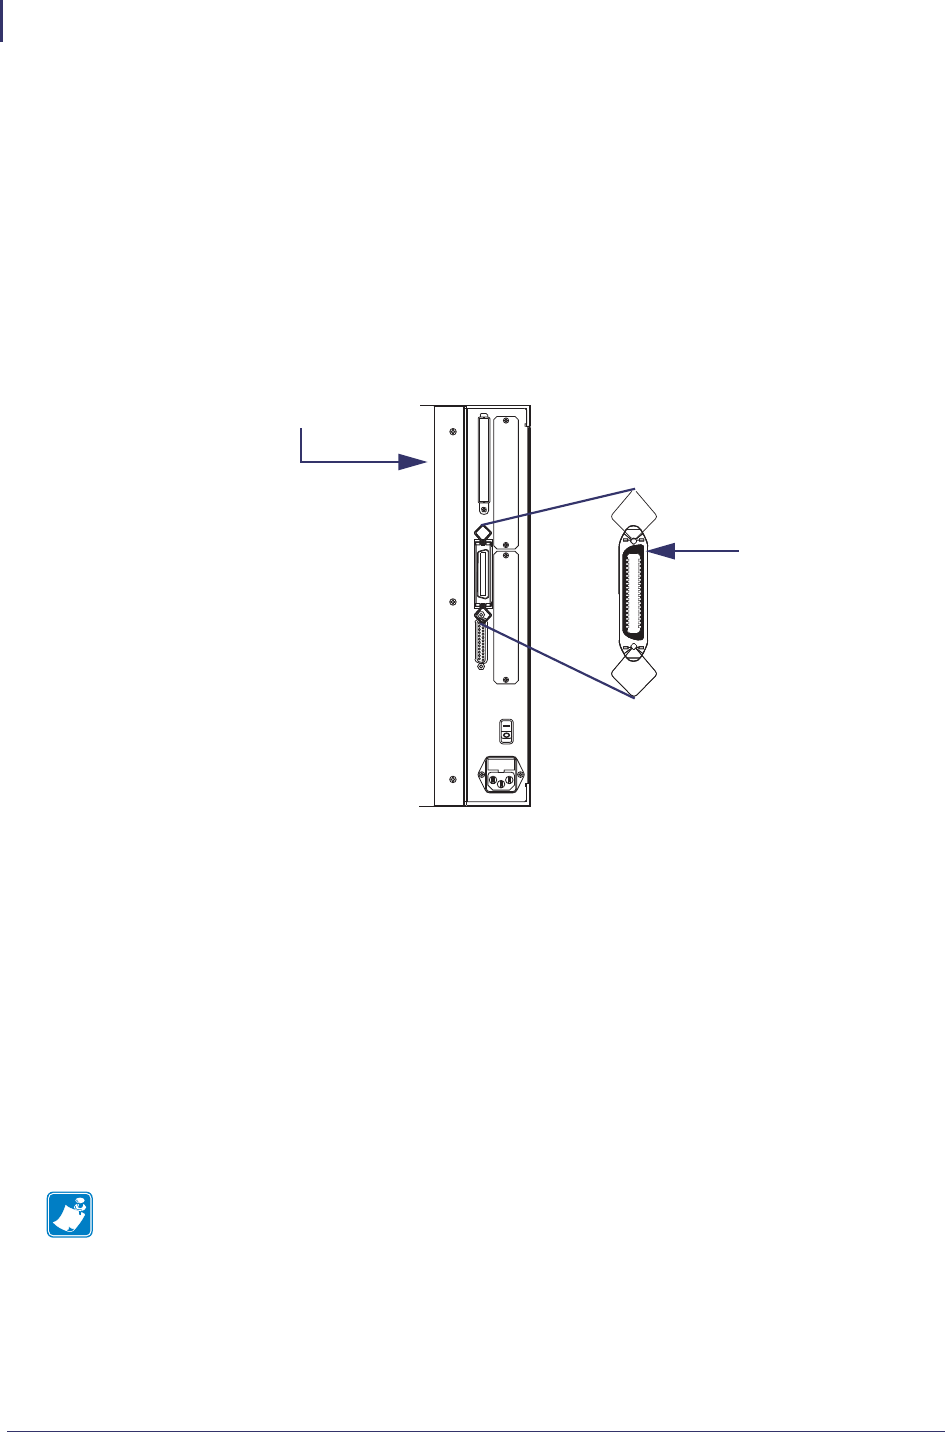
2. On the back of the printer, connect the external ZebraNet 10/100 Print Server device to the
parallel port.
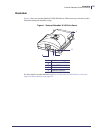
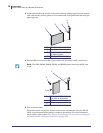
Figure 2 shows the location and provides an enlarged illustration of the parallel port.
Figure 2 • Rear of 105SL Printer
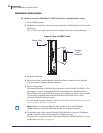
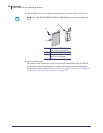
3. Secure the wire locks.
4. On the back of the external ZebraNet 10/100 Print Server, connect an active Ethernet
cable to the RJ-45 connector Ethernet connector.
5. Turn on (I) the printer.
The external ZebraNet 10/100 Print Server performs a Power On Self-Test (POST). This
takes about 45 seconds. During the POST, the external ZebraNet 10/100 Print Server
Status LED (just below the TEST button) turns red and flashes on and off. Once the POST
is successfully completed and the external ZebraNet 10/100 Print Server is fully
initialized, the Status LED turns green.
For more details on status indicators, see External ZebraNet 10/100 Print Server Network
Status and Status Indicators on page 134.
6. To check the status of the external ZebraNet 10/100 Print Server, press the Test button
located on the back of the external ZebraNet 10/100 Print Server.
This prints out a configuration label of the external ZebraNet 10/100 Print Server. To see a
sample label, see Figure 6 on page 45.
Note • If there is not an active Ethernet cable attached to the external ZebraNet
10/100 Print Server, the Status LED turns red and slowly flashes on and off.
Parallel
Port
Connector
Printer Back