


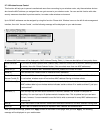

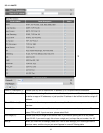
Type (5): Select the type of connection, TCP or UDP. If you’re not sure, please select ‘Both’.
Public Port (6): Please select the port number of Internet IP address which will be redirected to the port number of
local IP address defined above.
Comment (7): Please input any text to describe this mapping, up to 16 alphanumerical characters.
Add (8): Add the mapping to virtual server table.
Reset (9): Remove all inputted values.
Virtual Server Table (10): All existing virtual server mappings will be displayed here.
Delete Selected (11): Please select a virtual server mapping by clicking the ‘Select’ box of the mapping, then click
‘Delete Selected’ button to remove the mapping. If there’s no existing mapping, this button will be
grayed out.
Delete All (12): Delete all mappings existed in virtual server table.
Reset (13): Unselect all mappings.
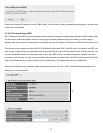
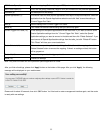
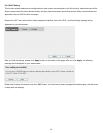
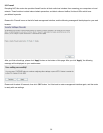
After you finish all settings, please click ‘Apply’ button on the bottom of this page. After you click ‘Apply’, the following
message will be displayed on your web browser:
Please wait for about 30 seconds, then click ‘OK!’ button. You’ll be back to router management interface again, and the router
is ready with new settings.
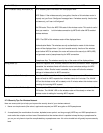
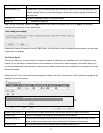
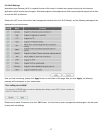
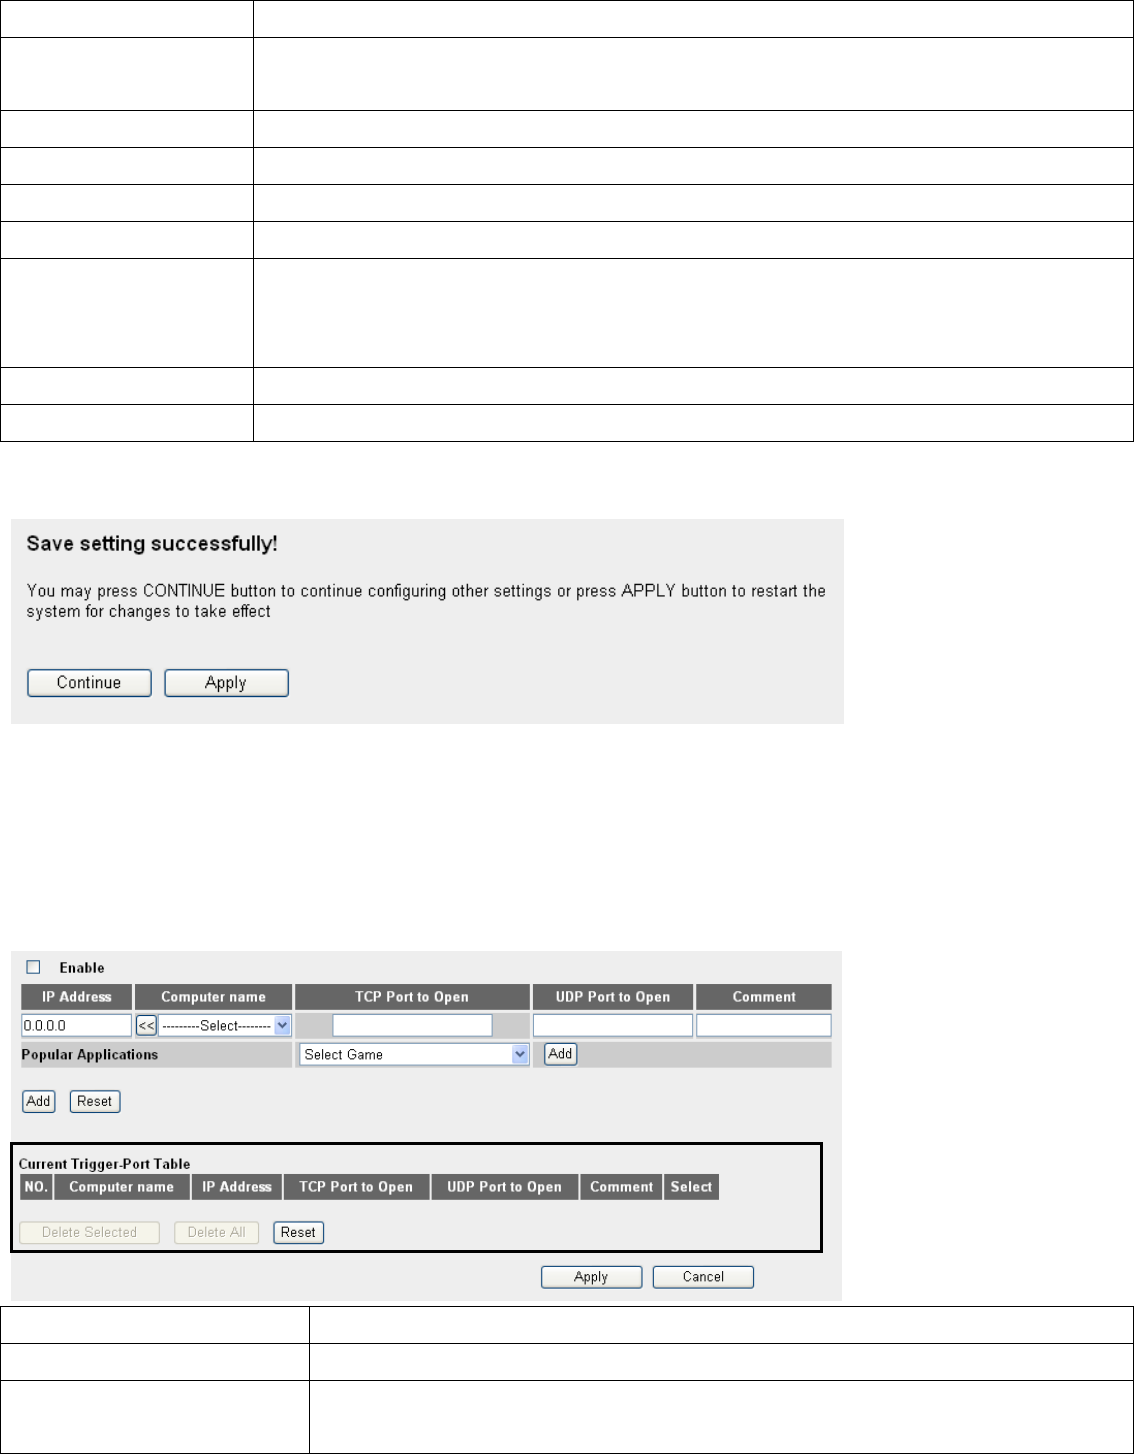
3-2-4 Port Mapping For Special Applications
Some applications require more than one connection a time; these applications won’t work with simple NAT rules. In order to
make these applications work, you can use this function to let these applications work.
1
2 3
4
7
5
6
8 9
10
11 12
13
Enable (1): Check this box to enable special applications and uncheck this box to disable virtual server.
Private IP (2): Input the IP address of the computer which you want to open the ports.
Computer Name (3): Pull down the menu and all the computers connected to the router will be listed here. You
can easily to select the computer name without checking the IP address of the computer.
54