


Installation
7
TPI-PRO Total Presentation Interface - Pro Edition
Installation
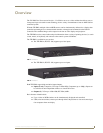
Overview
The TPI-PRO comes included with rack ears that can be rotated 90° in any direction to accommodate
several different mounting options, including tabletop, under/over the table, and vertical wall mounting.
Rotate the mounting brackets to mount the TPI-PRO on top of a flat surface, under-table, or vertically.
Mounting the TPI-PRO into an 19" Equipment Rack
The TPI-PRO occupies one rack unit in a standard 19" equipment rack. The included mounting brackets
can be rotated 90° in any direction to accommodate several different mounting options, including
tabletop, under/over the table, and vertical wall mounting.
The following steps apply to all of these mounting options.
1. Discharge any static electricity from your body by touching a grounded metal object.
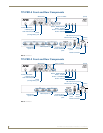
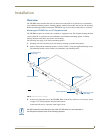
2. Position and install the mounting brackets, as shown in FIG. 5, using the supplied mounting screws.
The mounting brackets can be rotated to accommodate your mounting needs.
3. Connect any applicable wires to the TPI-PRO. Refer to the Wiring and Device Connections section
on page 11 for wiring diagrams and pinout descriptions.
Connect the unit only to a properly-rated supply circuit.
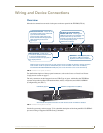
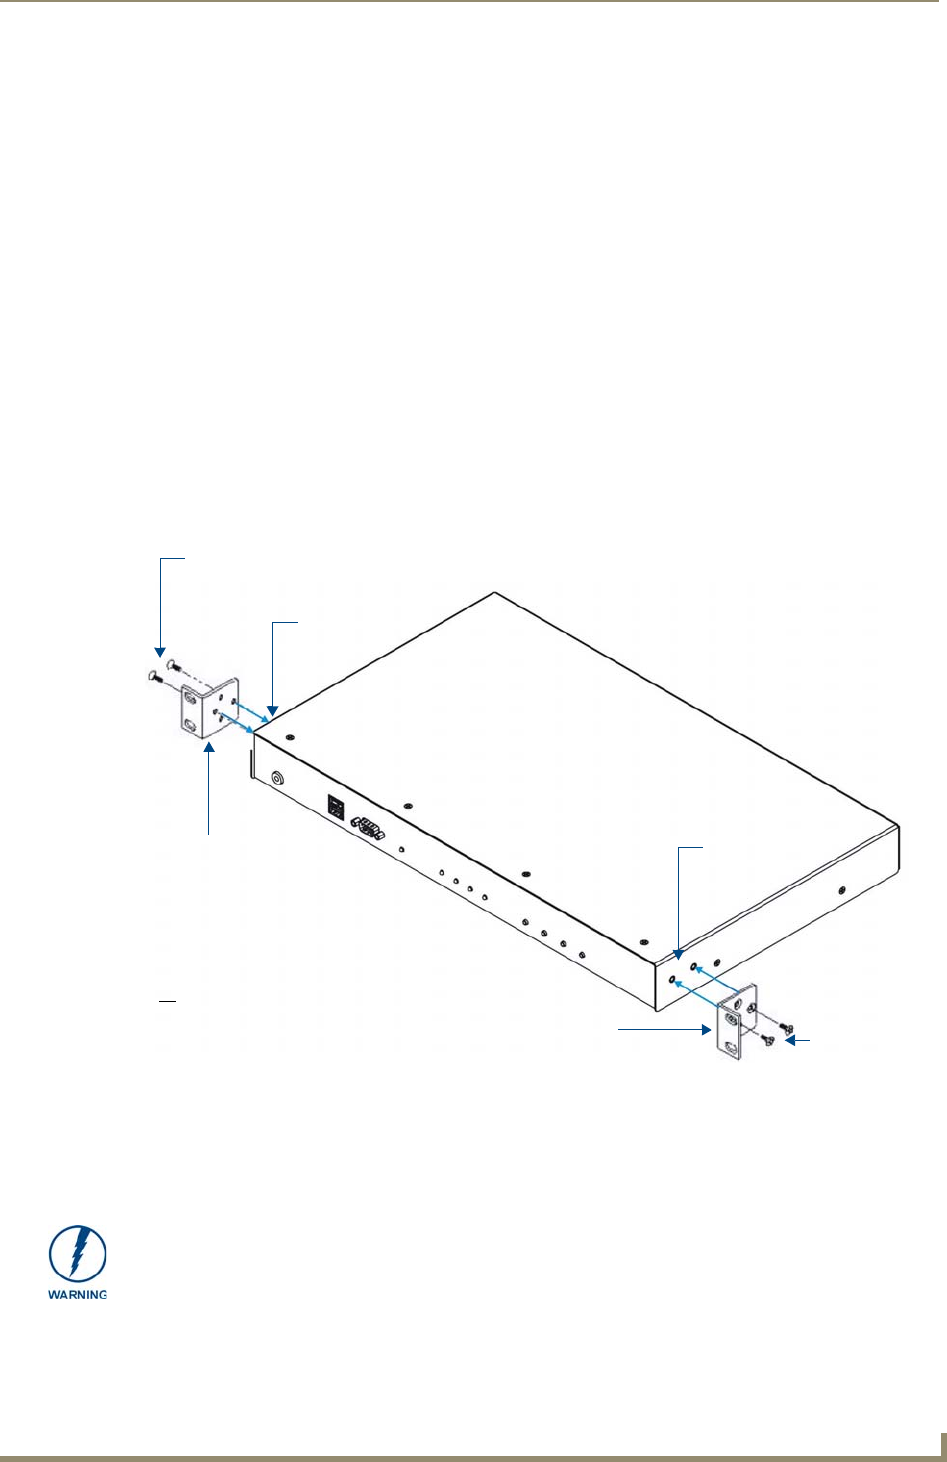
FIG. 5 Rack-Mounting the TPI-PRO
Mounting Bracket
Mounting screws
Mounting holes
(front)
(2 per side)
(2 per side)
Mounting screws
(2 per side)
Mounting holes
(2 per side)
Mounting Bracket
DO NOT stand other units directly on top of the TPI-PRO when it is rack mounted, as
this will place excessive strain on the mounting brackets.