


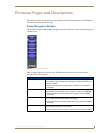
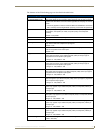
Firmware Pages and Descriptions
55
TPI-PRO Total Presentation Interface - Pro Edition
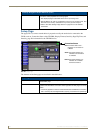
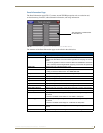
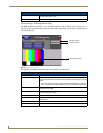
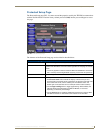
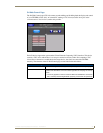
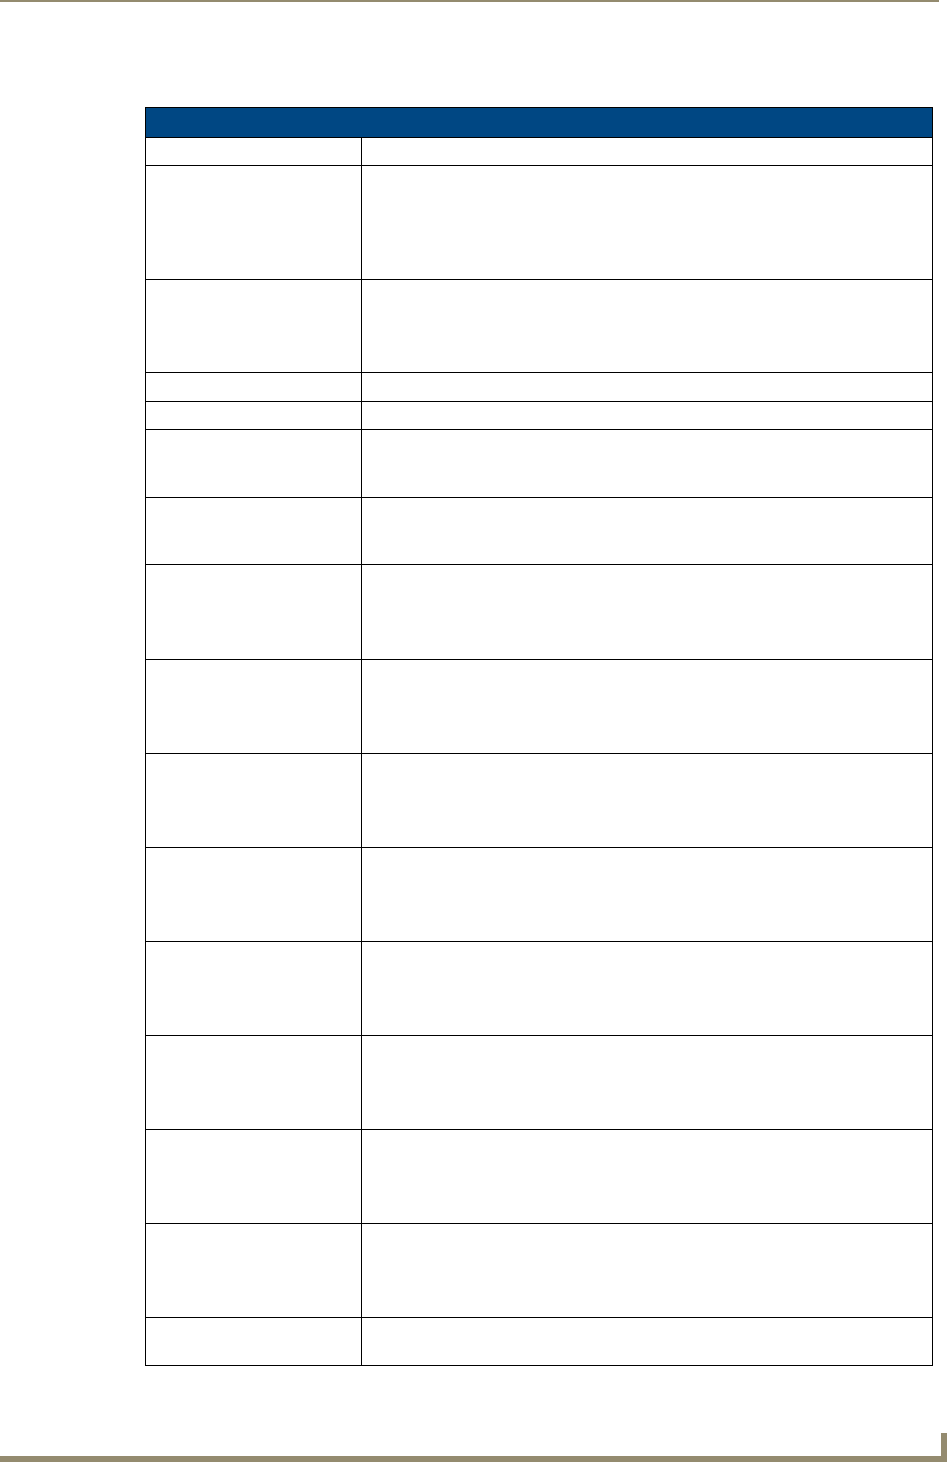
The elements of the Video Settings page are described in the table below:
Video Settings Page Elements
Back Saves the changes and returns you to the previously active touch panel page.
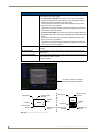
Connection Status icon This visual display of the connection status allows the user to have a current
update of the TPI-PRO’s connection status regardless of what page is currently
active.
• A Lock only appears on the icon if the TPI-PRO has established a connection
with a currently secured target Master (requiring a username and password).
Input Allows you to cycle through a choice of available video inputs (Composite 1,
Composite 2, Composite 3, S-Video, Computer (VGA), and Component
(YPrPb)).
Default = Composite 1
Status Displays whether a video-sync signal is detected.
Version Displays the firmware version currently used by the TPI-PRO.
Auto Adjust The Auto Adjust button toggles between auto detection and manual setup. It is
only valid on VGA and Component Input signals..
Default = Auto
Black & White The Black & White button toggles the Black & White display mode. It is only
valid on Composite and S-Video inputs.
Default = Off
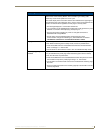
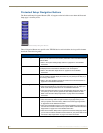
Brightness Use the UP/DN buttons to alter the brightness level of the incoming signal. This
option does not appear if you select Computer (VGA) as the input type or
progressive scan component input signals.
• Range = 0 - 255, default = 128
Contrast Use the UP/DN buttons to alter the contrast level of the incoming signal. This
option does not appear if you select Computer (VGA) as the input type or
progressive scan component input signals.
• Range = 0 - 255, default = 128
Saturation Use the UP/DN buttons to alter the color saturation level of the incoming signal.
This option does not appear if you select Computer (VGA) as the input type or
progressive scan component input signals.
• Range = 0 - 255, default = 128
Hue Use the UP/DN buttons to alter the hue level of the incoming signal. This option
does not appear if you select Computer (VGA) as the input type or progressive
scan component input signals.
• Range = 0 - 255, default = 128
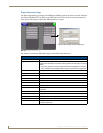
Phase Use the UP/DN buttons to alter the phase level of the incoming signal. This
option only appears if you select Computer (VGA) or Component (YPrPb) as
the input type.
• Range = 0 - 255, default = 128
H Position Use the UP/DN buttons to alter the horizontal position of the incoming signal.
This option only appears if you select Computer (VGA) or Component (YPrPb)
as the input type.
Range = 0 - 255, default = 128
H Size Use the UP/DN buttons to alter the horizontal size of the incoming signal. This
option only appears if you select Computer (VGA) or Component (YPrPb) as
the input type.
Range = 0 - 255, default = 128
V Position Use the UP/DN buttons to alter the vertical position of the incoming signal. This
option only appears if you select Computer (VGA) or Component (YPrPb) as
the input type.
Range = 0 - 255, default = 128
Default Settings The Default Settings button sets the video settings to their default values (indi-
cated in this table).