


Firmware Pages and Descriptions
54
TPI-PRO Total Presentation Interface - Pro Edition
Supported sampling rates for WAV
The following is a listing of supported sampling rates associated for WAV files played on this G4 unit.
Some WAV files currently played on other devices may not work on this unit. The supported sampling
rates for WAV files are:
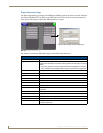
Protected Setup Page
This button opens the Protected Setup page which centers around the properties used by the panel to
properly communicate with the NetLinx Master. Refer to the
Protected Setup Navigation Buttons section
on page 58 for more detailed information.
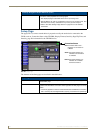
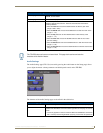
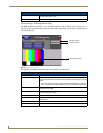
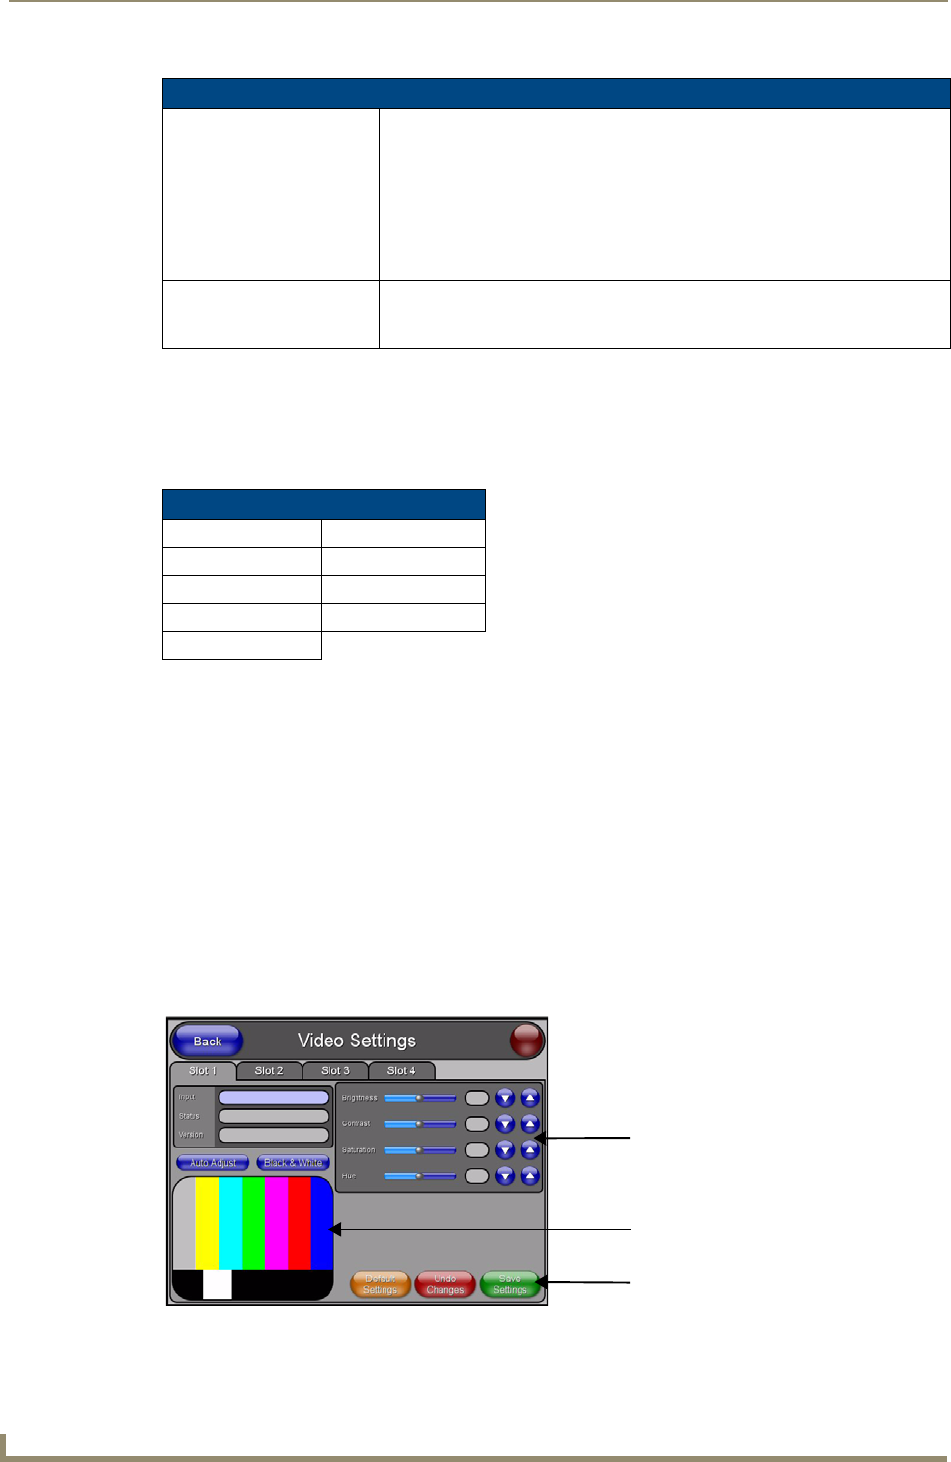
Video Settings Page
The Video Settings page (FIG. 40) sets the Video properties of the incoming video signal. You can
access this page by pressing the Video button on the Setup page. This page contains four tabs across the
top for each source input on the unit. If you are using a TPI-PRO-2, slots 3 and 4 appear greyed out.
These source inputs are labeled at the rear of the unit. For each source input, you must manually set the
Input type. The TPI-PRO does not detect the type of connection for you. You can choose from
Composite, S-Video, Computer (VGA), and Component (YPrPb).
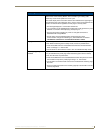
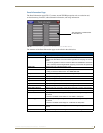
Audio Settings Page Elements (Cont.)
Master Volume This section allows you to adjust the current sound level on the unit’s internal
speaker:
• Use the UP/DN buttons to adjust the volume output on the internal speakers
(range = 0 - 100).
• The Internal Sound Level bargraph indicates the current sound level.
• The Mute button mutes the volume.
• The Play Test button plays a test WAV/MP3 file over the internal speakers.
Default Panel Sounds Sets the unit to play either the default Button Hit sound (when you touch an
active button) and/or the default Button Miss sound (when you touch a
non-active button or any area outside of the active button).
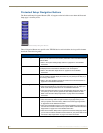
Supported WAV Sampling Rates
• 48000 Hz • 16000 Hz
• 44100 Hz • 12000 Hz
• 32000 Hz • 11025 Hz
• 24000 Hz • 8000 Hz
• 22050 Hz
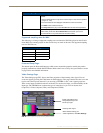
FIG. 40 Video Adjustment page (showing default values)
These video settings may
change depending on the
source input type.
Incoming video signal
When finished making your
screen adjustment, click Save Settings.