


2.12 INSTALLATION
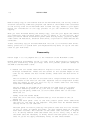
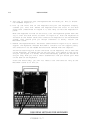
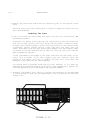
5. Turn the //c around so that the keyboard end now faces you. The //c should
now resemble Figure 2.7.
6. Lift up the front end of the keyboard and pull the keyboard slightly
towards you. This will remove the keyboard from the slots in the disk
drive case (identified in Figure 2.7) that help to hold the keyboard in
place.
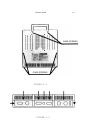
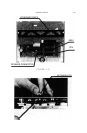
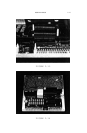
When the keyboard is free of the slots, turn the keyboard upside down and
lay it over the disk drive as shown in Figure 2.8. Push the keyboard as
far back as the ribbon cable that connects the keyboard to the motherboard
allows. This should give you enough clearance to easily install the
MultiRam C Card.
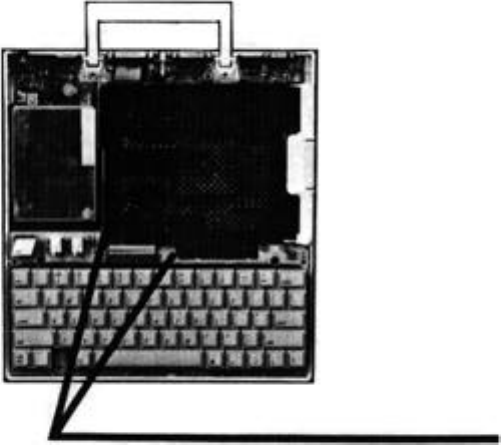
7. Remove the keyboard brace. The brace (identified in Figure 2.8) is used to
support the keyboard. Because MultiRam C contains its own support posts,
this brace will not be needed and should be removed from the computer.
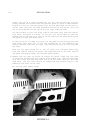
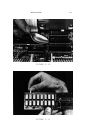
Two white retaining pins attach the brace to the keyboard, one at each end
of the keyboard. To remove each of the two pins, pull upward on the top of
the pin (as Figure 2.9 shows) while simultaneously pushing the bottom of
the pin away from you with a small screwdriver. The pin should pull free
of the back of the keyboard.
Store the brace sway; you will not need to use the brace as long as the
MultiRam C Card is in the //c.
FIGURE 2.7
DISK DRIVE NOTCHES FOR KEYBOARD