


2.16 INSTALLATION
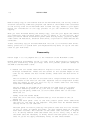
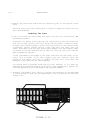
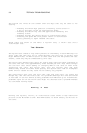
3. Remove the protective foam from the connecting pins on the bottom of the
card.
The card should now look like Figure 2.12 and is reedy for insertion into
the //c motherboard.
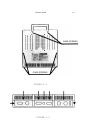
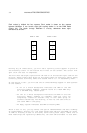
Inserting The Card
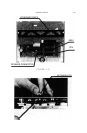
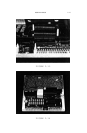
1. Pick up the card with both hands and insert the card into the CPU and MMU
motherboard sockets.
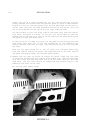
As Figure 2.13 shows, first position the card directly over the sockets so
that you can see the pins that wilt enter the CPU socket. Carefully align
the pins with the CPU socket’s holes. Push the card into the sockets using
a downward, gentle rocking motion. First push down one side, then the
other. With each rock the card should seat deeper into the sockets. When
you sense no further downward motion when you rock the card, the card has
been successfully seated.
If the card seems to be higher on the right side than the left side, do not
worry; this is normal. If you see a support post that does not touch the
bottom of the Apple, this too is normal; the post will touch when the
keyboard is put back and the case resealed.
You should have no problem inserting the card. However, if you feel any
resistance or possible bending of the pins, stop immediately. Remove the
card and examine the pins and sockets for possible damage.
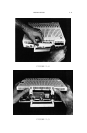
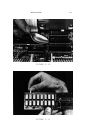
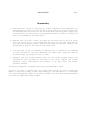
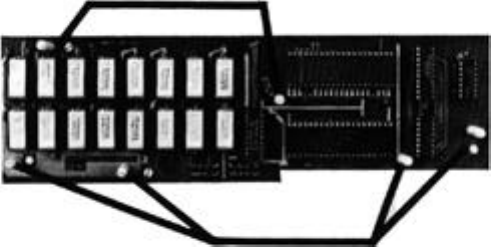
2. Reinsert the speaker jack. Place it through the round bole in the MultiRam
C Card and push it over the two exposed pins. The //c should now look like
Figure 2.14.
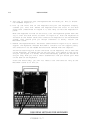
FIGURE 2.12