


3-6
Installation Guidelines
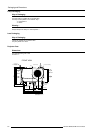
5976072 BARCO ELM R12 17102000
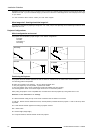
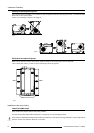
Image 14
Remark :
No electrical connections have to be made while installing the lamp casing. All connections are automatically made while inserting
the lamp casing.
Note : While starting up the projector, the electronics detect if a lamp is installed. If no lamp is installed, it is not possible to start up
the projector.
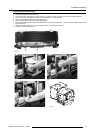
When transporting the projector :
1 Switch the projector to stand by.
2 Let cool down the projector for at least 15 minutes.
3 Switch off the projector and unplug from the wall outlet.
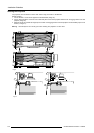
4 On the input side of the projector, remove the side by turning the 3 bolts a quarter turn counter clockwise.
5 Flip the lower side of the plate a little and pull then downward to remove the plate.
6 Turn the retaining bolts of the lamp a quarter counter clockwise.
7 Pull out the lamp casing. Wear heat resistant gloves, the case can be hot.
8 Pack the lamp casing into the lamp flightcase and transport it verticaly.
Re-adjusting the lamp position in the lamp casing
With higher run times, the light output of the lamp will decrease, which results in a lower light output on the screen.
This light output decrease can be compensated by readjusting the position of the lamp.
As the projector has to be opened, this procedure has to be performed by qualified service technician..
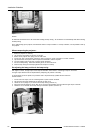
Handle as follow :
1 On the side of the inputs, turn the 3 retaining bolts a quarter counter clockwise.
2 Flip the lower side a little backwards and take off the side cover.
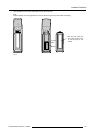
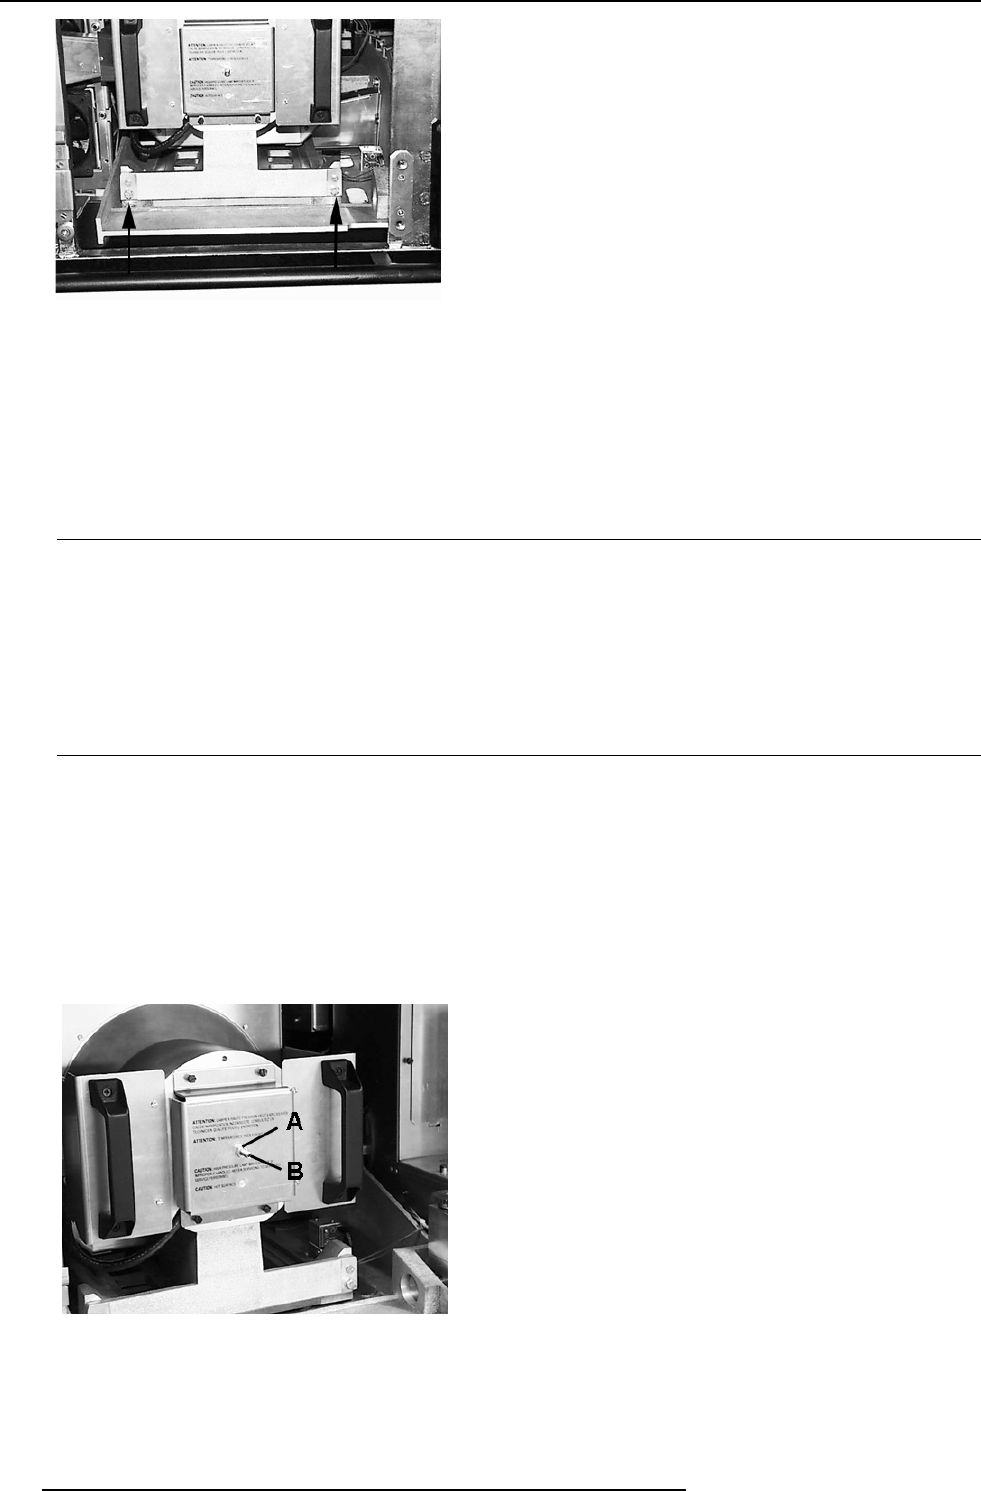
3 Loosen the nut A (image 14) on the back of the lamp casing (nutdriver 10).
4 Adjust the screw B (image14) with an allen key by turning a little clockwise until the maximum light output is reached.
5 Fasten the nut on the back of the lamp casing to secure this position (nutdriver 10).
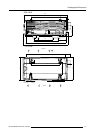
Image 13