


1
2
3
4
5
9
8
10
8382
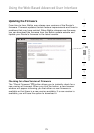
Manually Configuring Network Settings
section
7
Set up the computer that is connected to the cable or DSL modem
FIRST using these steps. You can also use these steps to add
computers to your N1 Vision after the N1 Vision has been set up to
connect to the Internet.
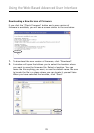
Manually Configuring Network Settings in Mac OS up to 9.x
1.
Pull down the Apple menu. Select “Control Panels” and
select “TCP/IP”.
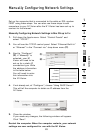
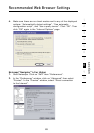
2. You will see the TCP/IP control panel. Select “Ethernet Built-In”
or “Ethernet” in the “Connect via:” drop-down menu (1).
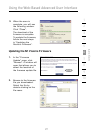
3. Next to “Configure”
(2), if “Manually” is
selected, your N1
Vision will need to be
set up for a static IP
connection type. Write
the address information
in the table below.
You will need to enter
this information into
the N1 Vision.
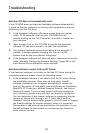
4. If not already set, at “Configure:”, choose “Using DHCP Server”.
This will tell the computer to obtain an IP address from the
N1 Vision.
(1)
(2)
6
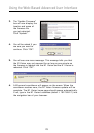
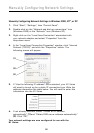
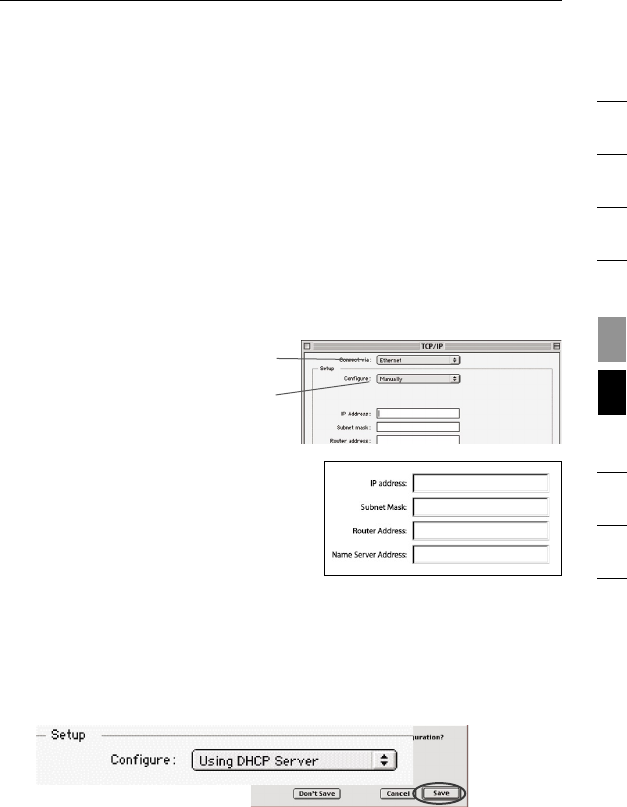
5. Close the window.
If you made any changes, the following window will appear.
Click “Save”.
Restart the computer. When the computer restarts, your network
settings are now configured for use with the N1 Vision.