


25
CHAPTER 4: Installation and Configuration
Take these steps to connect internal SCSI devices to the Adapter:
1. If you haven’t already done so, turn OFF and unplug the PC, disconnect all
other devices from it, and remove its cover.
2. If you haven’t already done so, prepare each internal SCSI peripheral for
installation: configure the device’s SCSI ID and termination. (If you’ll be using
the included cable, or some other preterminated cable, all of the devices
should have termination turned OFF. If you’ll be using a non-terminated
cable, turn the last device’s termination ON and leave the others OFF.) For
instructions, see the device’s documentation as well as Sections 3.2 and 3.3.
3. Install each internal SCSI peripheral in your computer. Refer to your
computer’s and peripherals’ documentation for instructions.
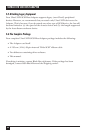
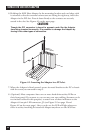
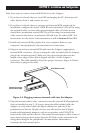
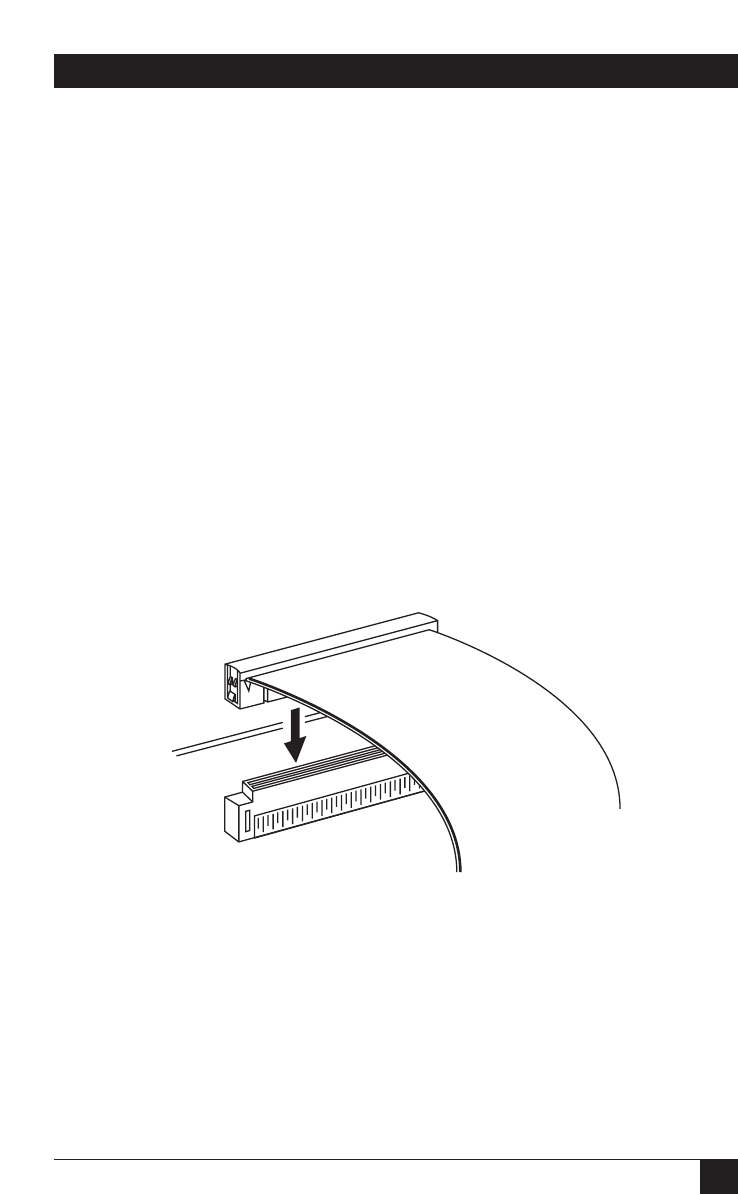
4. Plug one end of your internal SCSI cable into the Adapter’s appropriate
internal SCSI connector. (If you’re using the cable included with the Adapter,
plug in the unterminated end.) Make sure the colored stripe that runs the
length of one edge of the cable is aligned with Pin 1 of the Adapter’s
connector. The cable should be keyed for proper insertion. Figure 4-4 below
shows how to plug in this cable.
Figure 4-4. Plugging a narrow internal cable into the Adapter.
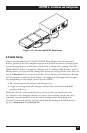
5. Plug the internal cable’s other connectors into the internal SCSI peripherals
that you installed in step 3. (If you are using the cable included with the
adapter, or some other cable with 68-pin connectors, and any of the
peripherals are Narrow [50-pin] devices, you will need to attach 50-pin-
female-to-68-pin-female adapters, such as our product code EVNSCT38,
between the cable and the device.) Also attach internal power cables to any of
these devices that get their power from the PC. Refer to the instructions for
doing these things in the peripherals’ documentation. Remember to
terminate the last internal device.
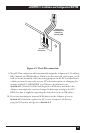
SCSI Ribbon Cable
Internal Connector
(68-Pin Micro D68)