1-12
Chapter 1 Before You Start Using the Scanner
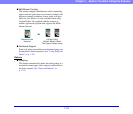
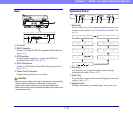
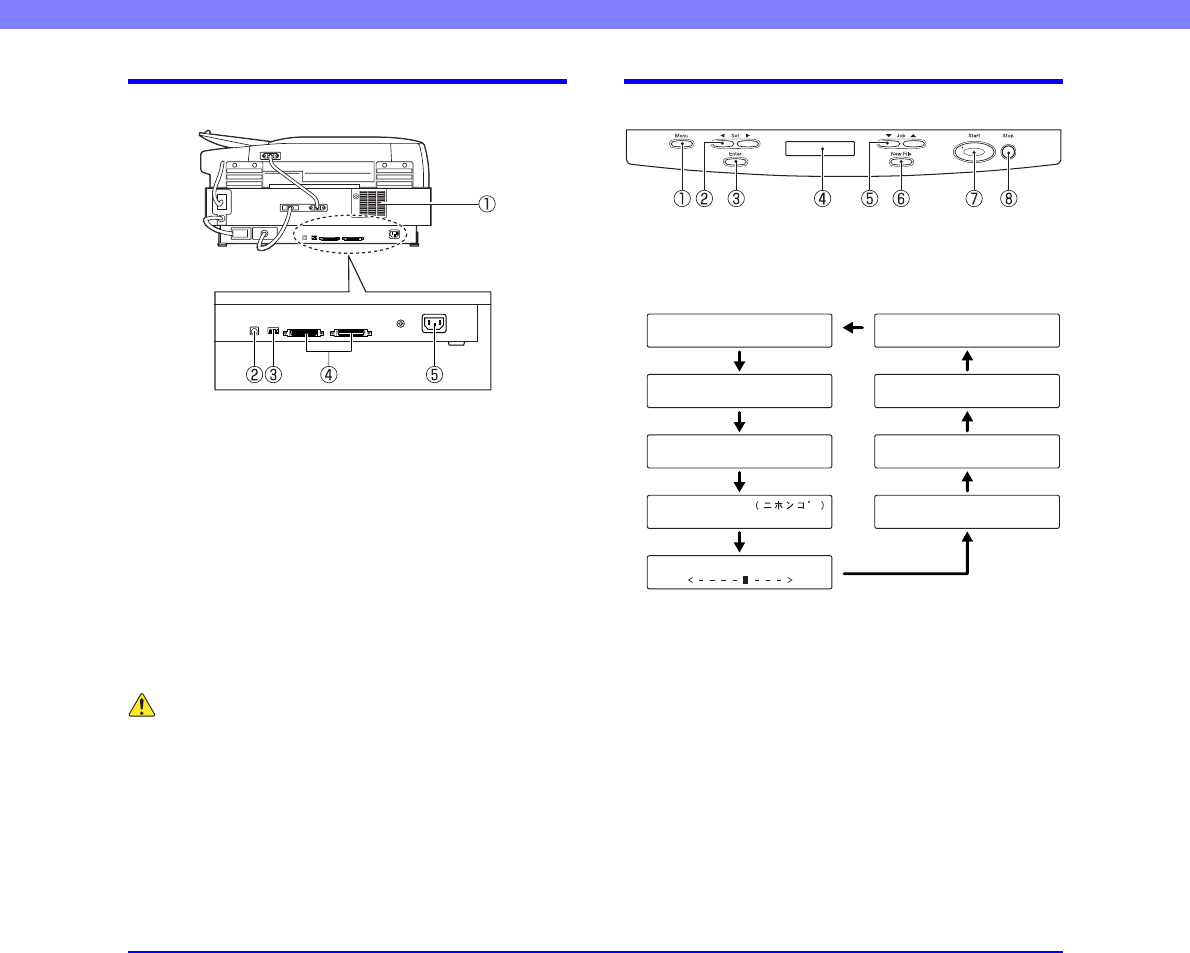
Rear
a Air Vents
b USB Connector
Connect a Hi-Speed USB 2.0 compatible USB cable here.
(See p. 2-6.)
c DIP Switches
Configure these switches to specify the SCSI ID or
terminator ON or OFF. (See p. 2-7.)
d SCSI Connectors
Connect a SCSI cable (50-pin half pitch, pin type) here.
(See p. 2-7.)
e Power Cord Connector
Connect the provided power cord here.
CAUTION
• Never touch the cables at the rear of the scanner. Disconnection
of these cables can cause a malfunction of the scanner.
• Take care to ensure that the vents never become blocked.
Blocked vents can lead to heat build-up inside of the scanner and
create the risk of fire.
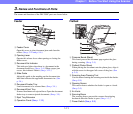
Operation Panel
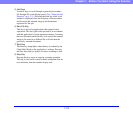
a Menu Key
Press this key to cycle the display through the various user
modes, as shown below. (See “About the User Modes” on
p. 4-2.)
b Set Keys
Use these keys to change the setting of the currently
displayed user mode. (See p. 4-3.)
c Enter Key
Press this key to register the currently displayed user mode
setting. (See p. 4-3.)
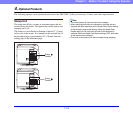
d Display Panel
Displays the number of scanned pages, error codes, etc.
Display Contrast
ON [OFF ]
Japanese
240 60 [10]
Stand-by Mode
ON [OFF ]
Long Document
ON [OFF ]
Count Only Mode
0
Total Counter
[ON] OFF
Single-P ass Dup.
[ON] OFF
USB Shor t Packet
[20] 10 5
SCSI Speed


