Using a Memory Box
3-11
3
Special Fax Functions
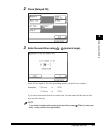
You can specify the following scan settings when you scan originals into a
memory box:
• Resolution/Density/Image Quality (See "Resolution, Density, and Image Quality,"
on p. 2-2.)
• Document Size (See "Document Size," on p. 3-21.)
• Two-Sided Scanning (See "Faxing Two-Sided Originals," on p. 3-19.)
• Zoom TX (See "Changing the Zoom Ratio," on p. 3-28.)
6
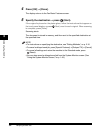
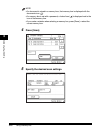
Press (Start).
If the original is placed on the platen glass, follow the instructions that appear on
the touch panel display ➞ press (Start) once for each original. When scanning
is complete, press [Done].
Scanning starts.
The document is stored in the selected memory box, and will be sent according to
the memory box settings.
NOTE
To cancel scanning, press [Cancel] on the touch panel display, or press (Stop)
on the control panel.
7
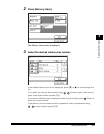
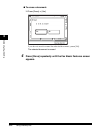
Press [Done] repeatedly until the Fax Basic Features screen
appears.
Printing and Erasing Documents
You can print and erase documents that are stored in a memory box.
NOTE
If you print a document stored in the Relay Memory Box, it is erased.
1
Press [Special Features] ➞ [Memory Inbox].
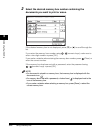
If necessary, see the screen shots in steps in steps 1 and 2 of "Scanning
Originals," on p. 3-8.
The Memory Inbox screen is displayed.


