80
3.
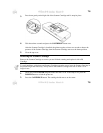
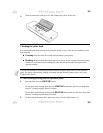
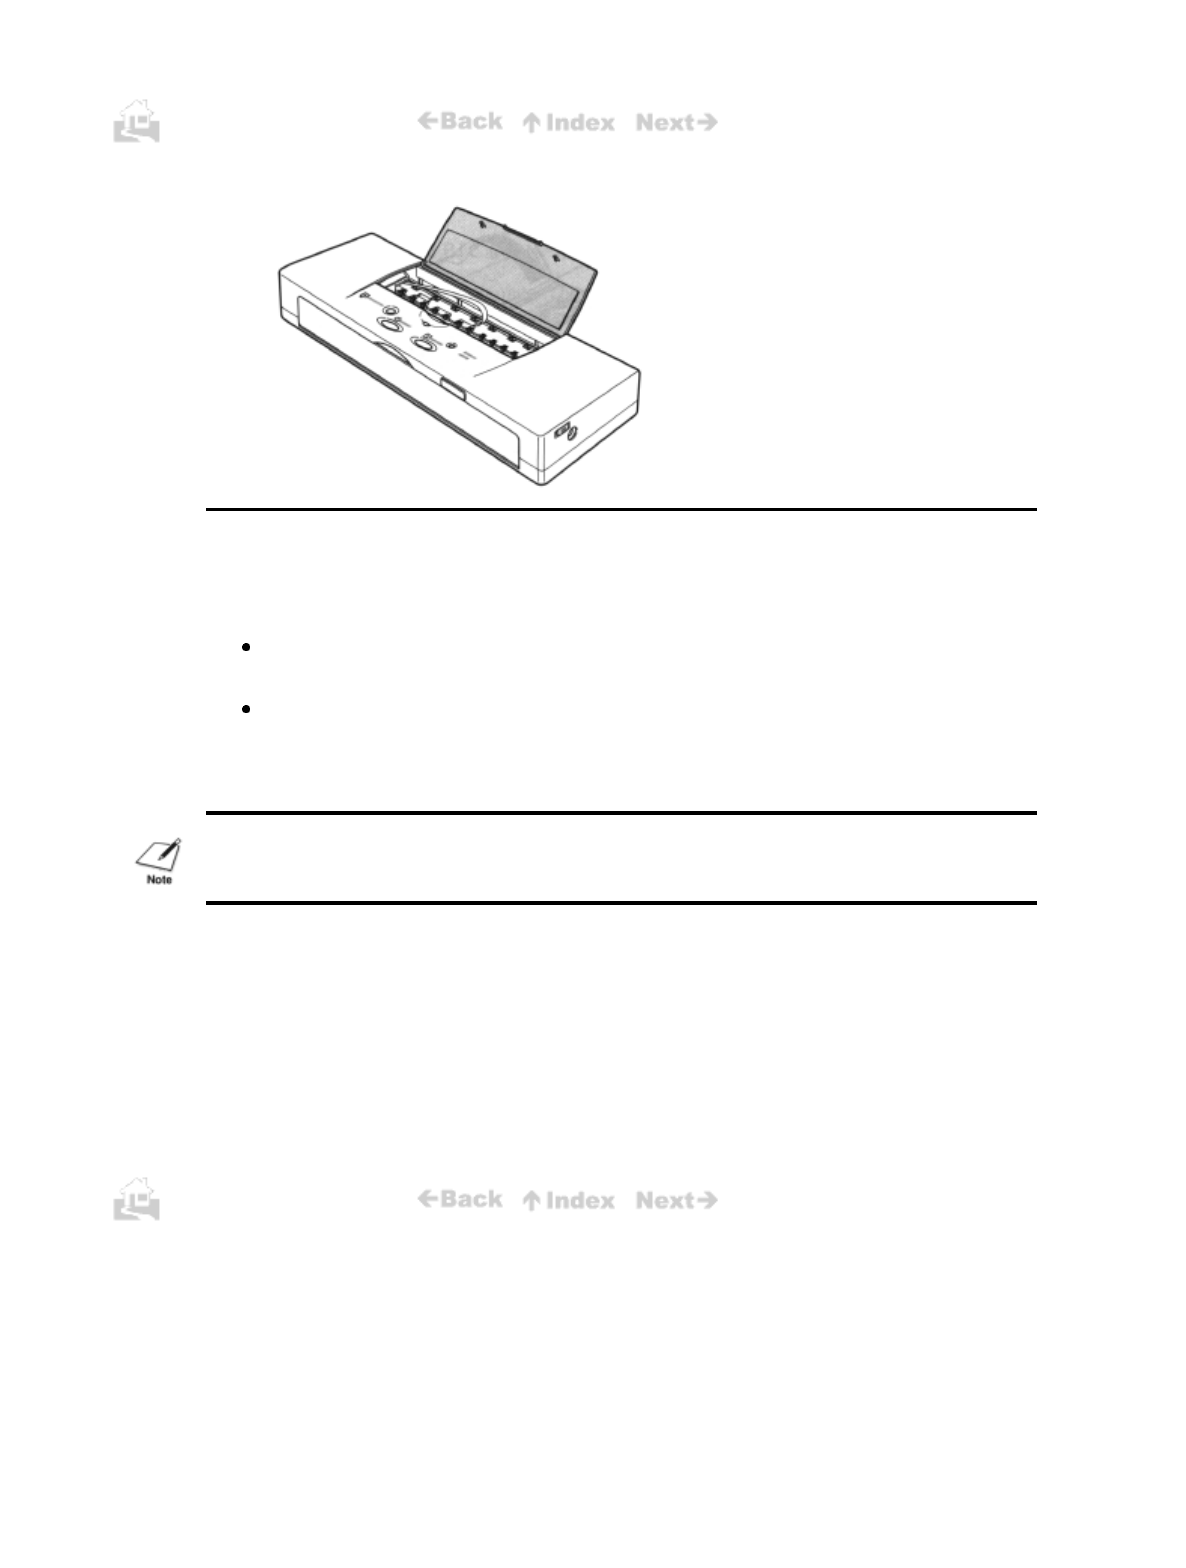
Clean the underside of the top cover. Ink residues may collect in this area.
Cleaning the print head
You should start print head cleaning when your print quality is poor. There are two methods of print
head cleaning:
Cleaning:
Requires about 30 seconds and can improve print quality.
Flushing:
Requires about 60 seconds and corrects severe nozzle clogging. Because Flushing
consumes a lot of ink, execute flushing only when the print quality does not improve after
repeated cleaning.
You can start cleaning or flushing the print head with the Windows printer driver or the operation
panel. For details about starting cleaning or flushing with the Windows printer driver, refer to the
Windows Print Guide.
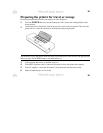
To start cleaning/flushing from the operation panel:
1.
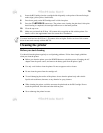
Press and hold down the
RESUME
button.
To start print head cleaning, hold down the
RESUME
button until you hear two beeps then
release it. Cleaning requires about 30 seconds.
To start print head flushing, hold down the
RESUME
button until you hear three beeps then
release it. Flushing requires about 60 seconds.
2.
To check the performance of the print head, print a Nozzle Check Pattern.
(p45)
80


