


Registering
Information in the
LASER CLASS 2060P
Chapter 3 Registering Information in the LASER CLASS 2060P
3-9
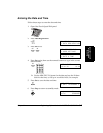
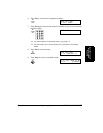
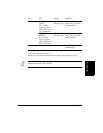
Entering the Date and Time
Follow these steps to enter the date and time.
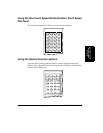
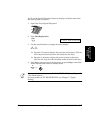
1. Open One-Touch Speed Dial panel.
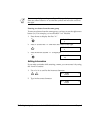
2. Press Data Registration.
3. Press Set twice.
4. Press Set again, then use the numeric buttons to type in the correct
date and time.
❏ Use the MM/DD/YY format for the date and use the 24-hour
clock for the time, so 2:30 p.m. would be 14:30, for example.
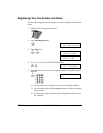
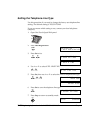
5. Press Set to save the date and time.
6. Press Stop to return to standby mode.
Data
Registration
R E G I S T R A T I O N
1 . D A T A R E G I S T R A T I O N
Set
D A T A R E G I S T R A T I O N
1 . U S E R S E T T I N G S
U S E R S E T T I N G S
1.DATE & TIME
Set
Set
SYMBOLS
OPER
Tone
WXYTUVPRS
MNOJKLGHI
DEFABC
123
456
789
0
D A T E & T I M E
12/31/01 10: 0 0
Set
U S E R S E T T I N G S
2 .UNI T TELEPHONE #
Stop
12/31/2001 MON 10:00
Fa xTe l STANDARD