


E-29
Part 8 Printing
This part of the manual includes all the information you need to print tapes.
Printing Precautions
• Never turn power off while printing is being performed.
• Make sure that the tape outlet is not blocked before you start printing.
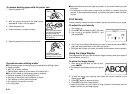
• Printing text that has large dark areas, printing on wide tape, and printing
continuously can cause the printer to become hot. When this happens, the
message “GETTING READY...” appears on the screen and printing is mo-
mentarily suspended to prevent serious overheating. Printing will automati-
cally restart when temperature returns to normal.
• If the message “GETTING READY...” appears and printing is interrupted fre-
quently, try using a lower print density setting.
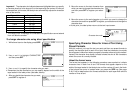
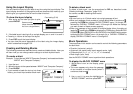
Printing a Tape
Printing a tape is as easy as pressing the PRINT key.
To print a tape
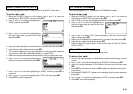
1. Press the PRINT key to print a tape of the text you have input and laid out.
• To stop a print operation that is in progress, press ESC.
• You can add extra margin to the beginning of the tape by pressing FUNC-
TION and then PRINT (FEED) before starting the print operation.
Important! To specify printing of multiple copies of the same label, turn on
multiple copy printing before you start the print operation. See “Printing Multiple
Copies of the Same Label” for more information.
If you want to print only one copy of the label, jump to step 6.
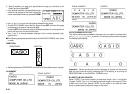
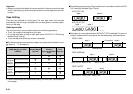
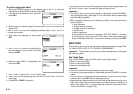
2. Use t and y to specify the number of copies you want to print. t decreases
the value, while y increases it.
• You can also input values directly for COPIES. Note, however, that the first
value you input is inserted to the right of the value currently on the display. If
1 is displayed, for example, inputting 9 results in a setting of 19. To specify a
value in the range of 1 to 9, you must include a leading zero (01, 02, 03,
etc.).
3. Use i to select the AUTO CUT menu.
4. Use t and y to turn on AUTO CUT.
5. After making sure there is nothing blocking the tape outlet, press PRINT or
SET.
Each label is cut automatically after it is printed.
6. Use scissors to trim the tape to the size you want, if necessary.
• After you print a tape, you can peel off its paper backing and stick the tape
onto the object you want.
Printing Multiple Copies of the Same Label
After you turn on multiple copy printing, you can specify how many copies of the
label you want to print. You can specify up to 100 copies.
Important!
• When you specify multiple copies of the same label, the labels are printed
one after another, non-stop.
• Before starting the print operation check to make sure there is enough tape
left in the tape cartridge to print all of the copies you want. If you run out of
tape part way through, press ESC to cancel the print operation.
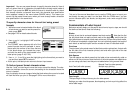
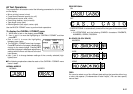
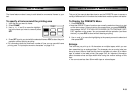
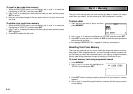
To turn on multiple copy printing
1. Press SET UP.
2. Use u and i to select COPIES (Multiple Copy Printing), and then press
SET.
3. Use u and i to select ON and then press SET.
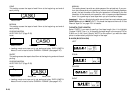
Now when you start a label print operation, a message appears on the display
to ask how many copies you want to print. Actual printing starts after you specify
the number of copies.
Note
• To turn off multiple copy printing (for printing of one label per print operation),
use u and i in step 3 of the above procedure to select OFF.
• Auto tape cutting is not performed when FEED:MEDIUM, TAPE LENGTH:About
31mm or less or FEED:SHORT, TAPE LENGTH:About 24mm or less is set for
OVERALL FORMAT setting. In such a case, use scissors to cut the tape after
printing is complete. When MANUAL is set for FEED, tape cutting is never
performed, regardless of the AUTO CUT setting is ON or OFF.
• Printing of multiple copies may be impossible when the label is very long. In
such a case, shorten the label or reduce the number of copies and try again.