


8
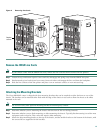
Verifying Contents After Unpacking
Power cables, manuals, and other additional items are packaged in separate boxes. After you have unpacked the system, verify
that you have received all the required components and documentation.
Step 1 Using the packing list as a guide, verify that you have received everything that is listed, including the following:
a. System hardware documentation and software documentation (if ordered)
b. Optional equipment that you ordered, such as transceivers (GBICs), flash cards, cables, or special connectors
Step 2 Check that all line cards you ordered are installed in the chassis (including PCMCIA flash cards installed in the PRE).
Step 3 Ensure that the system configuration matches the packing list.
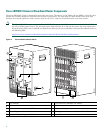
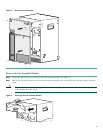
Removing Chassis Components Before Installation
The Cisco uBR10012 router is shipped with all ordered components already installed in the chassis. When fully configured, the
Cisco uBR10012 chassis weighs approximately 230 lbs (104.3 kg).
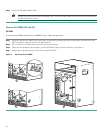
Caution You must use a hydraulic lift or forklift to move a fully populated chassis.
In a fully loaded chassis, the components (modules and cards) weigh approximately 170 lbs (77.11 kg), so removing them allows
the chassis to be safely moved and installed by two people. After the chassis has been installed in a rack, the components can
be reinstalled in the chassis.
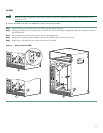
The following components should be removed from the chassis before installing the chassis in a rack.
• Fan assembly module
• AC or DC power entry modules (PEMs)
• Performance routing engine (PRE) modules
• Cable interface cards
• Network uplink cards
Tip You do not need to remove the TCC+ cards or the LCD monitor because these do not present a significant increase in
weight.
Before You Begin
• Make sure that you have an antistatic surface available for the components that you are removing from the chassis.
• Make sure that you are wearing antistatic protection such as a wrist strap or heel strap and are properly grounded.
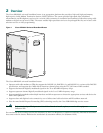
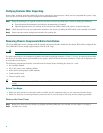
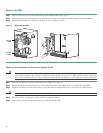
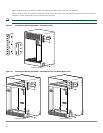
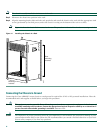
Remove the Front Cover
Step 1 Remove the front cover by lifting it up slightly and then pulling the cover toward you (see Figure 3 on page 9).
Step 2 Carefully set it aside.