3-8
Installing and Configuring Cisco Access Registrar, 4.2
OL-17221-02
Chapter 3 Upgrading Cisco Access Registrar Software
Upgrading Cisco Access Registrar Solaris Software
Installing Cisco Access Registrar Software from CD-ROM
The following steps describe how to begin the software installation process when installing software
from the CAR 4.2 CD-ROM. If you are installing downloaded software, proceed to
Installing
Downloaded Software.
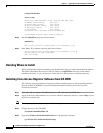
Step 1 Place the CAR 4.2 software CD-ROM in the Cisco AR workstation CD-ROM drive.
Step 2 Log in to the Cisco AR workstation as a root user, and enter the following command line for (Solaris 9):
pkgadd -d /cdrom/cdrom0/kit/solaris-2.9 CSCOar
Step 3 Proceed to Common Solaris Installation Steps.
Installing Downloaded Software
This section describes how to uncompress and extract downloaded CAR 4.2 software and begin the
software installation.
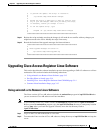
Step 1 Log in to the Cisco AR workstation as a root user.
Step 2 Change directory to the location where you have stored the uncompressed tarfile.
cd /tmp
Step 3 Use a command like the following to uncompress the tarfile and extract the installation package files.
zcat CSCOar-4.2.1-sol9-k9.tar.gz | tar xf -
Note These instructions are for the Solaris 9 package. There is no difference in download or installation
procedures for Solaris 9 or Solaris 10 other than the package name.
Step 4 Enter the following command to begin the installation:
pkgadd -d /tmp CSCOar
where /tmp is the temporary directory where you stored and uncompressed the installation files.
Step 5 Proceed to Common Solaris Installation Steps.
Common Solaris Installation Steps
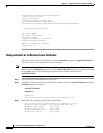
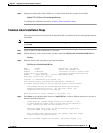
This section describes the installation process immediately after you have issued the pkgadd command
installing from CD-ROM or from downloaded software.
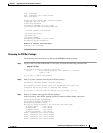
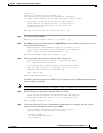
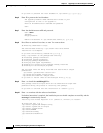
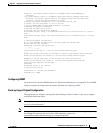
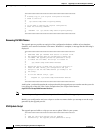
Processing package instance <CSCOar> from </tmp>
Cisco Access Registrar 4.2.1 [SunOS-5.9, official]


