4-19
Cisco ASA Series Firewall ASDM Configuration Guide
Chapter 4 Configuring Network Object NAT (ASA 8.3 and Later)
Monitoring Network Object NAT
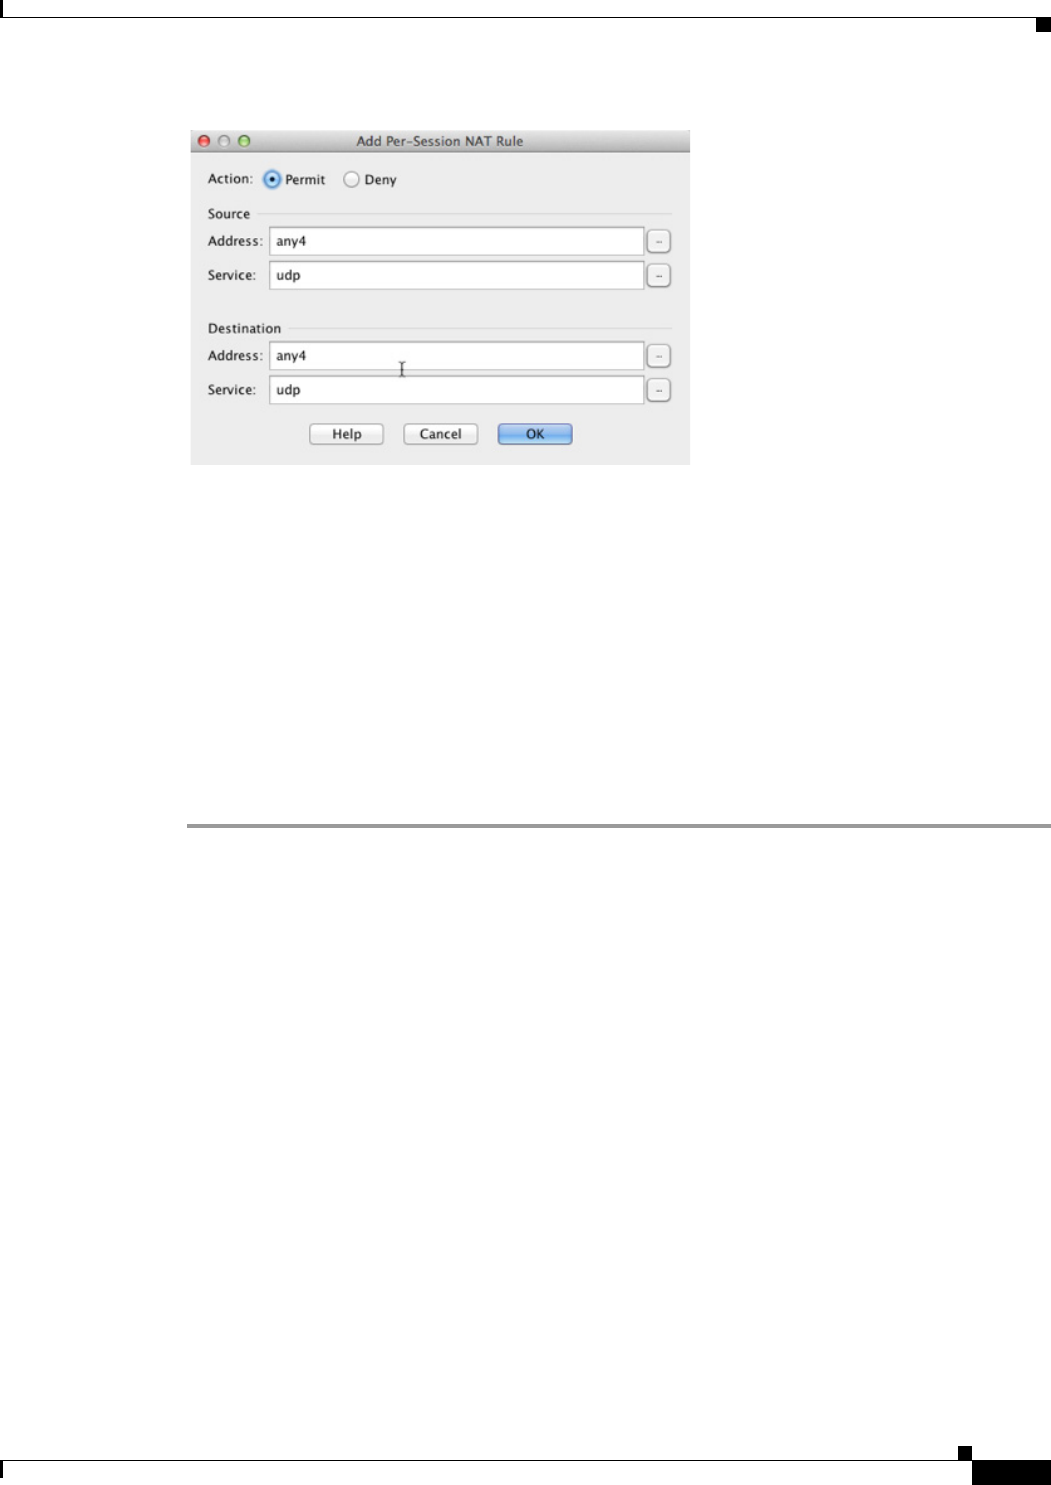
A permit rule uses per-session PAT; a deny rule uses multi-session PAT.
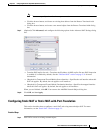
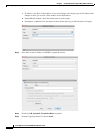
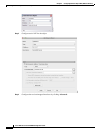
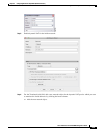
Step 3 Specify the Source Address either by typing an address or clicking the ... button to choose an object.
Step 4 Specify the Source Service, UDP or TCP. You can optionally specify a source port, although normally
you only specify the destination port. Either type in UDP/port or TCP/port, or click the ... button to select
a common value or object.
Step 5 Specify the Destination Address either by typing an address or clicking the ... button to choose an object.
Step 6 Specify the Destination Service, UDP or TCP; this must match the source service. You can optionally
specify a destination port. Either type in UDP/port or TCP/port, or click the ... button to select a common
value or object.
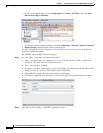
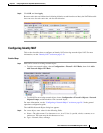
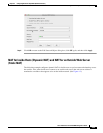
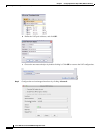
Step 7 Click OK.
Step 8 Click Apply.
Monitoring Network Object NAT
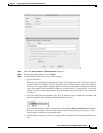
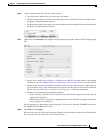
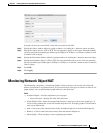
The Monitoring > Properties > Connection Graphs > Xlates pane lets you view the active Network
Address Translations in a graphical format. You can choose up to four types of statistics to show in one
graph window. You can open multiple graph windows at the same time.
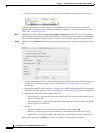
Fields
• Available Graphs—Lists the components you can graph.
–
Xlate Utilization—Displays the ASA NAT utilization.
• Graph Window Title—Shows the graph window name to which you want to add a graph type. To
use an existing window title, select one from the drop-down list. To display graphs in a new window,
enter a new window title.
• Add—Click to move the selected entries in the Available Graphs list to the Selected Graphs list.
• Remove—Click to remove the selected entry from the Selected Graphs list.
• Show Graphs—Click to display a new or updated graph window.


