


51
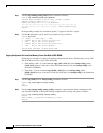
Upgrading GRP Memory
78-4339-09
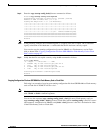
Implementing Additional Configuration and Maintenance Tasks
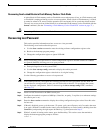
Removing DIMMs
This section provides the procedure for removing DIMMs. As you remove DIMMs, place them on an
antistatic mat or store them in an antistatic bag. You can use the DIMMs that you remove in other
compatible equipment.
Caution To prevent ESD damage, handle DIMMs by the card edges only.
Use the following procedure to remove the existing DIMM(s):
Step 1 Turn off the system power.
Step 2 Attach an ESD-preventive wrist strap to yourself following the instructions that came with the strap.
Step 3 Remove the GRP. (Follow the steps in the “Removing a GRP” section on page 14.)
Step 4 Place the GRP on an antistatic mat or pad.
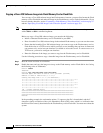
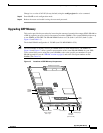
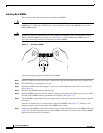
Step 5 Position the GRP so that the faceplate is toward you, and the backplane connector is away from you.
(See Figure 15.)
Step 6 Locate the DRAM DIMMs on the GRP. The DIMMs occupy U39 (bank 1) and U42 (bank 2). (See
Figure 15.)
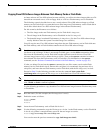
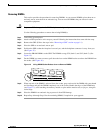
Step 7 For the DIMM you want to remove, pull down the lever on the DIMM socket to release the DIMM from
the socket. (See Figure 16.)
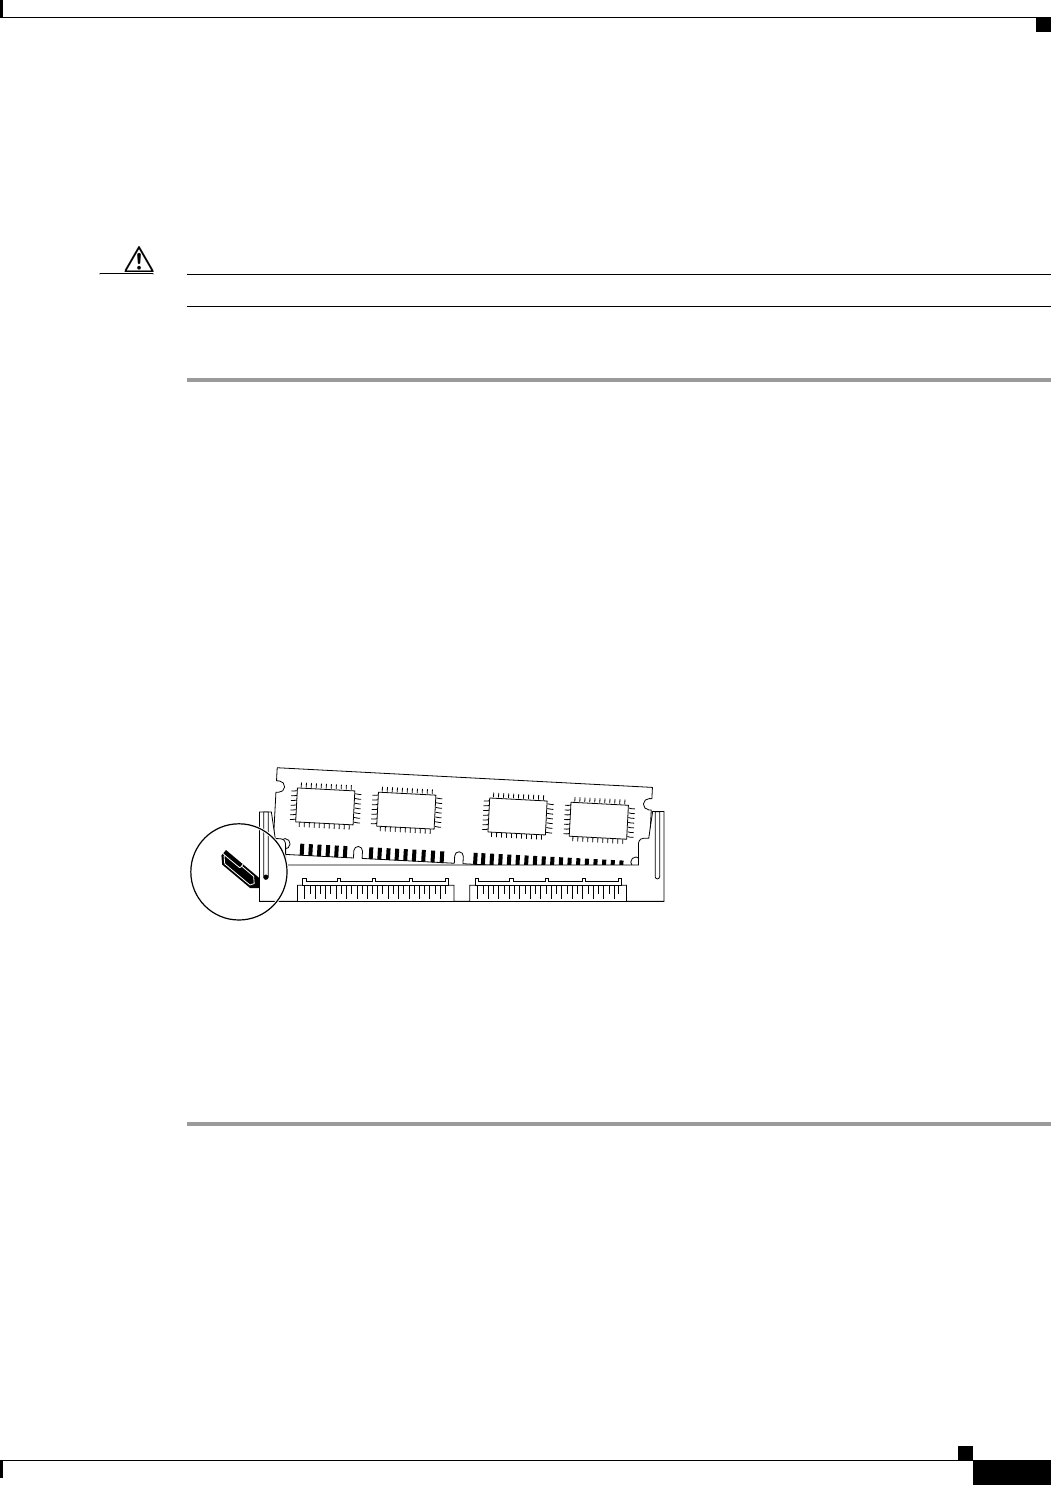
Figure 16 Using DIMM Socket Release Lever to Remove DIMMs
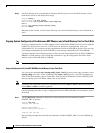
Step 8 When one end of the DIMM is released from the socket, grasp each end of the DIMM with your thumb
and forefinger and pull the DIMM completely out of the socket. Handle the edges of the DIMM only
(see Figure 17); avoid touching the memory module or pins and the metal traces, or fingers, along the
socket edge.
Step 9 Place the DIMM in an antistatic bag to protect it from ESD damage.
Step 10 Repeat Step 6 through Step 9 for the remaining DIMM, if required for your upgrade.
H6513