Using the Web-Based Configuration Utility
Home
Cisco PVC2300 and WVC2300 Internet Video Cameras with Audio Administration Guide 40
7
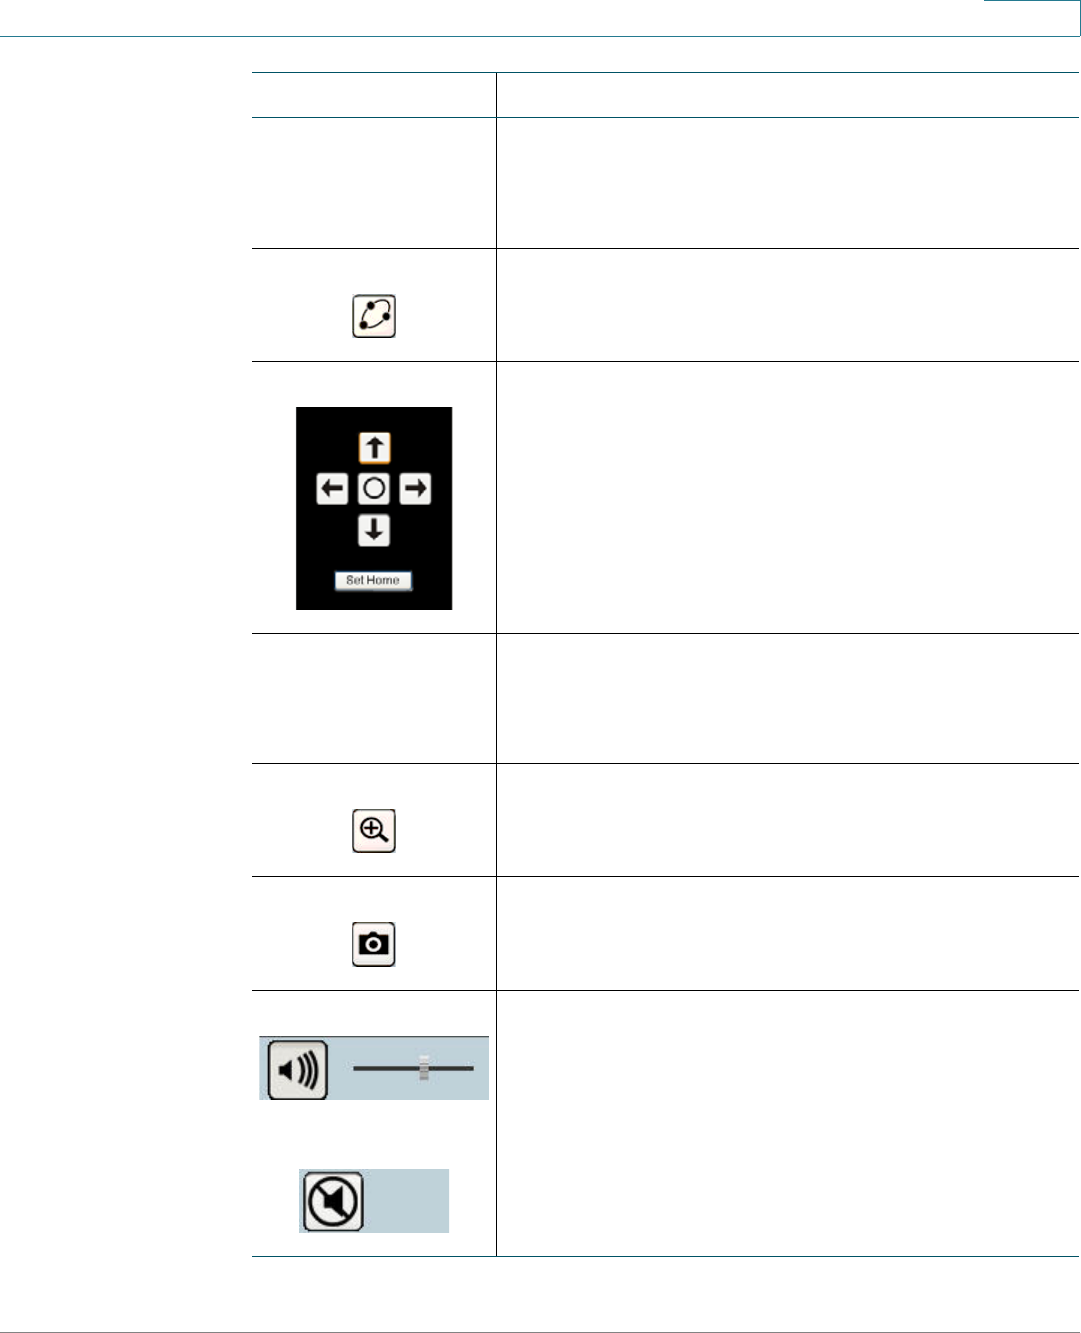
Preset Camera View Select the preset area to patrol. See “Using Patrol
Sequence” on page 88 for more information about
setting these positions. This icon becomes visible after
enabling RS-485.
Camera Patrol Move the camera one time through the preset
positions. This icon becomes visible after enabling RS-
485.
Move Controls Allows you to incrementally adjust the camera in four (4)
directions and back to home. There may be a short
delay after a direction is clicked.
The Move Control icon becomes visible after enabling
RS-485. You also need to connect the camera to an
external Pelco D protocol device for the Move Control
to work.
Resolution Select the desired resolution from the drop-down list.
The options are AUTO, 640 x 480, 320 x 240, 160 x 120.
The default is AUTO and lets the camera determine the
resolution.
Zoom Click zoom and then drag your mouse to select the
section you want to magnify. Click the icon again to
increase the zoom to x4 from x2.
Snapshot Click to take a single JPEG picture snapshot of the
video image and save it to a desired location on your
computer.
Audio On
Audio Off
When the audio is enabled, an icon is displayed on the
Home window and audio is picked up through the
camera. You can then use the icons to turn the speaker
on and off. To enable the sound, see “Audio/ Video >
Audio” on page 60.
Icon Description


