


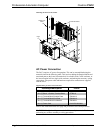


Crestron PAC2 Professional Automation Computer
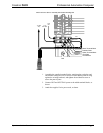
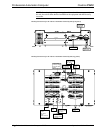
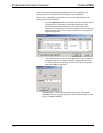
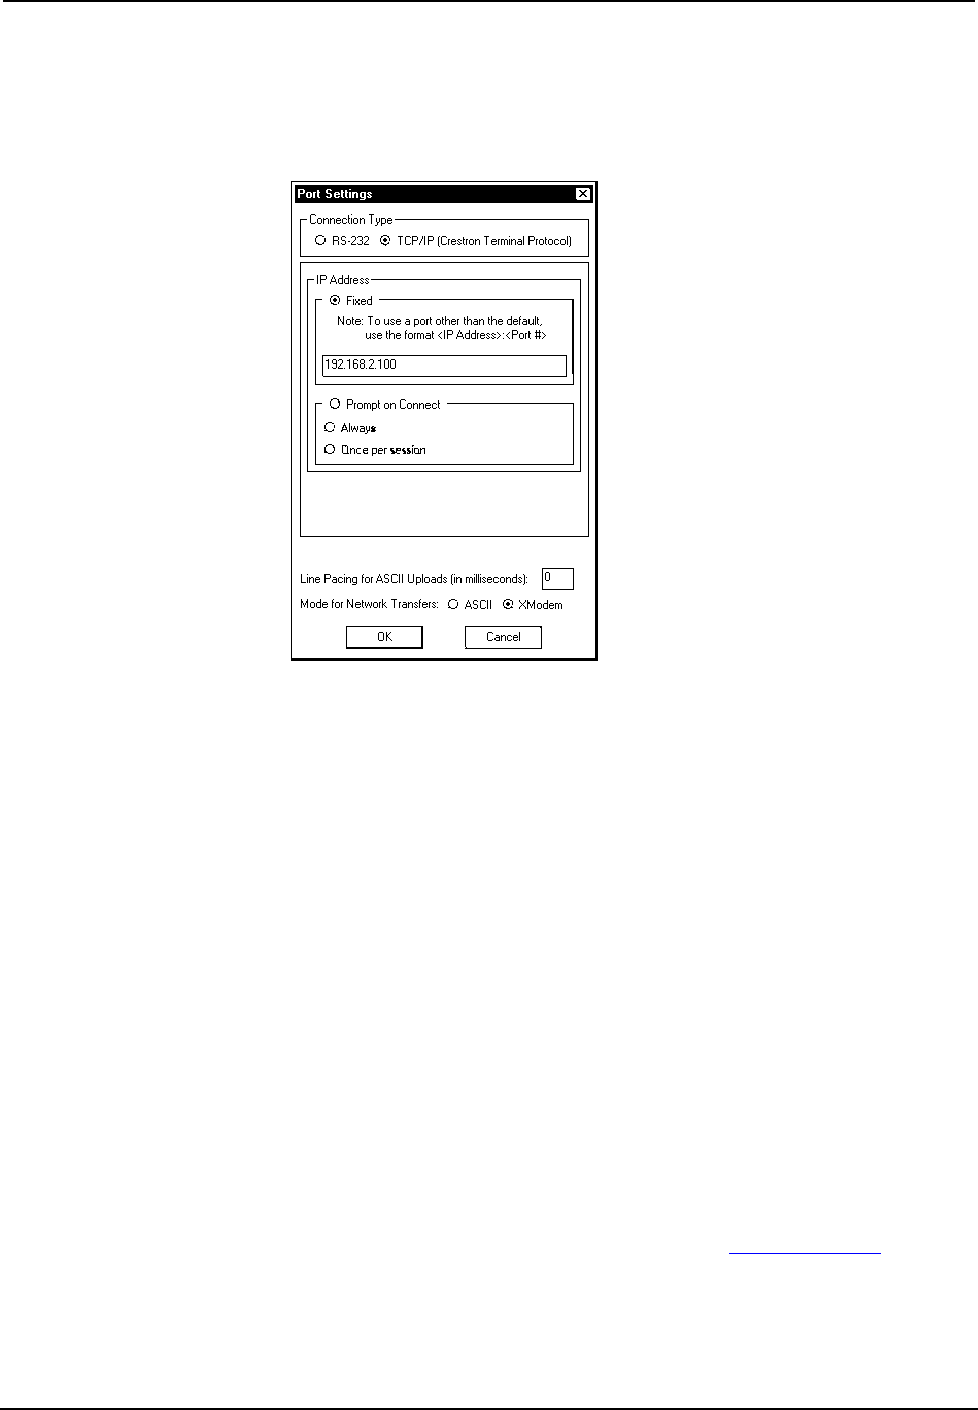
Once the cable connections are made, open the Crestron Viewport and click Setup |
Communication Settings on the menu to display the “Port Settings” window. Then
click TCP/IP as the connection type. Enter the IP address of the PAC2.
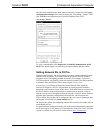
“Port Settings” Window
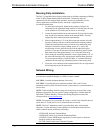
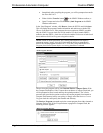
To verify communication, click Diagnostics | Establish Communications (Find
Rack). This should display a window that gives the IP address and port number.
Setting Network IDs in D3 Pro
Lighting control modules, like all Crestron devices, have a default internal Network
ID that is set at the factory. This internal Network ID and the Network ID that is
assigned in the D3 Pro lighting program must match. For example, if you have a
CNX-B6 keypad in your lighting system, the internal Network ID of that keypad has
to match the Network ID that is shown in the program’s Finish View.
In some cases, you will need to change the internal Network ID to match the
Network ID assigned by D3 Pro. The procedure for setting Network IDs differs
depending on the firmware version of the device. With some firmware versions, only
the device currently being configured can be connected to the network, while all
other devices have to be disconnected from the network. Crestron's newest firmware
upgrades allow automatic configuration of Network IDs, with no need to take
devices offline. Devices that can be configured in this way, such as lighting modules
and keypads, are referred to as touch-settable devices.
D3 Pro provides options for configuring Network IDs in both touch-settable and non
touch-settable devices.
For information on setting network IDs, refer to the detailed information contained in
the D3 Pro help file, or in Crestron’s D3 Pro Reference Guide, Doc. 5998. The latest
version is available as a PDF on the Crestron website (www.crestron.com
).
Operations Guide – Doc. 5941 Professional Automation Computer: PAC2 • 21